Kitchener Stitch
Table of Contents
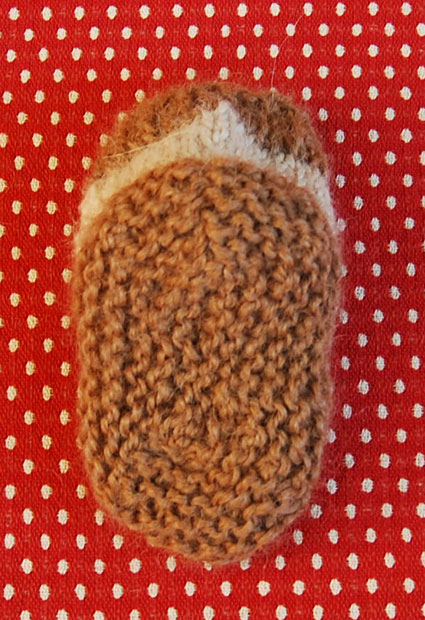
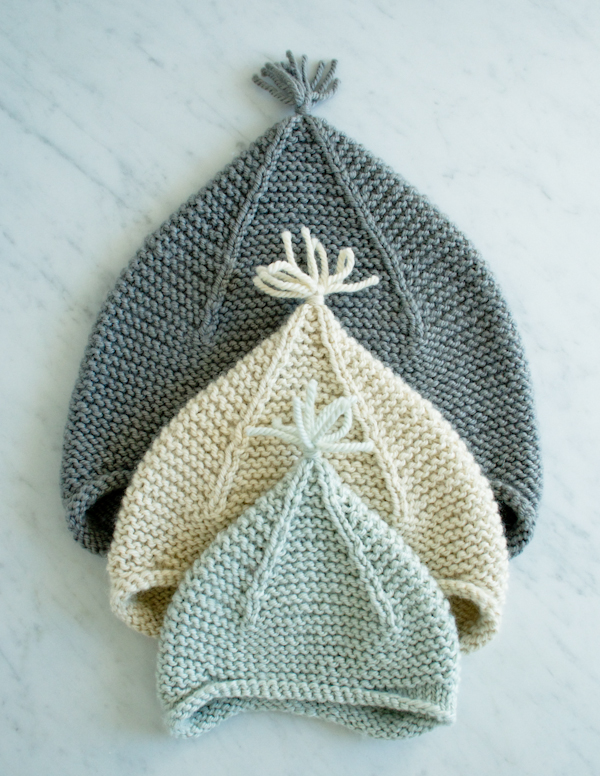
Kitchener stitch, an easy grafting technique, is a popular choice for joining two sides of knitted fabric while hand-knitting woolen garments. This stitch allows you to accomplish both the steps of binding off and seaming the edges of your fabric at once. It is ideal for joining the toes of a sock or the hooded top of a jacket as the seam produced by the Kitchener resembles the knitted stitches, keeping the seam invisible.
The stitch is named after the British Army officer Lord Kitchener. He provided his own sock design to a Red Cross plan so women could knit garments and accessories for the soldiers. His design later evolved into the present day Kitchener stitch.
How to Do Kitchener Stitch: Knitting Instructions
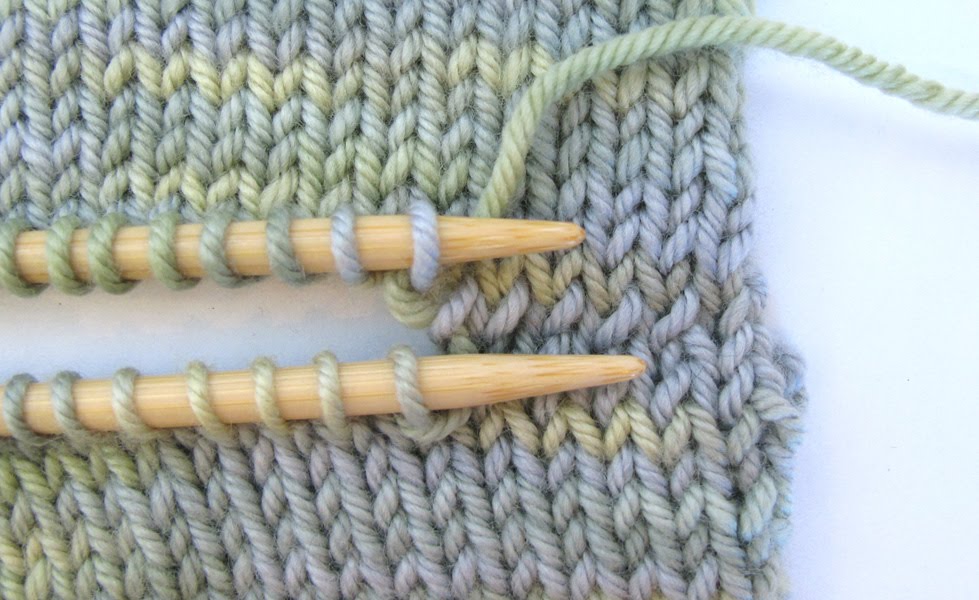
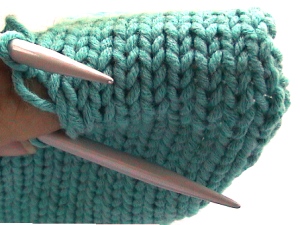
All you will need is a tapestry needle and a strand of yarn the same color as your project. Before starting to work with the needle, equally distribute the live stitches on your left hand (LH) and right hand (RH) needles as shown in the following diagram. Then, string the tapestry needle with a same-colored yarn as your project, and attach the tapestry yarn to your working yarn.
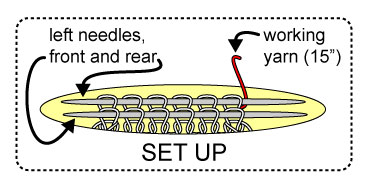
Now there is a set-up row before you can actually start grafting your knit fabric:
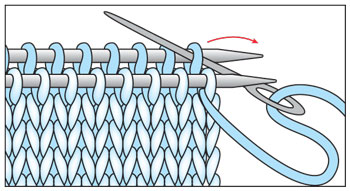
- Pass the tapestry needle purl-wise (as if you are working a purl stitch) through the first stitch on your RH needle and pull all the way through.
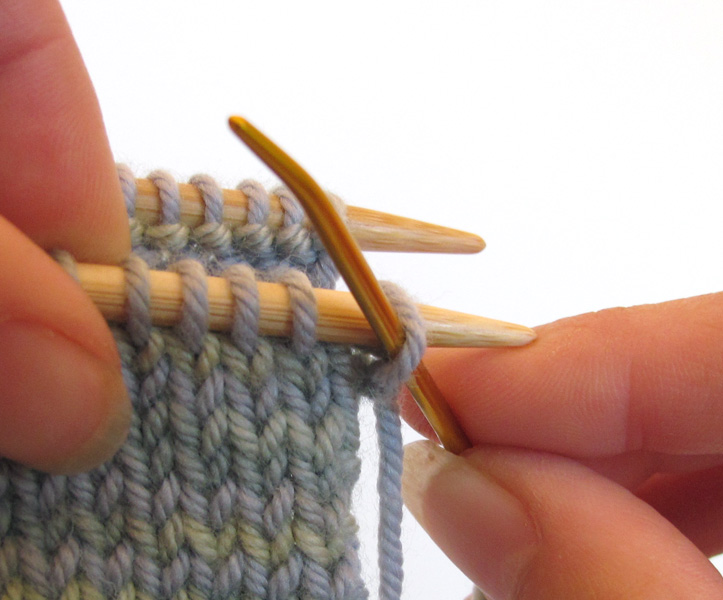
- Then go into the first stitch on your LH needle knit-wise (as if you are working a knit stitch), pulling the needle and yarn all the way through. Make sure to keep the yarn at the back of the front needle.

Directions for Grafting with the Stitch
- Pass your tapestry needle knit-wise through the first stitch on your RH needle, pull through and slip that stitch off the needle.
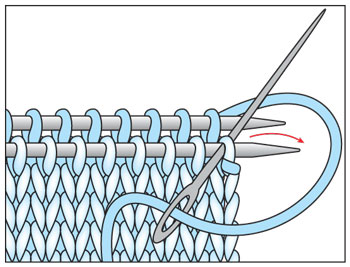
- Go through the second stitch on your RH needle purl-wise, leaving the stitch on the needle.
- Go through the first stitch on your LH needle purl-wise, pull the yarn all the way and let the stitch fall off the needle.
- Pass the tapestry needle through the second stitch on your LH needle knit-wise and pull through, leaving the stitch on the needle.
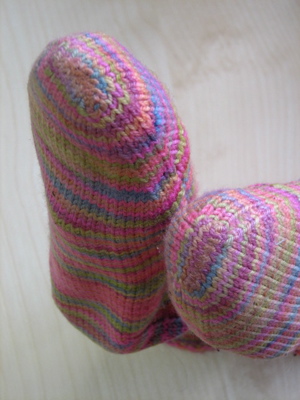
You have now completed the first set of Kitchener stitch. Repeat the steps 1 through 4 until you complete joining all the live stitches on your needle. Once you are done, the seam should look like the following picture:
It is better to practice the stitch a bit before you can actually employ it, as it might need a little time to make stitches even so they can blend with the knit fabric.
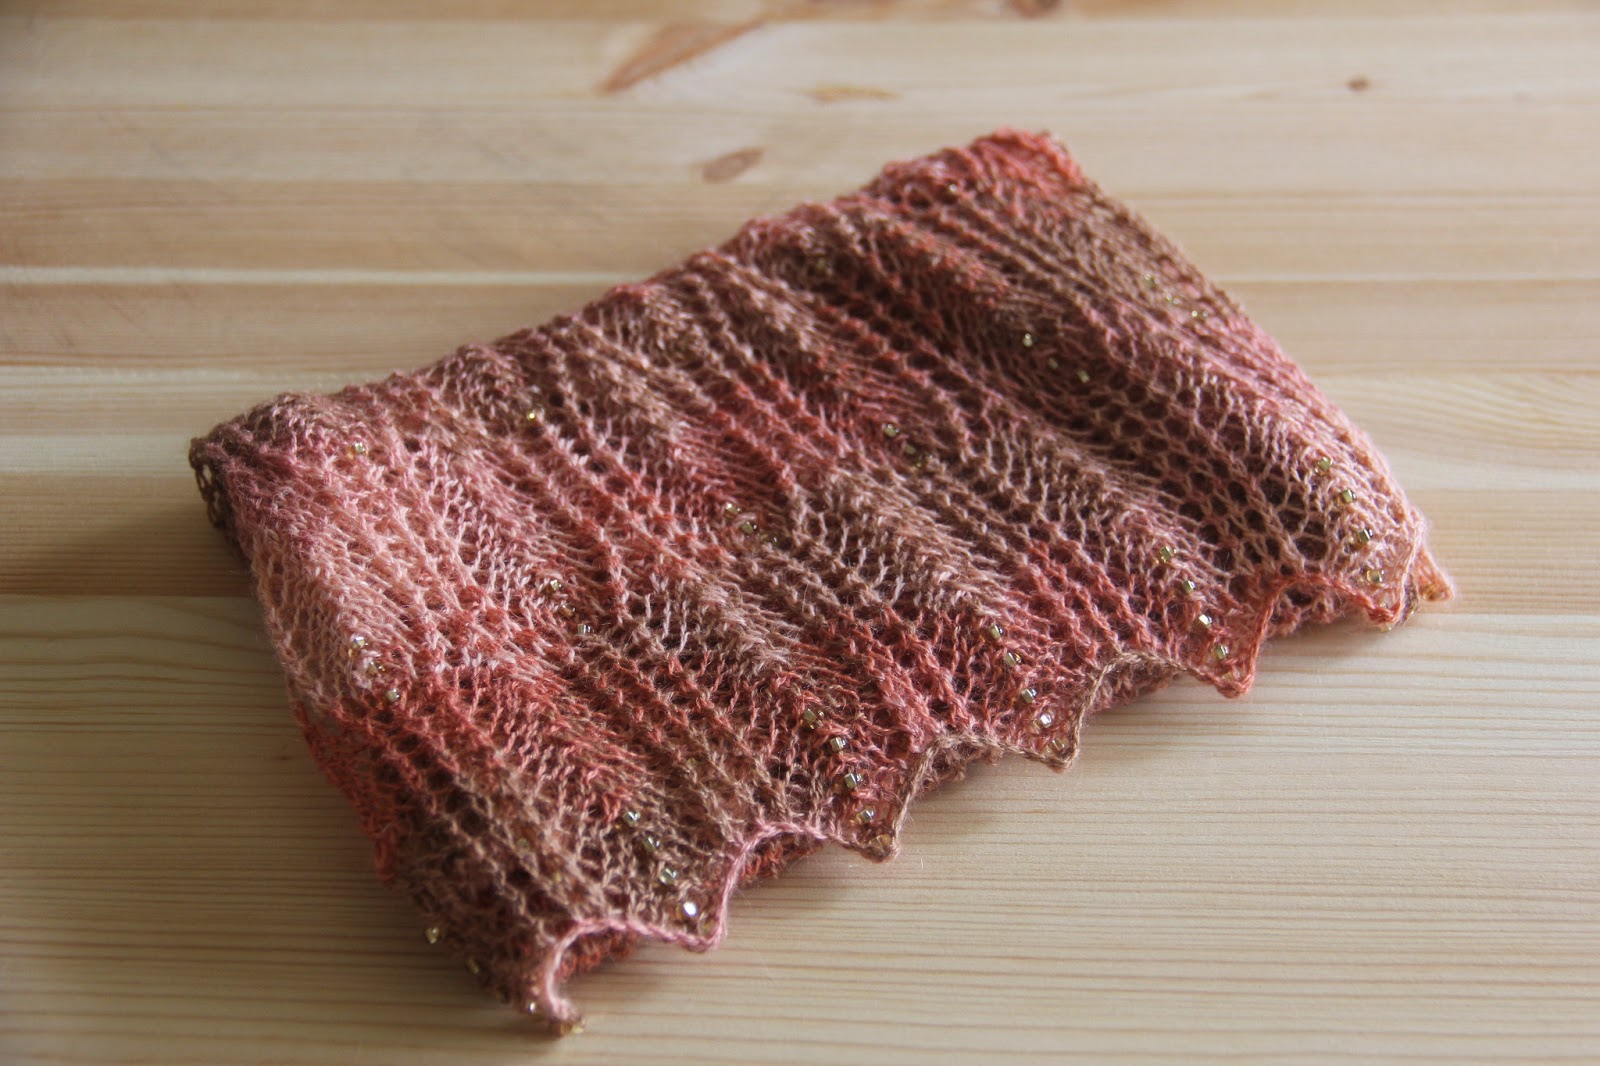
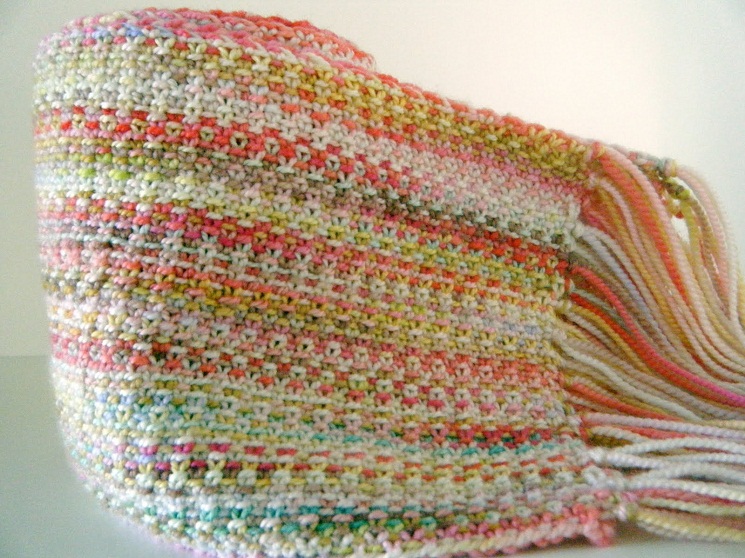
Kitchener stitch is a useful way of grafting ribbing projects while it is excellent for articles knit with moss stitch, stockinette stitch, garter stitch, seed stitch, and brioche stitch. Apart from hooded sweaters and socks, it is ideal for joining the round top of hats, the edges of infinity scarves as well as hand-knit lacey accessories.

Once you become proficient in working the basic steps, you can experiment with the more difficult variations like backward Kitchener, working the stitch on a loom, with a circular needle or using it in a double knitting project.
There are certain alternatives that can be worked without a tapestry needle, like the Russian grafting (done with a crochet hook), and the three-needle bind off.
Video: Kitchener Stitch Step-by-Step Tutorial
Related Articles
Join Our Mailing List
Sign up to get the latest updates, along with fresh patterns and tutorials, right to your inbox