Garter Stitch
Table of Contents
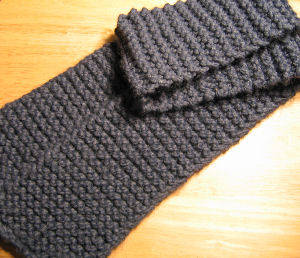
One of the basic stitches used in knitting, the garter stitch, is ideal for beginner knitters and can be used for making hats, scarves, blankets, shawls, sweaters, and Afghans. The garter is quite easy to learn as it involves only knit stitches and no purl. Both the right and wrong sides of fabric knitted with garter stitch are identical, characterized by horizontal ridges created by the knitted loops with every two rows facing each other.

How to Do the Garter Stitch: Knitting Instructions
All you have to know is how to cast on stitches in your knitting needle and then follow the directions given here:
Begin by casting on as many stitches as you need for your project.
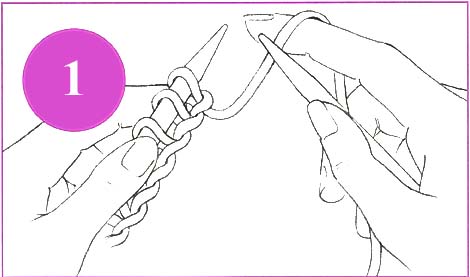
1. To start working, hold the yarn in the right hand (RH) and the needle with the cast on stitches in the left hand (LH). Take the empty needle in your right hand.
2. Bring the first stitch on your LH needle to the edge of the needle.
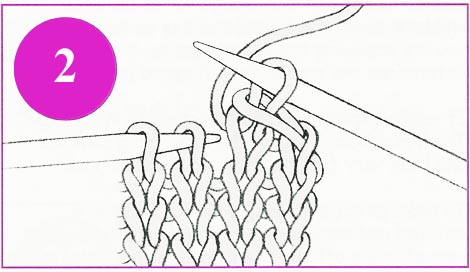
3. Insert the RH needle tip into the very first stitch on your LH needle from the left to the right and front to back. The two needle tips will form a ‘T’ shape, with the RH needle behind your LH needle.
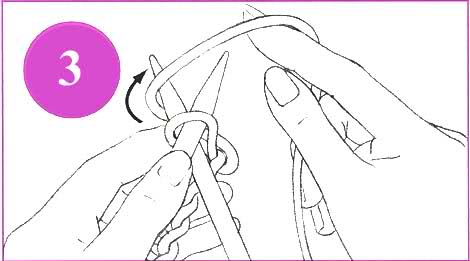
4. Then, bring your yarn to your work’s front with your right hand from the left of your RH needle before taking it over the right-hand needle to the right and then down between the two needles.
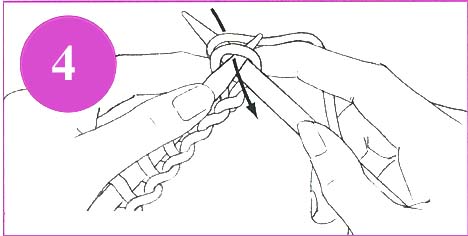
5. Maintain slight tension on the yarn wrapping the needle.
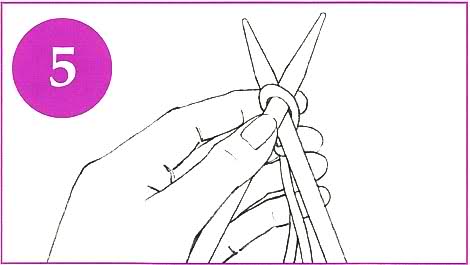
Then, bring the RH needle tip with the wrapped yarn through the small loop on your left-hand needle to the front. Use your left forefinger tip for guiding the needle through stitches and preventing losing the wrapped yarn.
6. Slide the right-hand needle to your work’s right until the old loop on your left-hand needle drops off. You have now completed the first knit stitch.

Repeat steps 2 through 6 until you complete knitting all the stitches on your left-hand needle. Switch hands after the end of each row, taking the needle with the stitches in your left hand and the empty one your right to start working in the same manner again. Continue knitting all stitches until your fabric reaches the desired size when you finally bind off. You can also work the same ridged pattern by purling each row instead of knitting.
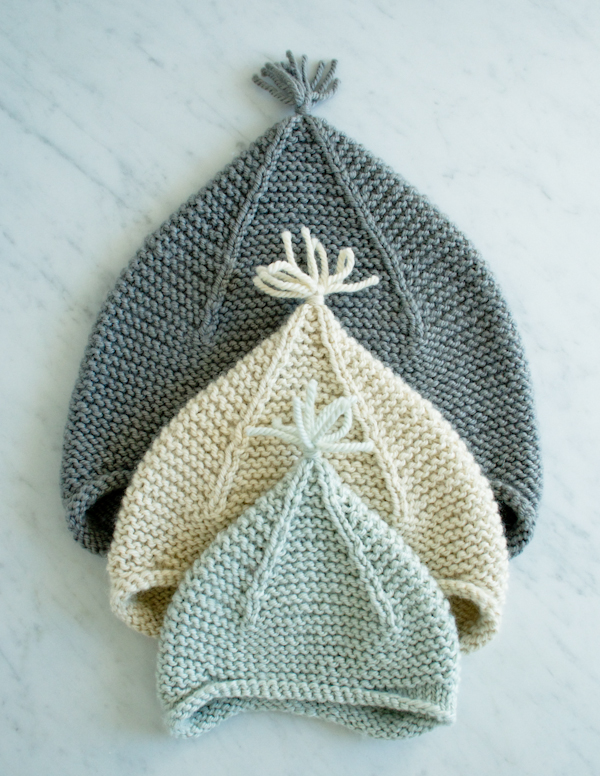
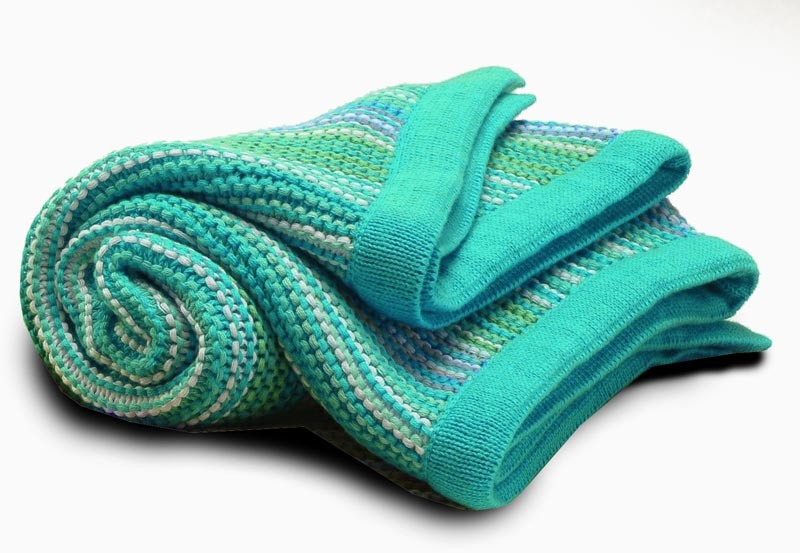
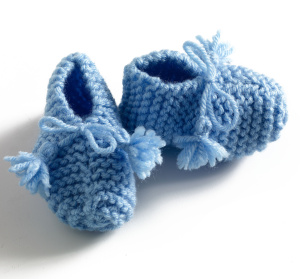
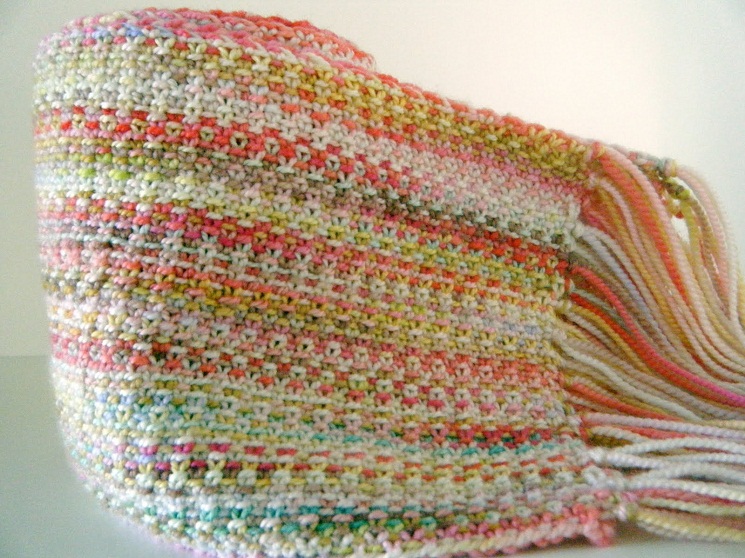
Garter stitch is often used for knitting various woolen articles like beanies, socks, throws, kimono jackets, and baby garments while it is also excellent for edging woolen objects knitted with other stitches like stockinette.
You can experiment with a novelty yarn to produce different variations with crochet, knitting in the round or increasing and decreasing patterns when you become a garter stitch proficient.
Related Articles

Join Our Mailing List
Sign up to get the latest updates, along with fresh patterns and tutorials, right to your inbox