Bargello Quilt
Table of Contents
Bargello quilt is one of the most popular quilting techniques, which is based on the needlepoint patterns with the same name. This article gives the basic directions of how to make this quilt at home.
Bargello Quilt Definition
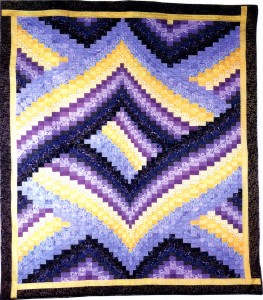
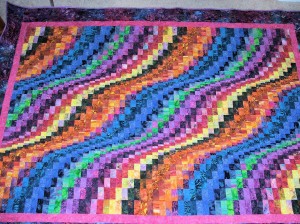
Bargello quilt is a colorful and attractive variety of quilt which is made by joining strips of different colored fabrics. This is the ideal quilt for you to learn quilting if you are a beginning quilter. Even experienced quilters can have fun making this quilt. The method uses only straight seams; this means you do not have to be an experienced sewer to make a bargello quilt yourself. All you need is a good sense of color combination so that you can work a striking pattern for your quilt.
You can make this quilt with dramatic patterns using fabrics of as many different colors as you like. This makes it an ideal piecing project where you can utilize scrap fabrics.
Bargello Quilt Uses
You can use this quilting technique to create an attractive and colorful fabric that can be used for various purposes. Bargello quilt making method is used for making lap quilts, curtains, wall hangings, cushion covers, bed covers, and other similar articles.
Instructions for Making Bargello Quilt
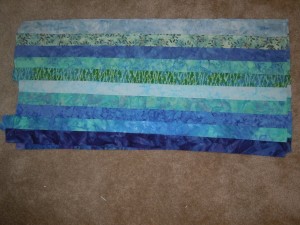
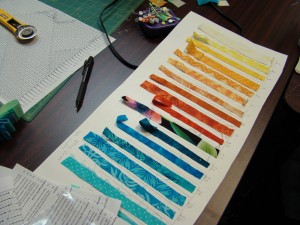
You will need at least six differently colored fabrics for making this quilt by the following process. Six different shades of blue have been used in the pattern given below. A measuring tape, a seam ripper and a pair of scissors are also necessary for this procedure. Here is the step by step instruction for how to make a bargello quilt:
- Step 1: First, you need to fold all the fabrics half widthwise and cut them from one salvage edge to another. Cut 2 strips, measuring 2.5 inches wide, from each shade of the blue fabrics or any other color of fabric you are using.
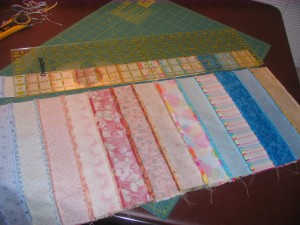
- Step 2: Now, you need to begin the process of piecing by sewing the different shades of strips together. Arrange the strips in order from the darkest blue to the lightest blue and then repeat the sequence, sewing all the strips together to form one unit. If you are using multi-color fabrics, then arrange them in order from the darkest shade to the lightest shade before sewing them. Once the sewing is complete, you need to iron all the seams to flatten them.
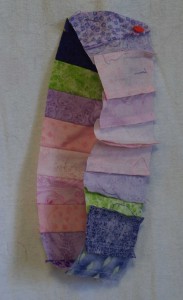
- Step 3: In this step, you need to fold the unit in half along its seams keeping the right sides of the fabrics together. Join the first darkest strip of fabric with the last and lightest strip by sewing them together. This will create a tube.
- Step 4: This is a very important step in this procedure. Here, you need to cut across your earlier strips in the unit to create new strips that contain blocks of each color. Use the measuring tape for measurement of the new strips.
Cut the strips in the following manner: cut 2 strips with each measuring 4.75 inches wide (a), then 2 strips with each measuring three inches wide (b), next, cut 4 strips with each measuring two inches wide (c), 4 strips with each measuring 1.5 inches wide (d) 4 strips with each measuring 1.13 inches wide (e) and then 10 strips with each measuring 0.875 inch wide (f).
- Step 5: Now, lay these newly cut tubes of strips on a flat surface in the following order: a, b, c, d, e, f, f, f, f, f, e, d, c, b, c, d, e, f, f, f, f, f, e, d, c, b, a.
- Step 6: In this step, you need to undo the tubes, using the seam ripper to make long strips with each containing squares of different colors. Take one (a) tube and cut the seam between the darkest shade and the lightest shade of fabrics. The darkest colored fabric will be at the top of the strip once you are done removing the seam. Take the second tube (b) and repeat the process of cutting the seam. But in this strip, you need to keep the second darkest color on top.
- Step 7: Continue working in this manner with the rest of the strips. Make sure to gradually go down the color scale as you advance towards the center of the pattern. The top square on each strip should be one shade lighter than that at the top of the earlier strip. Keep your strips arranged in the proper order so that you can easily sew them together once you complete this step.
- Step 8: In this step, you need to begin sewing the pieces together to form the quilt. Begin by sewing the strip (a) with the strip (b), keeping their right sides together. You can use pins at the seam for holding the fabrics in place so that you can sew easily. Continue sewing in this manner until you have sewn all the strips together.
- Step 9: Once the sewing is done, iron the unit to flatten all the seam allowances.
- Step 10: Time to bind your quilt; begin with the backing fabric to conceal the seams at the back of your quilt. Measure the quilt top and cut the backing fabric to 2 inches larger than the quilt on all sides. Fold the extra fabric and join the backing with the main quilt in a way that the raw edges are as much concealed as possible.
- Step 11: Next, cut 4 strips, with each one measuring 4.5 inches wide, of a dark blue printed fabric or any other matching color. The border should always be of a dark color as it makes the quilt more prominent. Sew the 4 strips on the four sides of your quilt to form the border and iron again.
Steps 10 and 11 are basically about binding your quilt, so if already know how to do it, you can do it your way.
This quilt can also be made in the as-you-go technique in which you can add the finishing to your project as you quilt. This way, you do not have to sew the borders and the backing fabrics to the quilt.
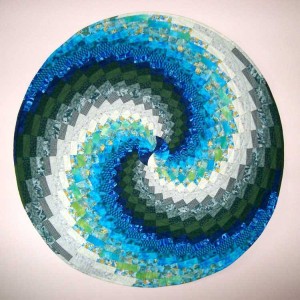
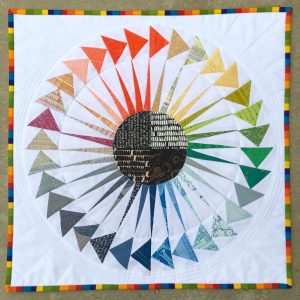
You can also use this technique to make a quilt in the round. The procedure for creating a round quilt is the same as making a square quilt. But you need to be very precise with all the measurements and cut the fabric strips in a way so that they create a circle on the outside edge. Then, you need to make a fabric circle for filling the small hole at the center of your quilt. You can use some scrap fabric to make the circle.
In the above image, you can see that the piece at the center of the quilt has been sewn separately and then added to the main unit.
Bargello Quilt Patterns
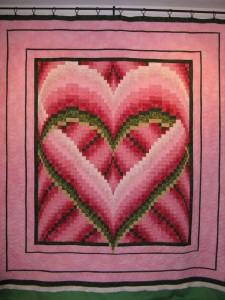
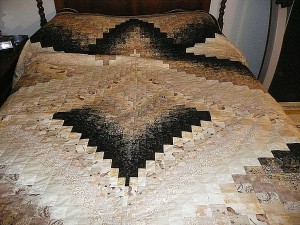
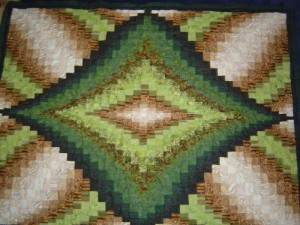
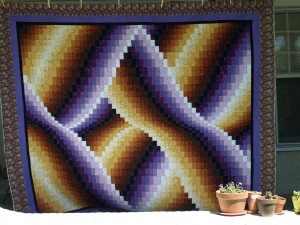
You can use different attractive patterns for making a bargello quilt once you master the basics of this quilting method. The most commonly used designs include the fire, rainbow, heart, lightning strike, diamond, and twisted patterns.
So, you have learned the basic procedure of making bargello quilts yourself. One of the best things about this quilt is that it is quite easy to make but looks very complicated once finished, drawing the attention and admiration of those who see it. So, next time you see a beautiful and intricate bargello quilt design, you will know that it is not as complex as it looks.
Related Articles
Join Our Mailing List
Sign up to get the latest updates, along with fresh patterns and tutorials, right to your inbox

Hello,
Thank you for the instructions on the bargello quilt. I want to make a heart shape. Would these cutting instructions work to form a heart? It almost looks like the heart one was cut using a dresden plate template?Any advice would be appreciated.
I like bargello quilt