Quilt Binding
Table of Contents
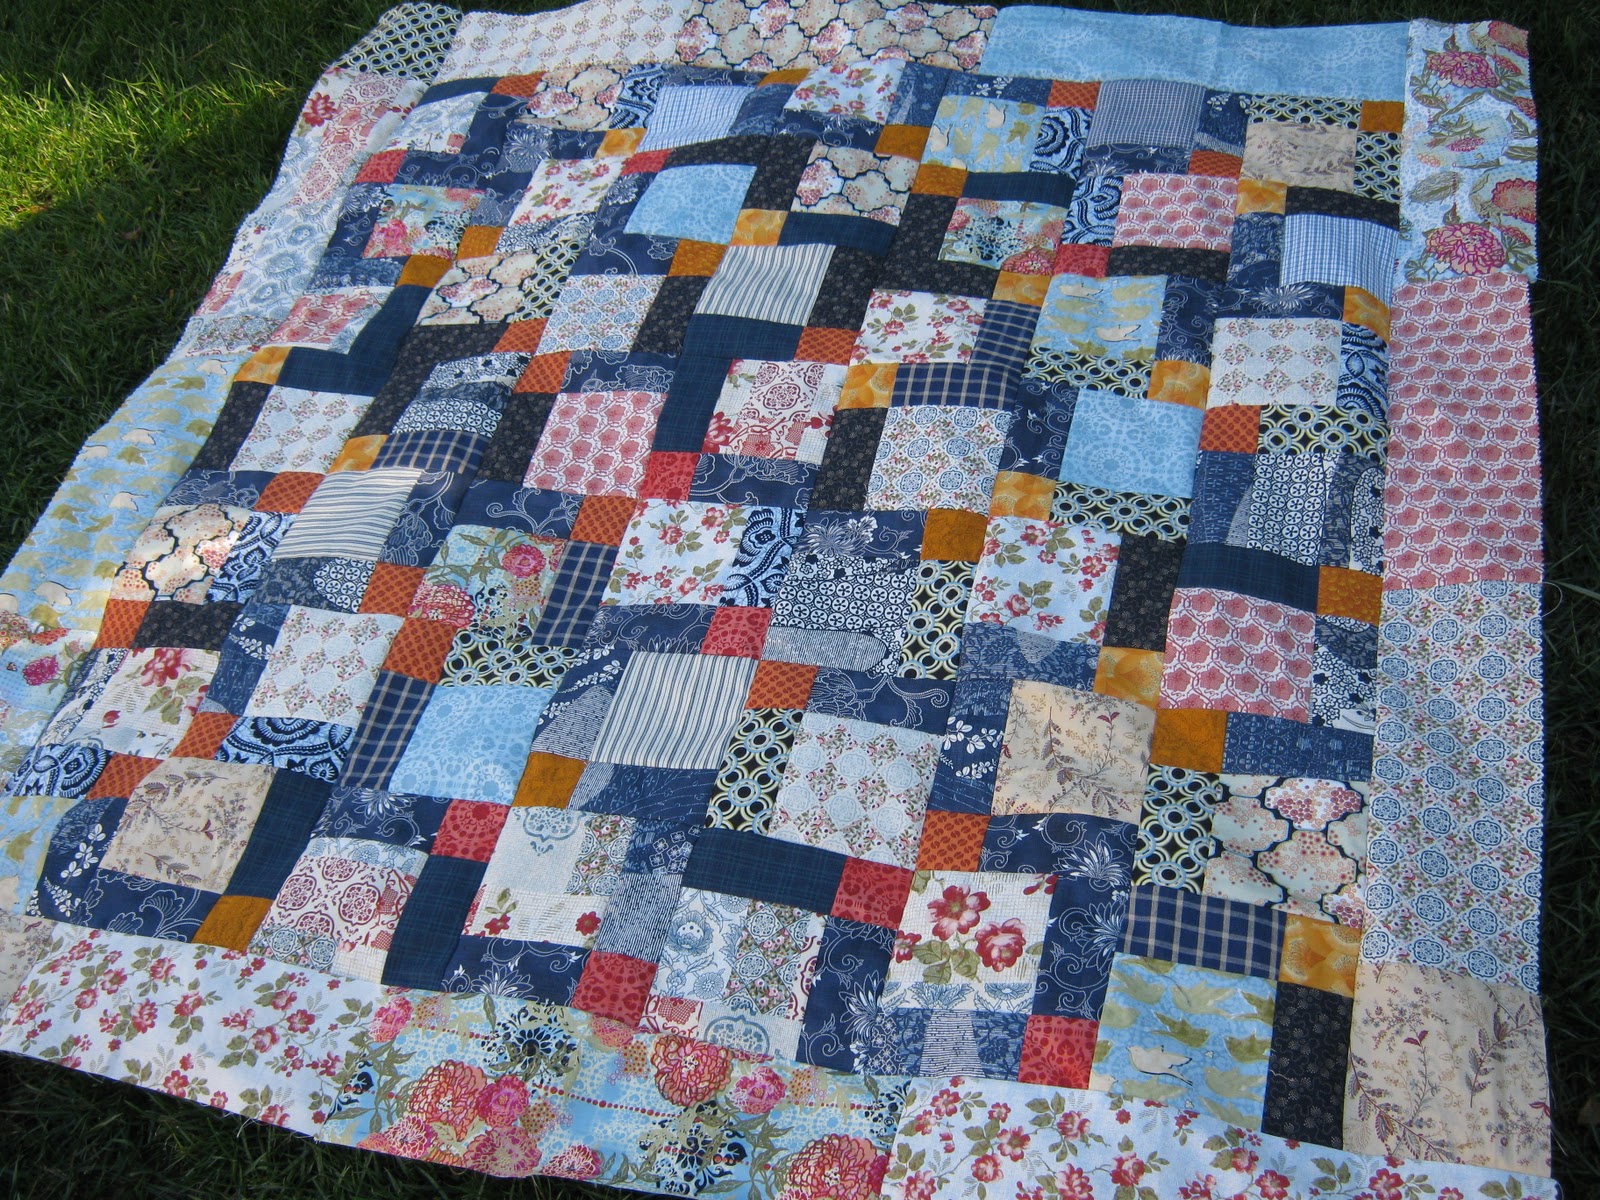
Quilting is a fun way of joining small pieces of multicolored fabrics to produce vibrant combinations that add to the décor of your home, complimenting your craftsmanship. But, making a binding for your quilt can be quite a tricky job. From finding out the grain of the fabric and deciding which type of binding would look the best on your quilt to actually making the binding – there is plenty to do. Here is a basic step-by-step instruction to make it easier for you to bind your quilt next time.
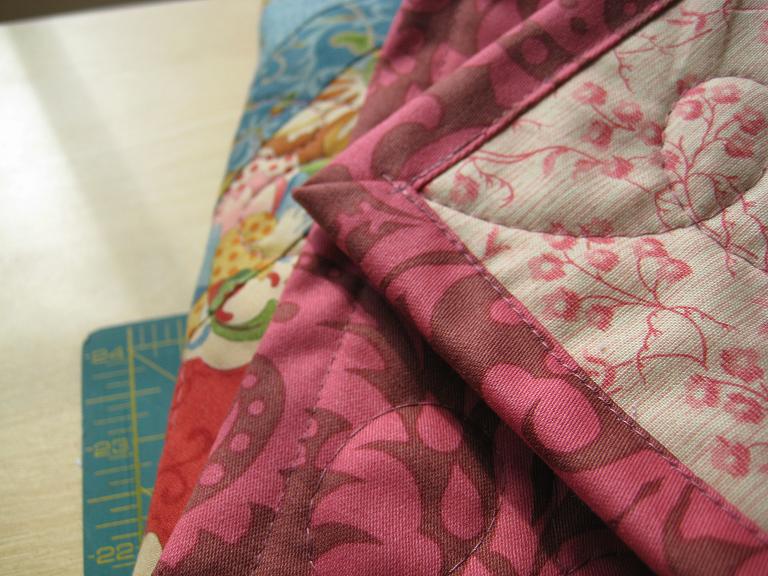
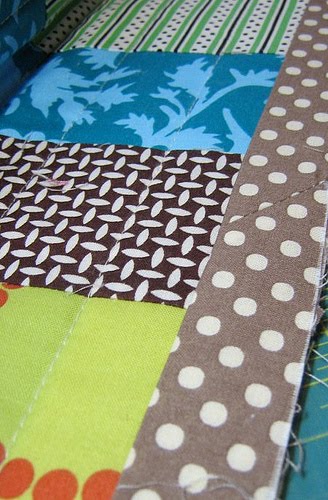
Types of Quilt Binding
- Lengthwise grain binding is characterized by threads running straight along the length of the binding that end parallel to the quilt’s edges. The main disadvantage of this binding is that one weak or broken thread could split the entire binding on one side.
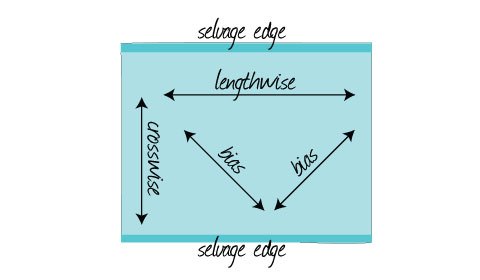
- Crosswise grain binding strips are less breakage prone as the threads do not run the entire sides of the binding. So, any broken thread only runs a short distance until it reaches the seam of the binding.
- Bias quilt binding is the most complex method involving cutting the binding strips along the center of the fabric (as shown in the above diagram). It is the most durable binding technique as a broken thread would affect only a small portion of the binding edge. However, you need to be extra careful when handling the strips as their angled edges are extremely stretchy and damage prone before they are sewn to the quilt.
Binding a Quilt
There are several steps to prepare the binding before you can start to bind your quilt.
Preparing the edges of the quilt for binding
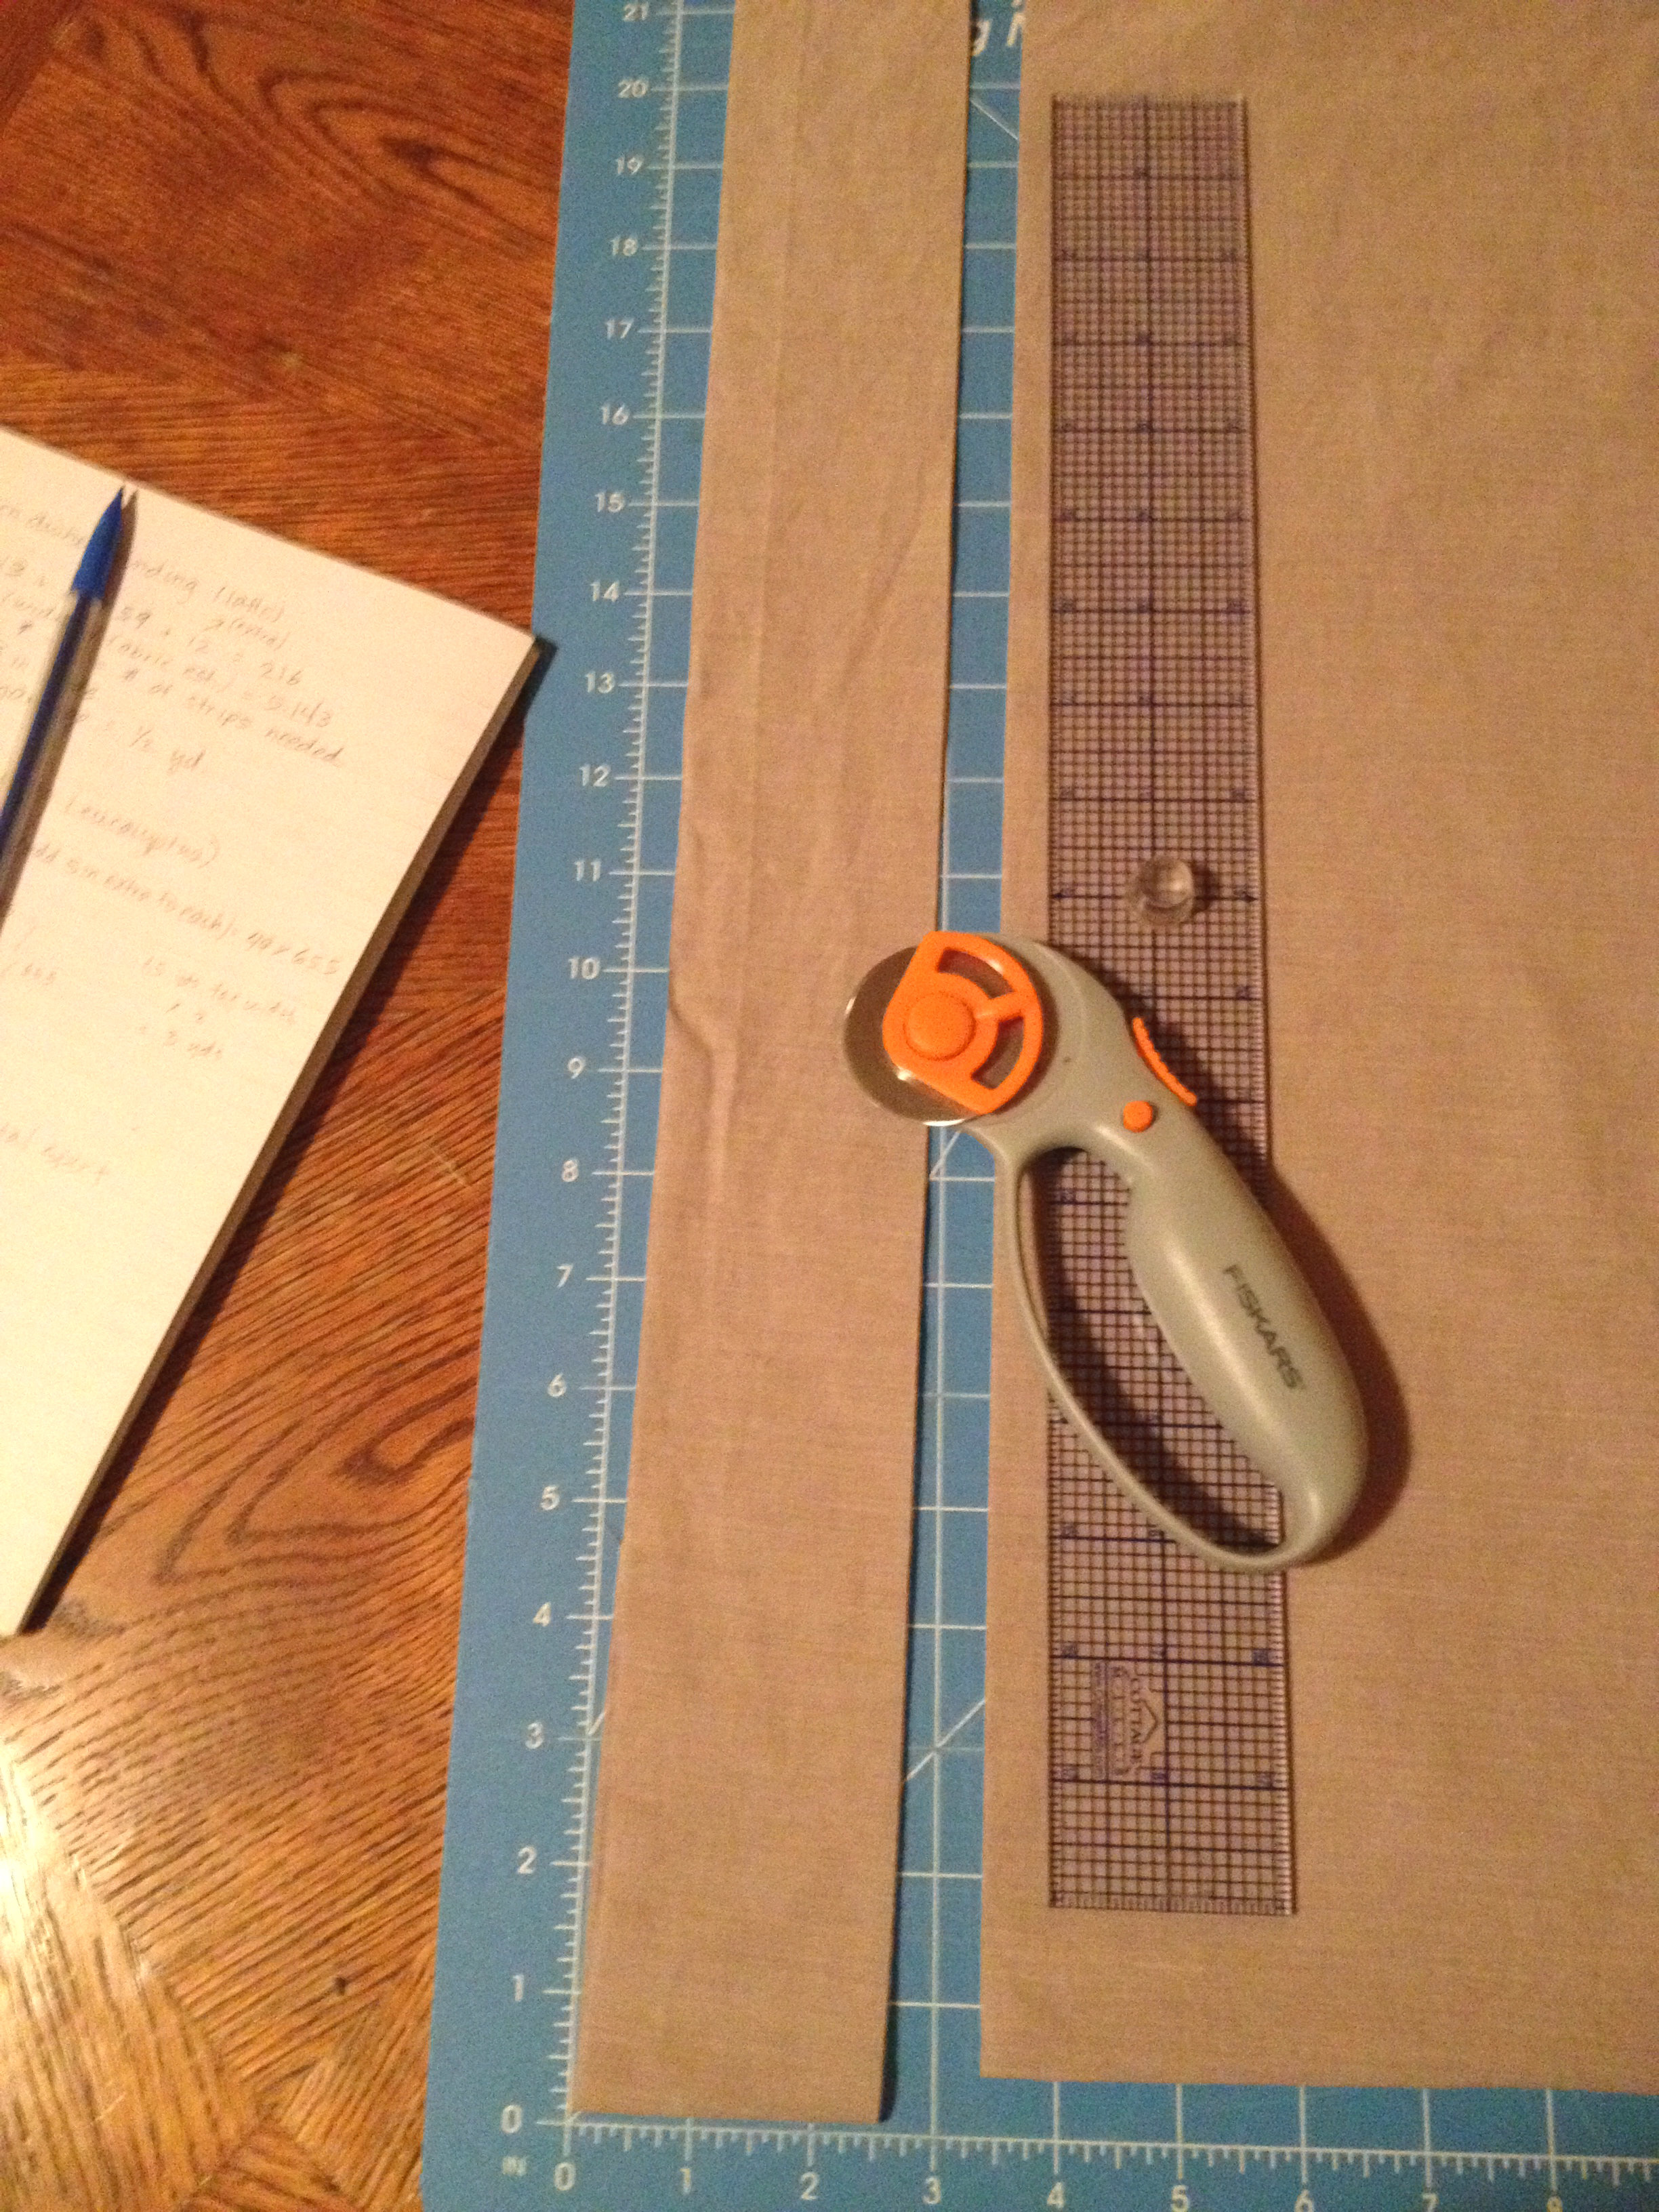
Trim the edges and the quilt sandwich (back, batting and top) so no excess batting or backing can peep from the sides. You can use a ruler and rotary cutter for this purpose.
Instructions for cutting the binding strips
Cut 2.5 inches wide binding strips along the grain of your choice, trimming off the selvage edges. You need to calculate the number of strips you need depending on the size of your quilt. Take the measurements of all the four edges of your quilt in inches, calculate their sum and add another 20 inches to the total. Then divide the final number by the width (in inches) of the fabric you are using to make the strips.
You can also opt for ready-made quilt binding tapes available at stitching supply stores. However, they are a much costlier alternative to hand-made binding strips.
Cutting bias binding strips
The easiest method of cutting bias binding tapes is folding the fabric along 45 degree angle and cutting long strips as required. The next thing you need to do is sewing the strips together as you would do for regular binding strips.
How to make the binding
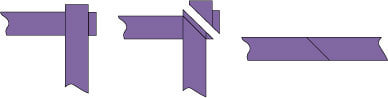
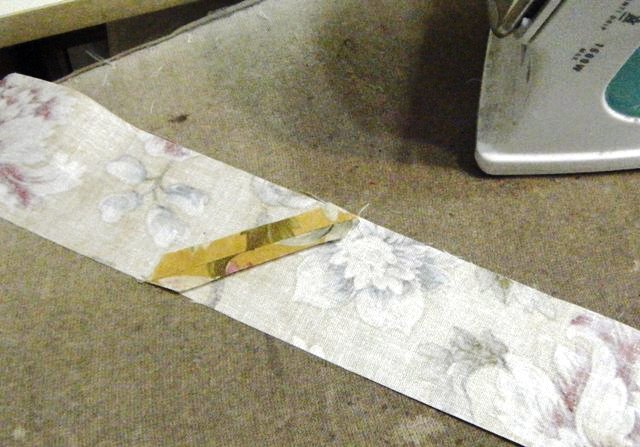
- First, you need to join all the pieces to make one long strip for the binding. Using the diagonal seam, as shown in the following diagram, is the best way to join the pieces and avoid excess bulk in one spot along the binding.
- Press the entire binding strip and make sure to open the seam joints to keep them as flat as possible.
- Then fold the binding in half along the length and press to keep the fold in place.
Step-by-step directions for machine binding a quilt
Start the binding at the middle of one side rather than the corners of the quilt as it is easier to make a neat finishing at a mid-point.
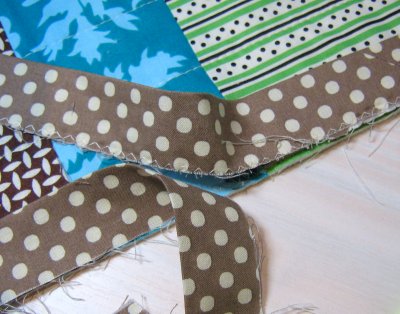
- Place the binding in such a way that the raw edge of your quilt is lined up with the outer edge of the binding.
- Use a pin to attach the binding at the back side of the quilt to mark the starting point, leaving a 6 inches long tail (for joining the two ends of the strip).

- Use another pin to mark the point ¼ inch from the very end of the first side you are binding. You need to fold the strip at this point to make a proper binding.

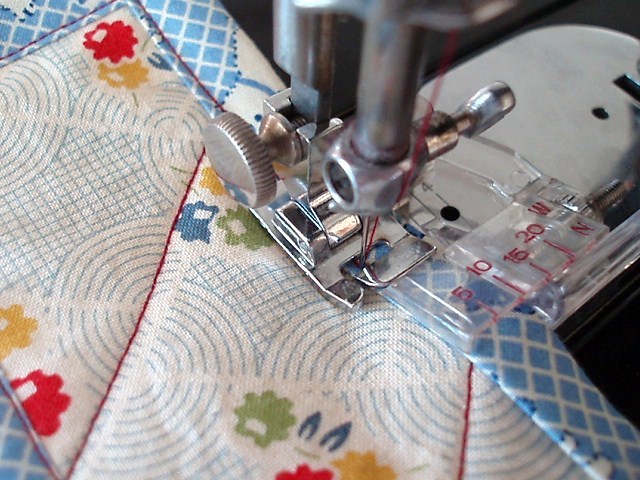
- Start sewing the binding along the edge, removing the marker pins as you advance. Stop once you reach the pin marking the end (1/4 inch) of the top side. You can sew the binding by hand if you prefer, but sewing with a machine is much faster. The blind stitch and ladder stitch are commonly used for hand-binding quilts.
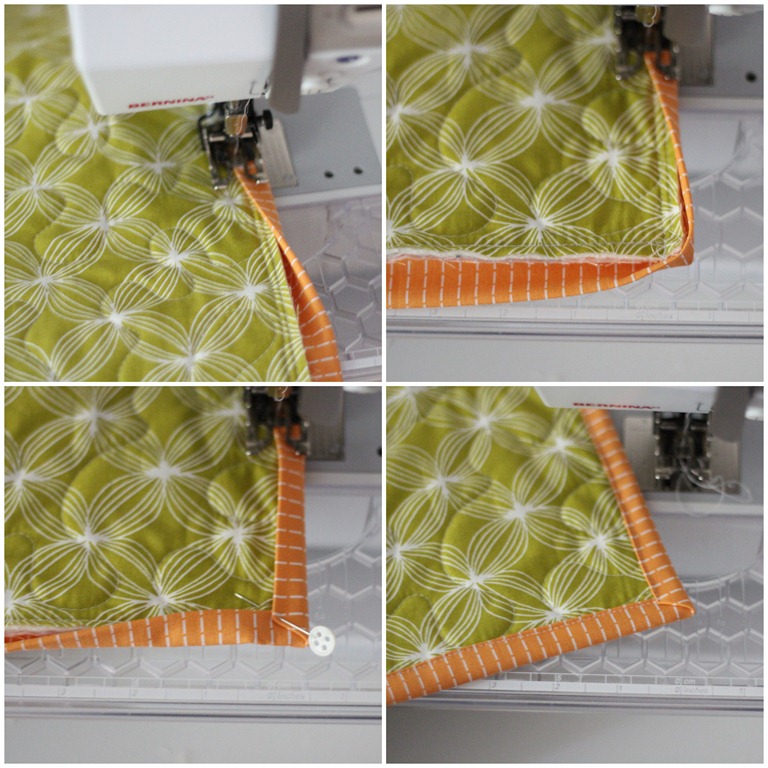
- Take the quilt away from the needle so you can fold the binding. Begin by folding the strip outward, away from the quilt (Picture 1) and then back toward the quilt (Picture 2). It is important to fold the corners properly; otherwise you may end up with a quilt having irregular corners.
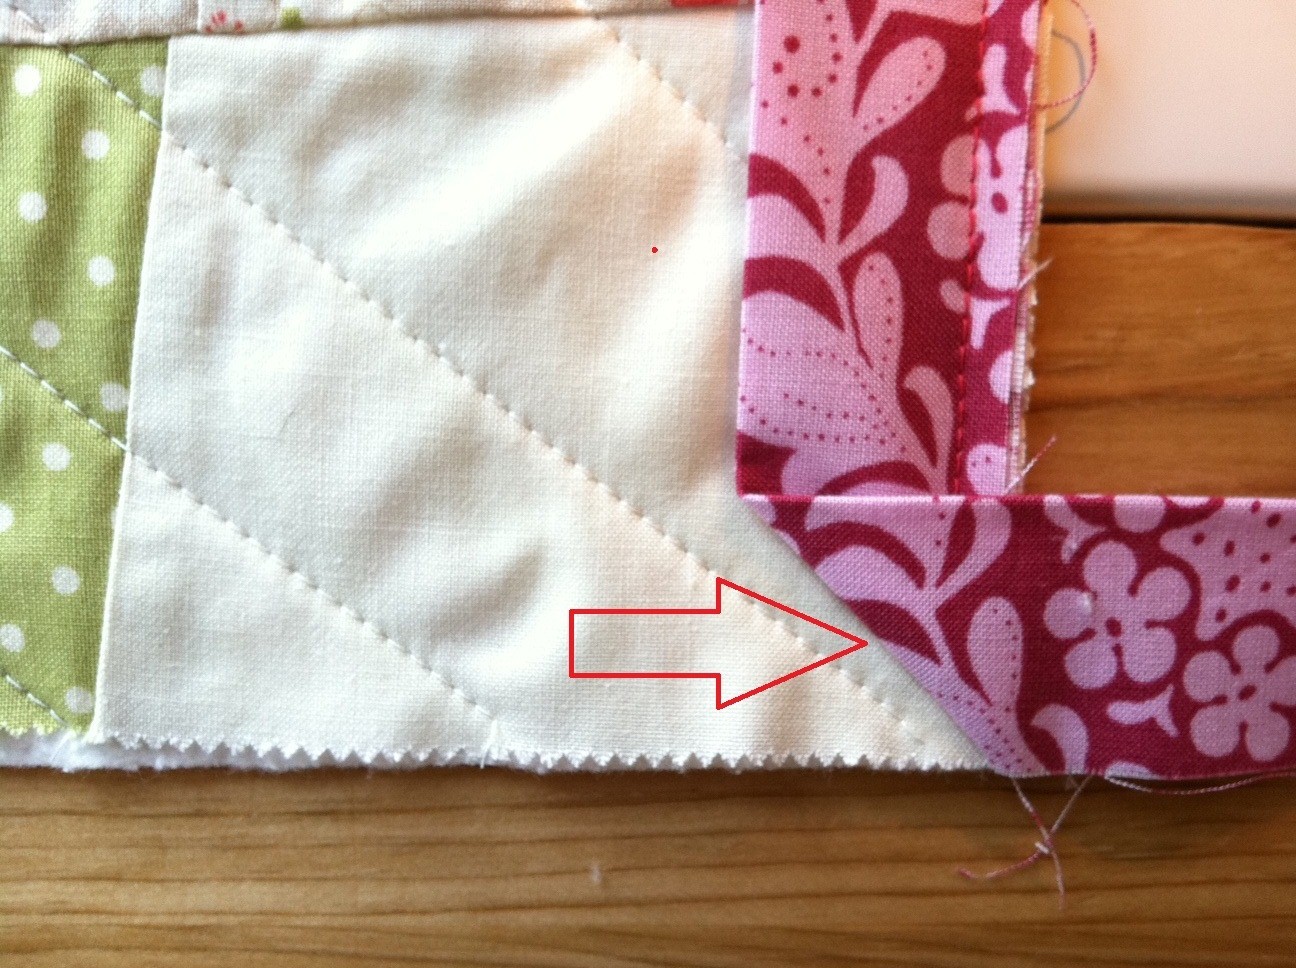
- Now that you have folded the binding perfectly, it is time to start the sewing machine again. Sew the binding as you did before until you reach the next corner. Fold the binding strip like you did for the first corner. Continue sewing in the similar manner until you are around 12 inches away from the starting point.
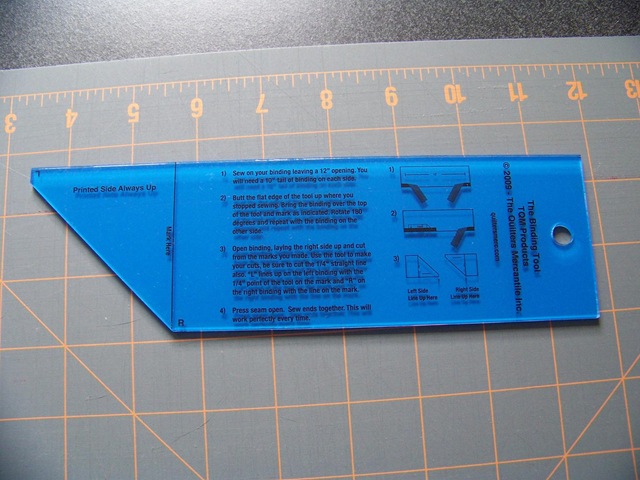
- Place the ends of the two sides together (right side facing inward) like shown in the picture below. Use a marker to draw a diagonal line as done in the image. Using a binding tool at this stage can make your work easier.
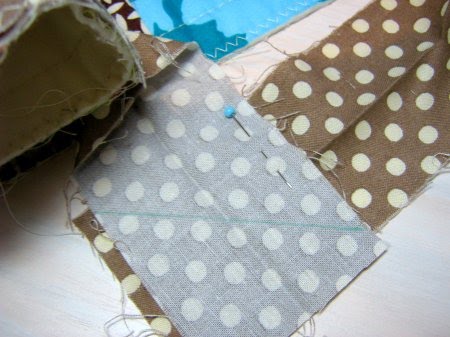
- Now, sew along the diagonal line and trim the extra fabric, leaving about a quarter inch wide seam allowance.
- Open the seam and press as you did for the earlier joints. Finish sewing the binding to your quilt and the final seam join looks exactly like the other joints.
- One side of the binding is done; now, it is time to work on the front side. Fold the binding strip in a way that it covers the raw edges of the quilt. Make sure to cover the seam line at the front of the quilt with the binding strip to give it a neat finishing; otherwise the seam will remain visible even after you complete the binding.
- Start sewing the binding along the strip’s edge, keeping the earlier seam line hidden under the binding. Stop 6” away from the first corner.
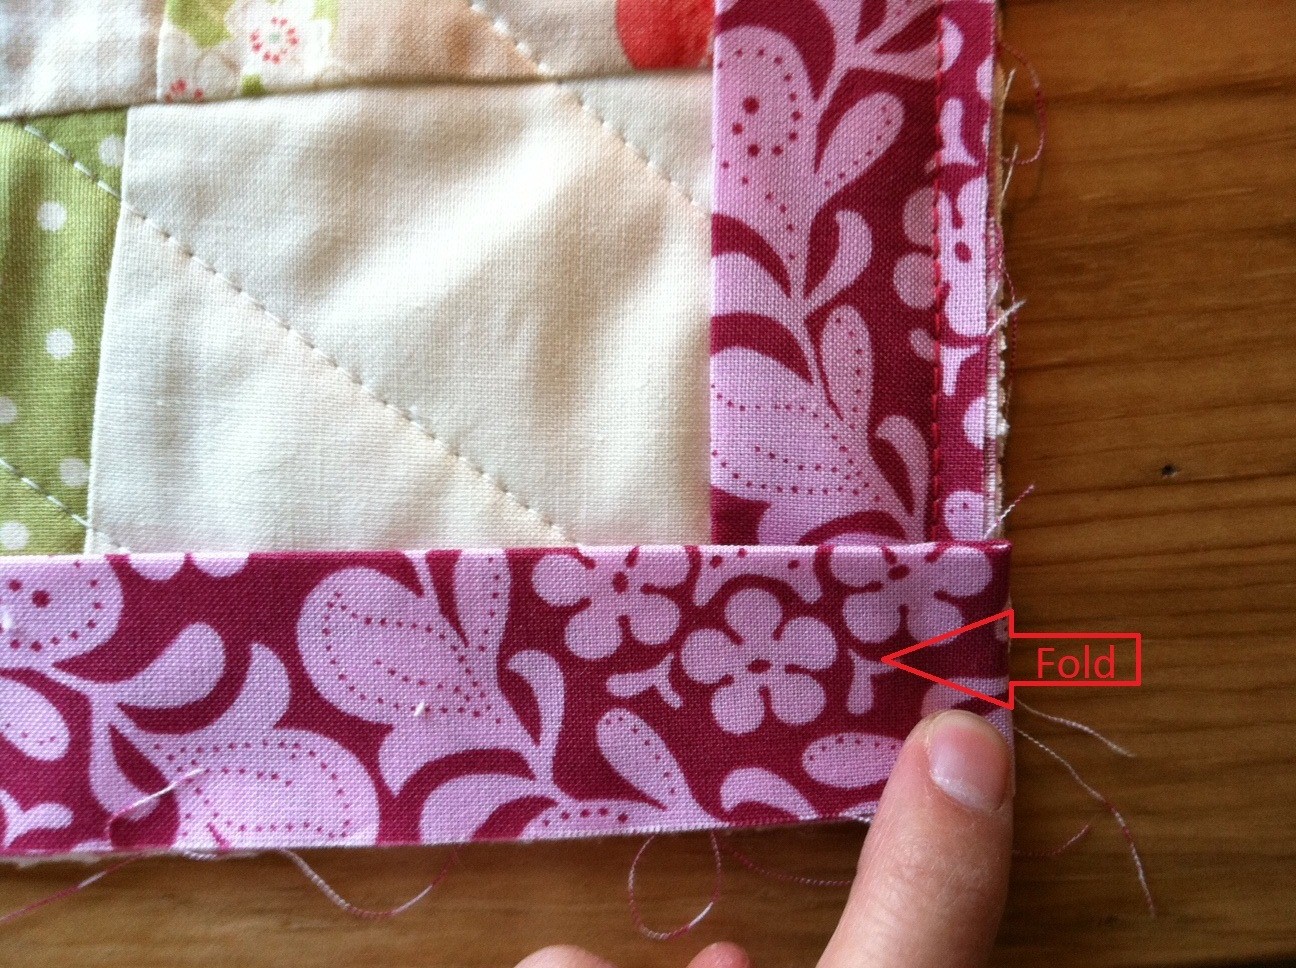
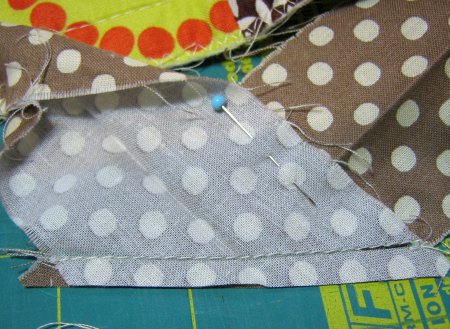
- Fold the binding over the corner as shown in the picture below, securing the fold with a pin. Sew around the corner to create a neat mitered corner, turning to sew the next side. Complete sewing the entire binding in the same manner. You have now completed making a double folded binding for your quilt.
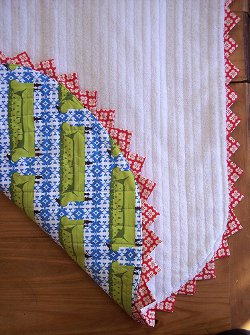
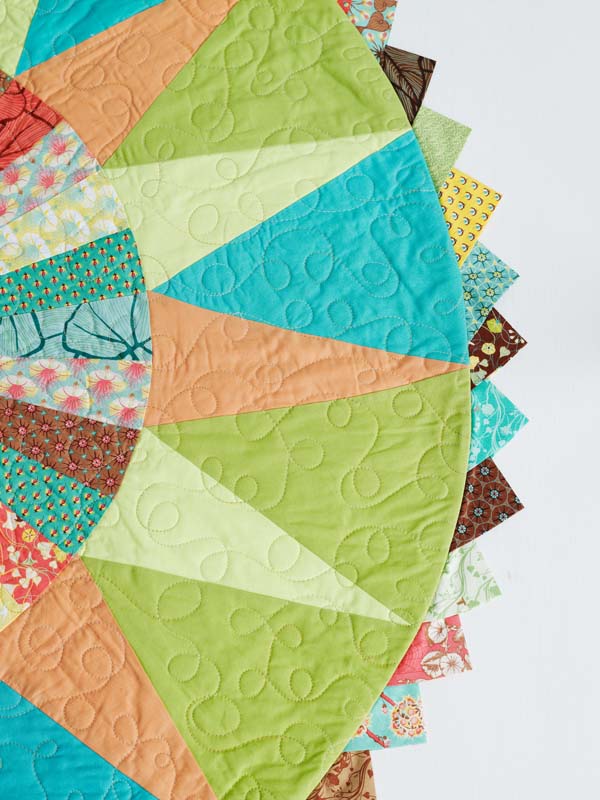
Once you master the basic technique, you can experiment with all the variations and styles like quilt binding with ruffled edges, or binding octagon quilts and those having rounded edges or prairie points. Adding a lace or piping to the binding are other creative ideas you can try.
Related Articles
Join Our Mailing List
Sign up to get the latest updates, along with fresh patterns and tutorials, right to your inbox