Running Stitch
Table of Contents
Running Stitch Definition
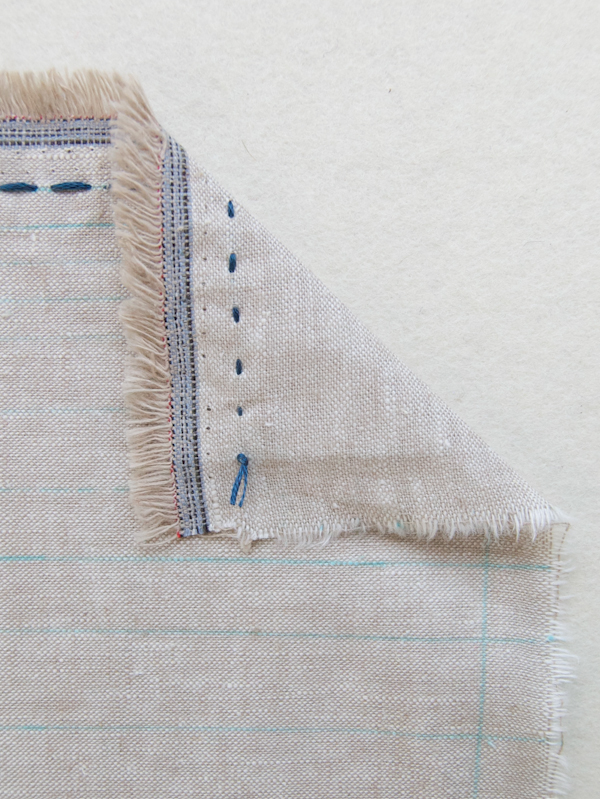
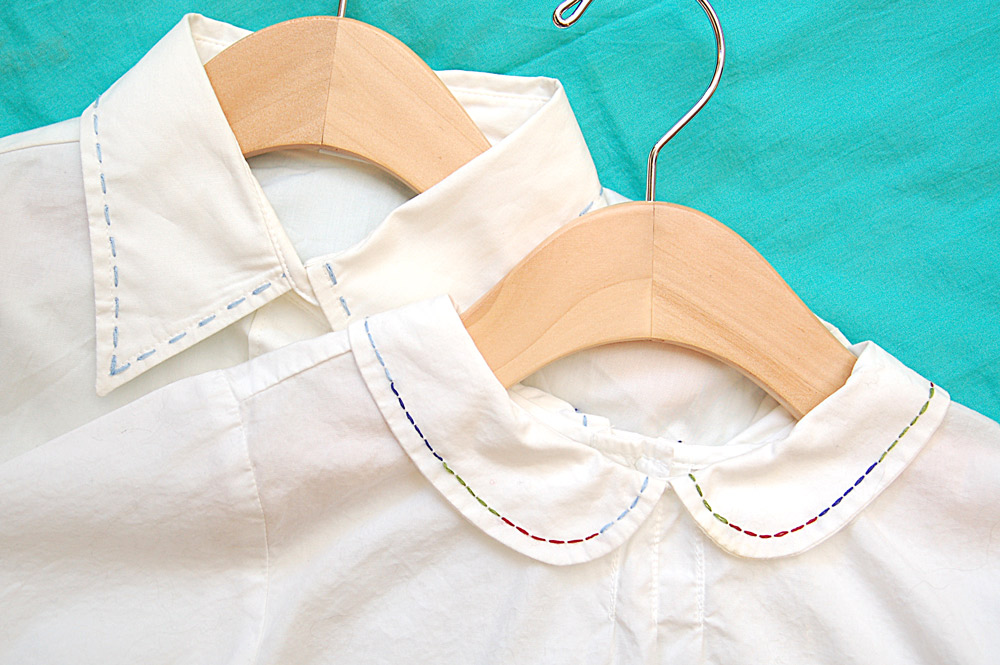
The Running Stitch, also referred to as Straight Stitch, is one of the basic hand sewing and embroidery technique on which most other forms of stitching and embroidery are based. The procedure for working the stitch involves inserting the needle into a fabric and taking it out at small intervals.
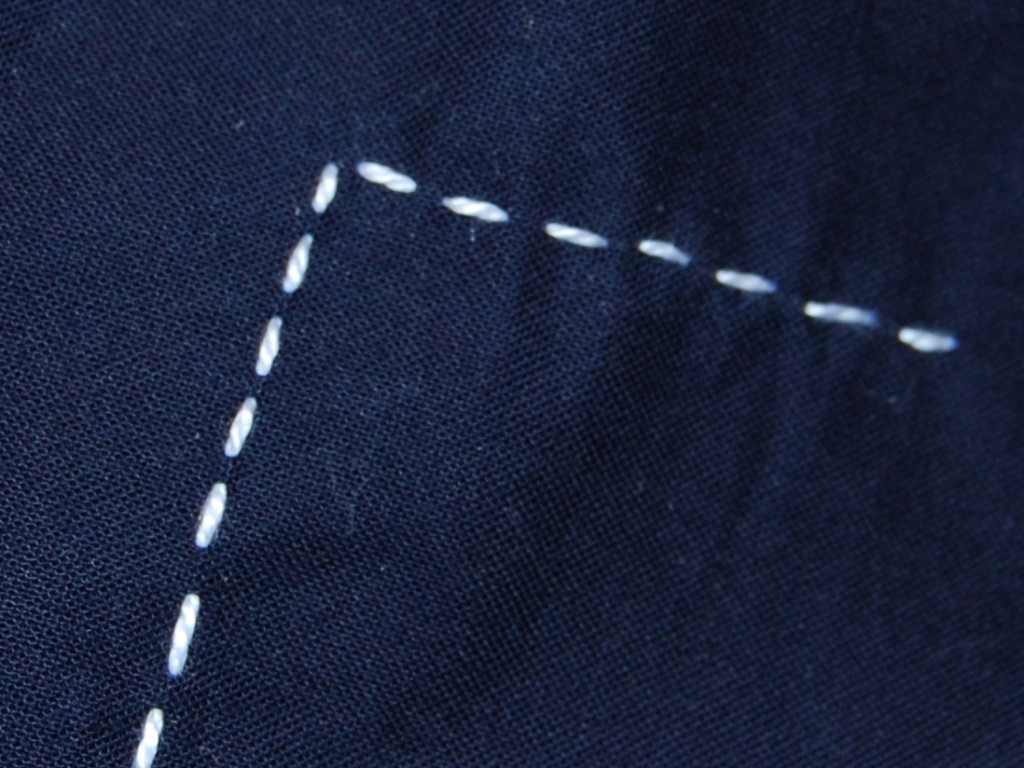
The length of each stitch may vary depending on the purpose it is used for, but generally the thread is more visible on the right side of the fabric compared to the wrong side.
Running Stitch Uses
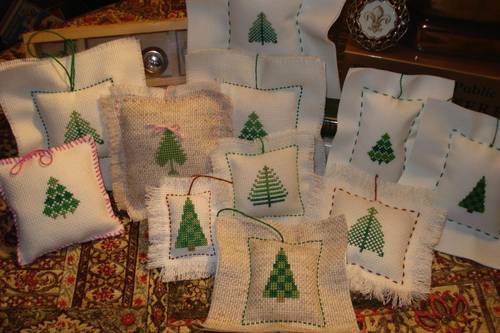
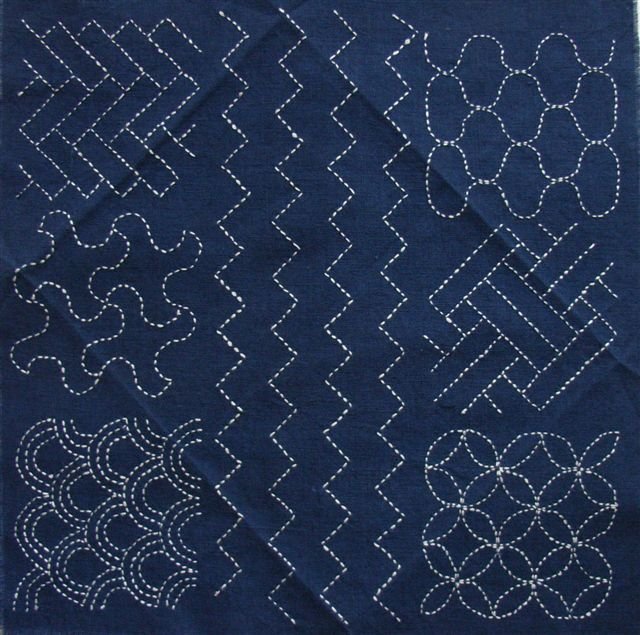
It is one of the most popular stitches used for a wide range of purposes starting from garment making to embroidering various articles like pillow covers, dresses, scarves, blankets, purses, lamp shades, curtains, table mats and bed covers.
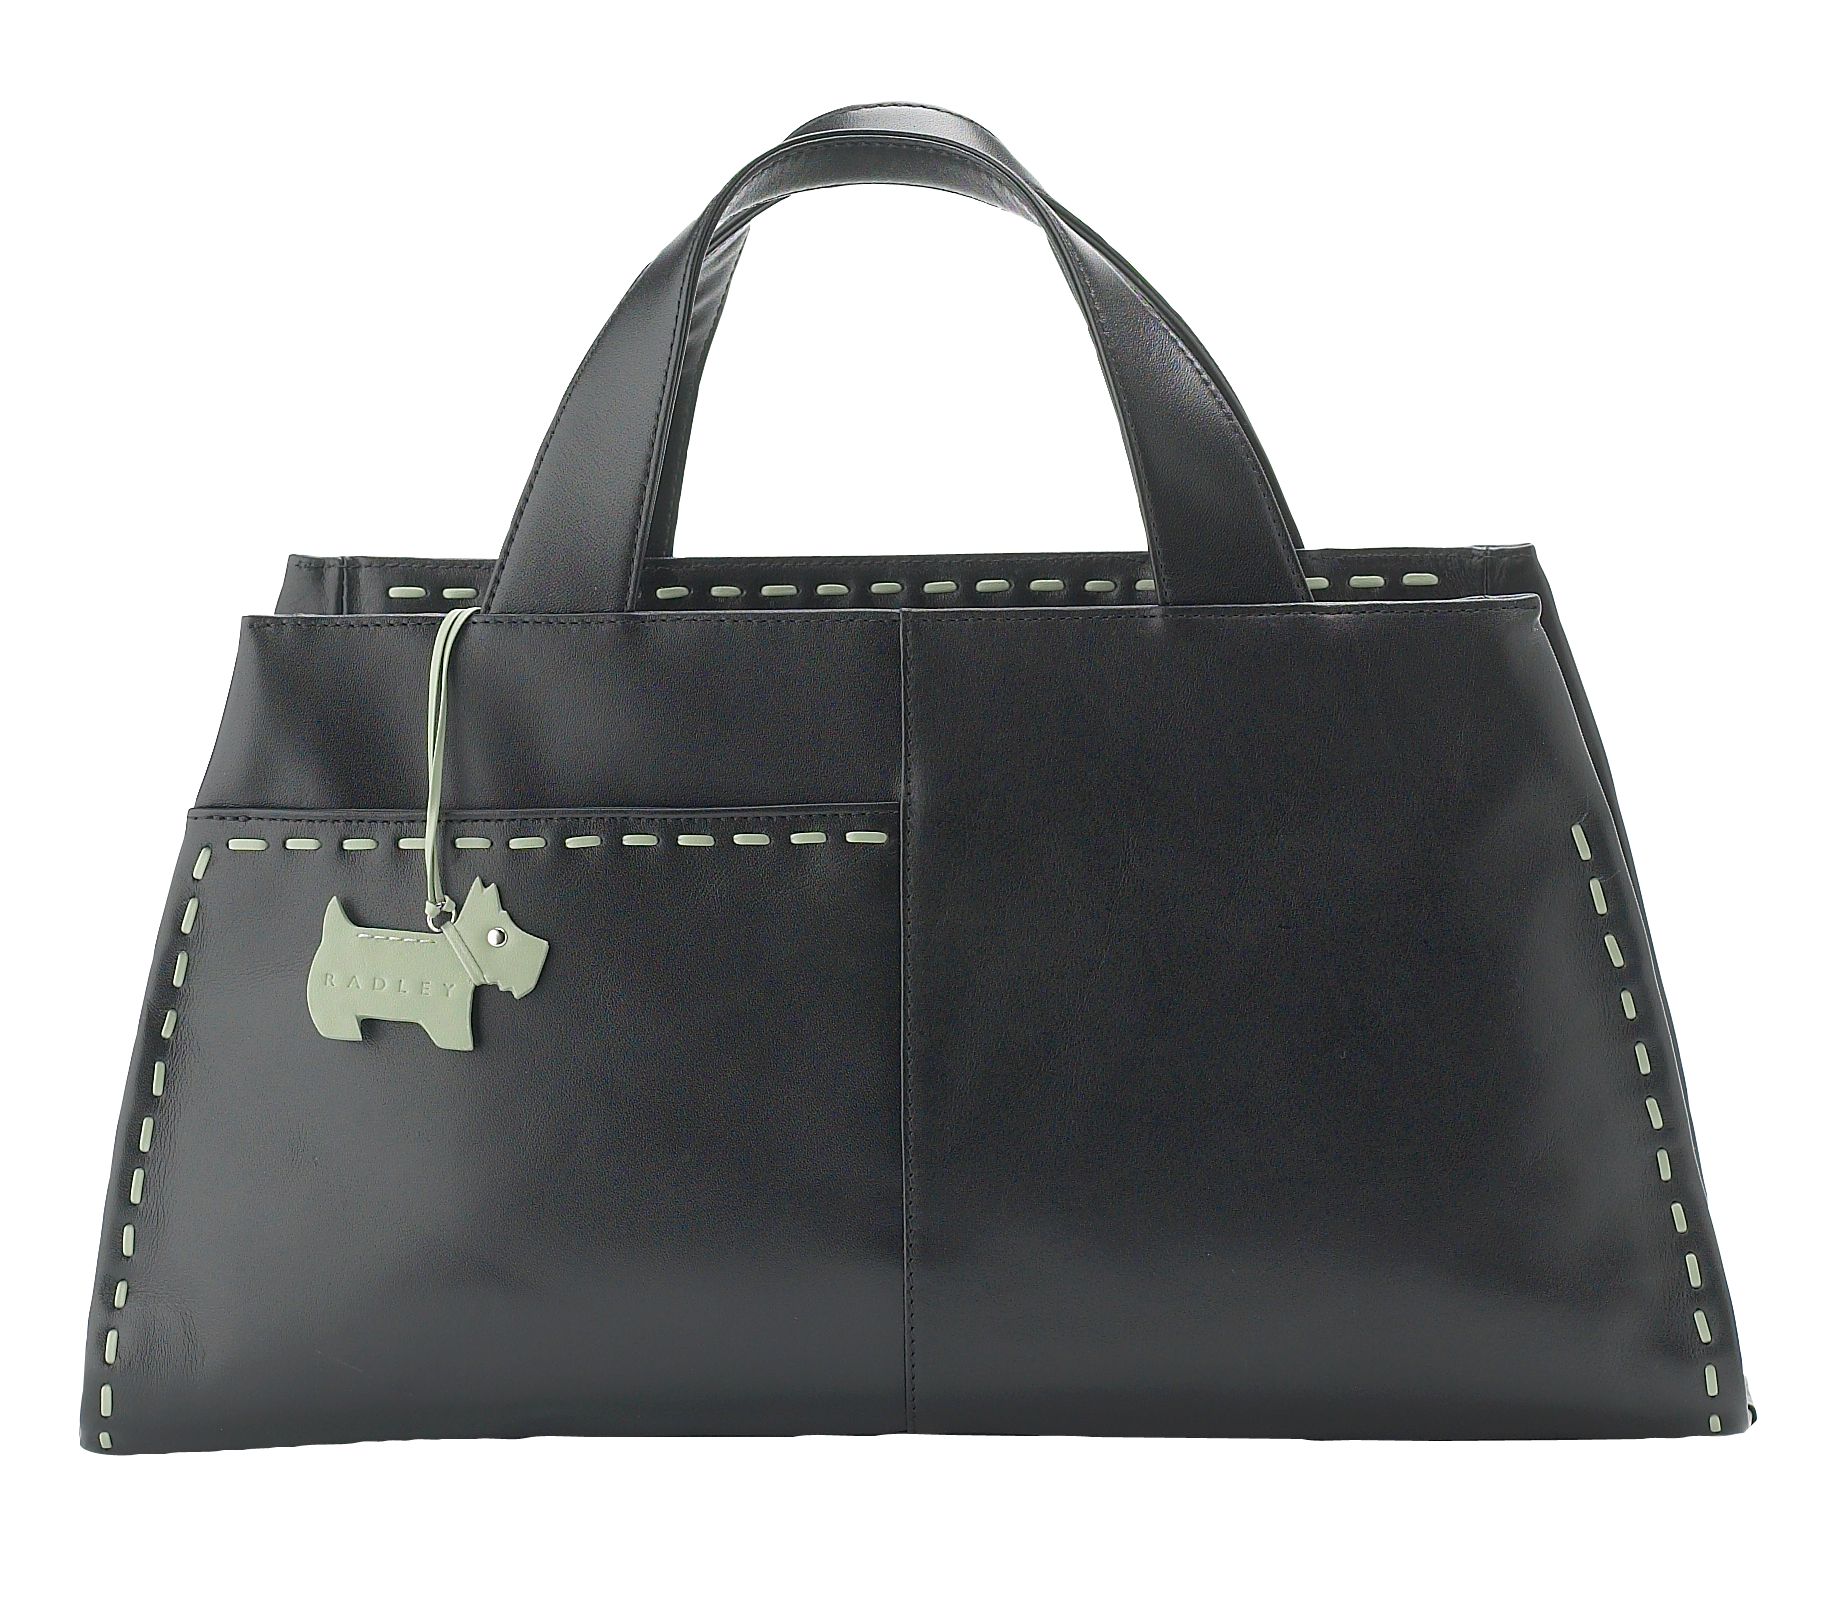
It is also used for appliqué making and hemming the sides of handmade fabric materials to give them a smother finish. Running stitch is often used for making leather articles such as jackets, belts and bags.
Running Stitch Instructions
It is one of the easiest stitches to learn, making it a perfect option for beginner embroiderers. All you will need is a needle and strands of thread. Make sure to use the same colored thread as the fabric if using the stitch for seaming the sides of an article. For embroidery designs, you can use various colored threads to produce attractive patterns. Following are the steps by step directions showing how to sew the Running Stitch:
- Step 1: Thread the needle and make a knot at the end of the two strands to keep them together. It is advisable to take a thread of your arm length to avoid tangles and knots. Re-thread the needle whenever you run out of thread. This does not spoil the embroidery.
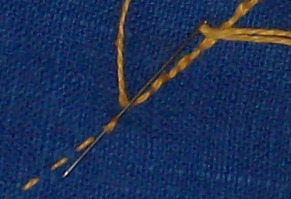
- Step 2: Insert the needle into the fabric and pull it through the backside, using the knot at the end of the thread to anchor it to your fabric. See the following diagram to understand how to begin the first stitch.
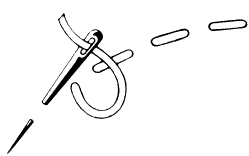
- Step 3: In the next step, you need to insert the needle tip back into the fabric, about ¼ inch from the spot where you pulled your thread for the previous stitch. Push the needle through the fabric and pull it out again instead of pulling your needle through your fabric at once.
- Step 4: Continue working in the same manner, pulling the needle through your fabric to make consecutive running stitches.
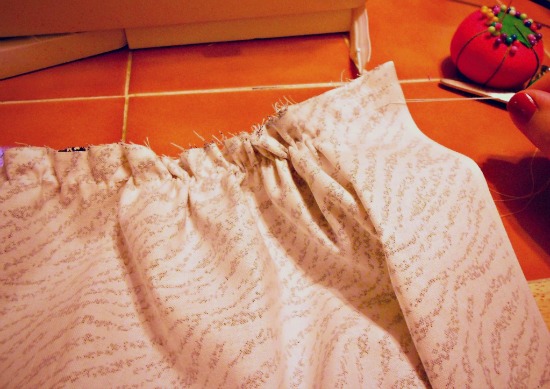
- Step 5: If using the stitch for making gathered sleeves or a gathered skirt, pull on your thread once you are done stitching the complete length of the fabric. Hold the end of the fabric near the very first stitch and gently pull on the thread to gather the material smoothly and avoid tangles. It is advisable to make a knot after few inches of interval to make sure that the gathers remain in place.
This stitch is perfect for temporarily sewing parts of a handmade clothing article together for fitting and measurement before you can stitch them on a sewing machine.
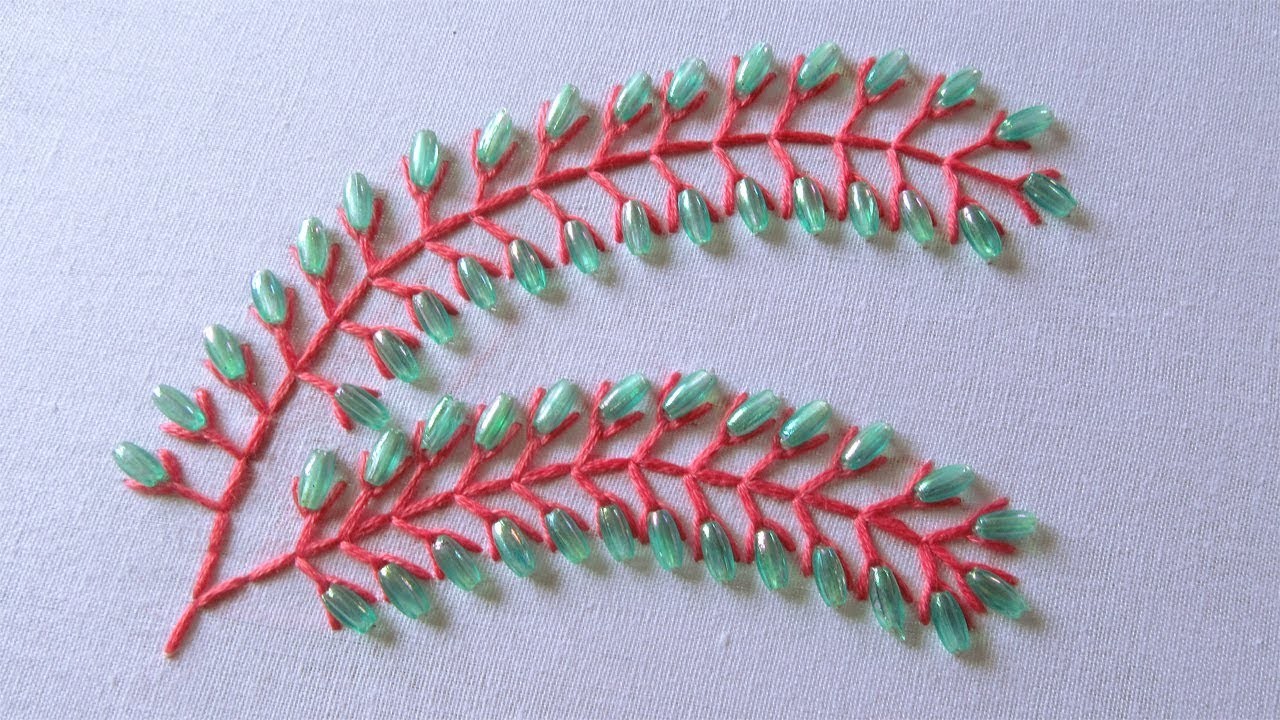
Running Stitch Variations
Its variations allow you to create designer patterns using this one simple stitching method. The most popular varieties include:
- Double Running Stitch or Holbein Stitch – Double Running Stitch simply means working a second line of Running Stitches over the first one make a solid stitch line. You need to work the second row in the reverse direction, placing the stitches between those of the previous pass so that there are no open spaces in between each stitch. The Double Running Stitch ideal for embroidery outlining as it produces a single bold stitching line.
- Basting Stitch – It is sometimes referred to as the Tailor’s Tack and involves making long Running Stitches mainly used for holding 2 pieces of fabric together. It is commonly used in dressmaking to roughly sew the pieces together to hold them in place during the final sewing.
- Darning Stitch – Closely spaced parallel lines of Running Stitch, used as a decoration or for repairing worn out or torn areas of a fabric is known as Darning Stitch.
- Double Darning Stitch – When the Darning Stitch is worked using the Double Running Stitch, it is referred to as Double Darning Stitch. This stitch has closely spaced parallel solid stitching lines which makes it perfect for embroidery borders.
Now you have learned the basic procedure for working the Running Stitch. You can work this stitch both by hand and using a sewing machine, the basic method remains the same. Go ahead and use it in your next stitching project and your handiwork is sure to look amazing.
Running Stitch Video Tutorial
Related Articles
Join Our Mailing List
Sign up to get the latest updates, along with fresh patterns and tutorials, right to your inbox