Chain Stitch
Table of Contents
Chain stitch is one of the most versatile needlepoint embroidery techniques with numerous uses. As the name suggests, the chain stitch produces thick embroidered lines that resembles chains. The complex appearance of this stitch may justly scare beginner embroiderers. But in truth, they are not as difficult to make. There are several ways to work the needle to produce the chained pattern; this article discuses the easiest one of these methods.
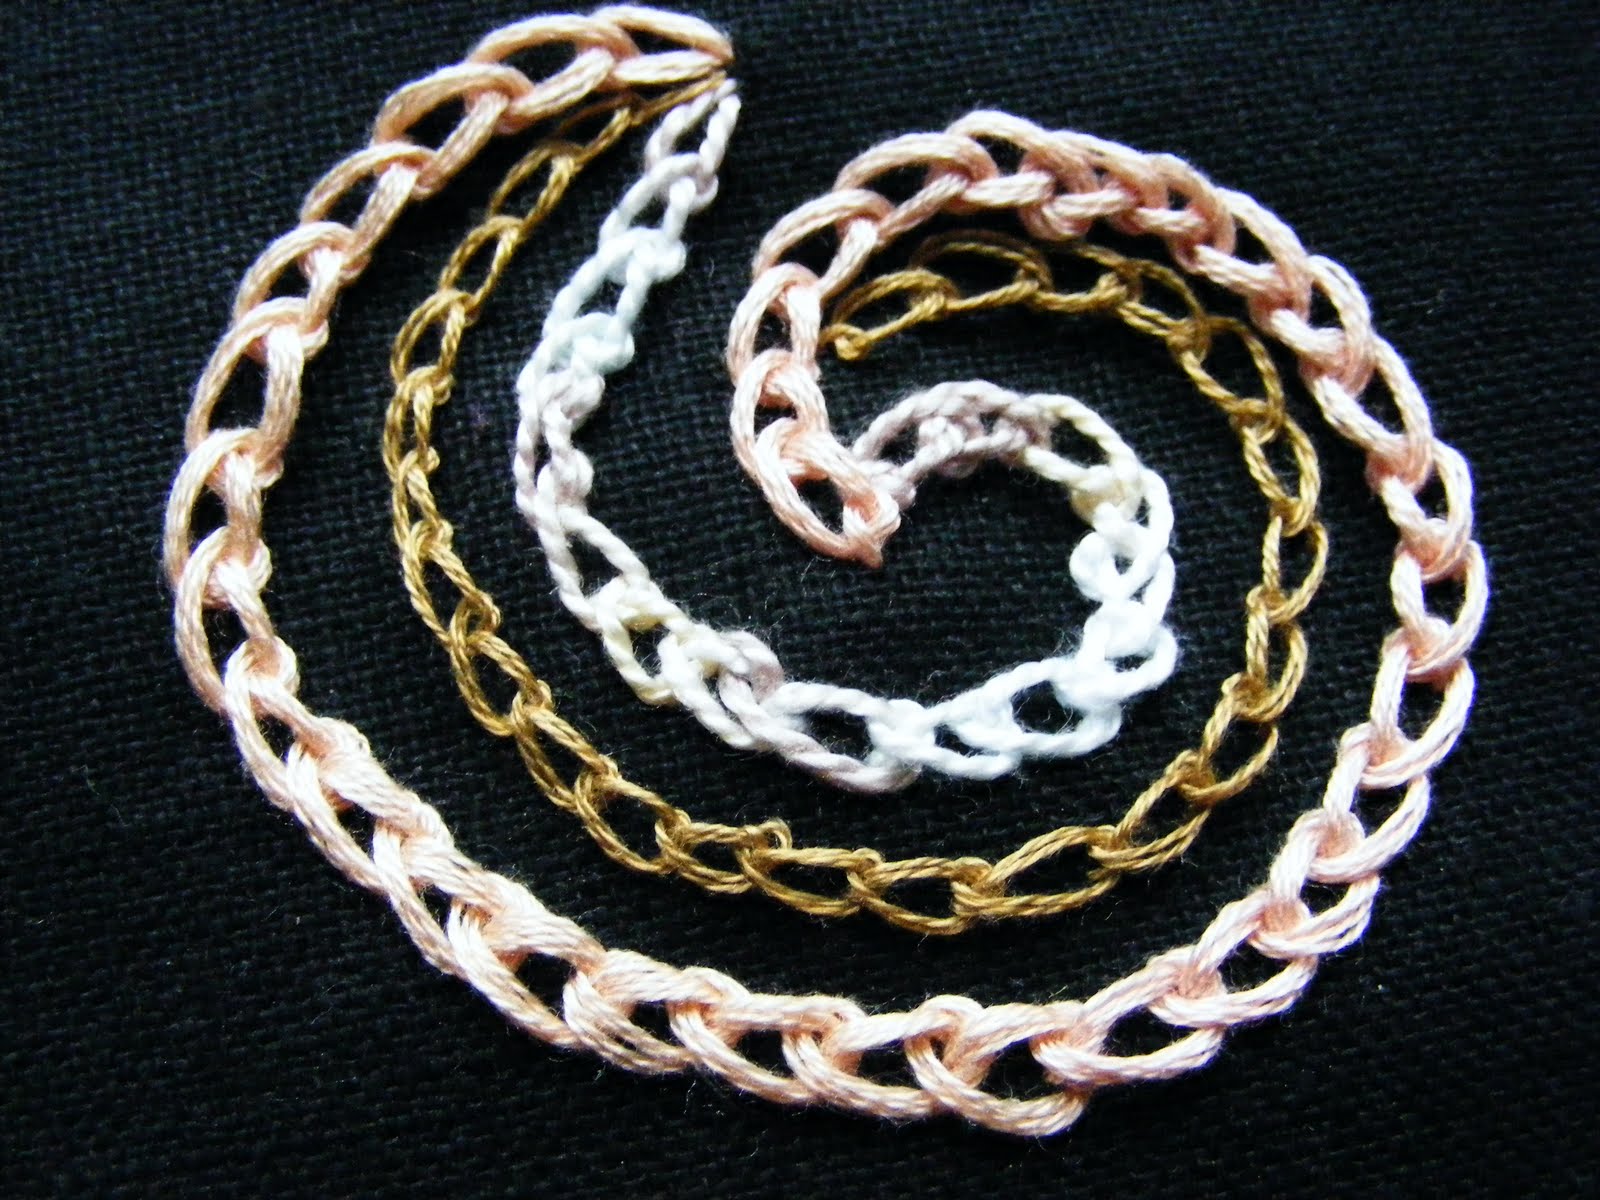
Neat chain stitches look great on embroidered clothes and accessories while it is also used for creating intricate patterns on curtains, pillow cases and bed sheets.

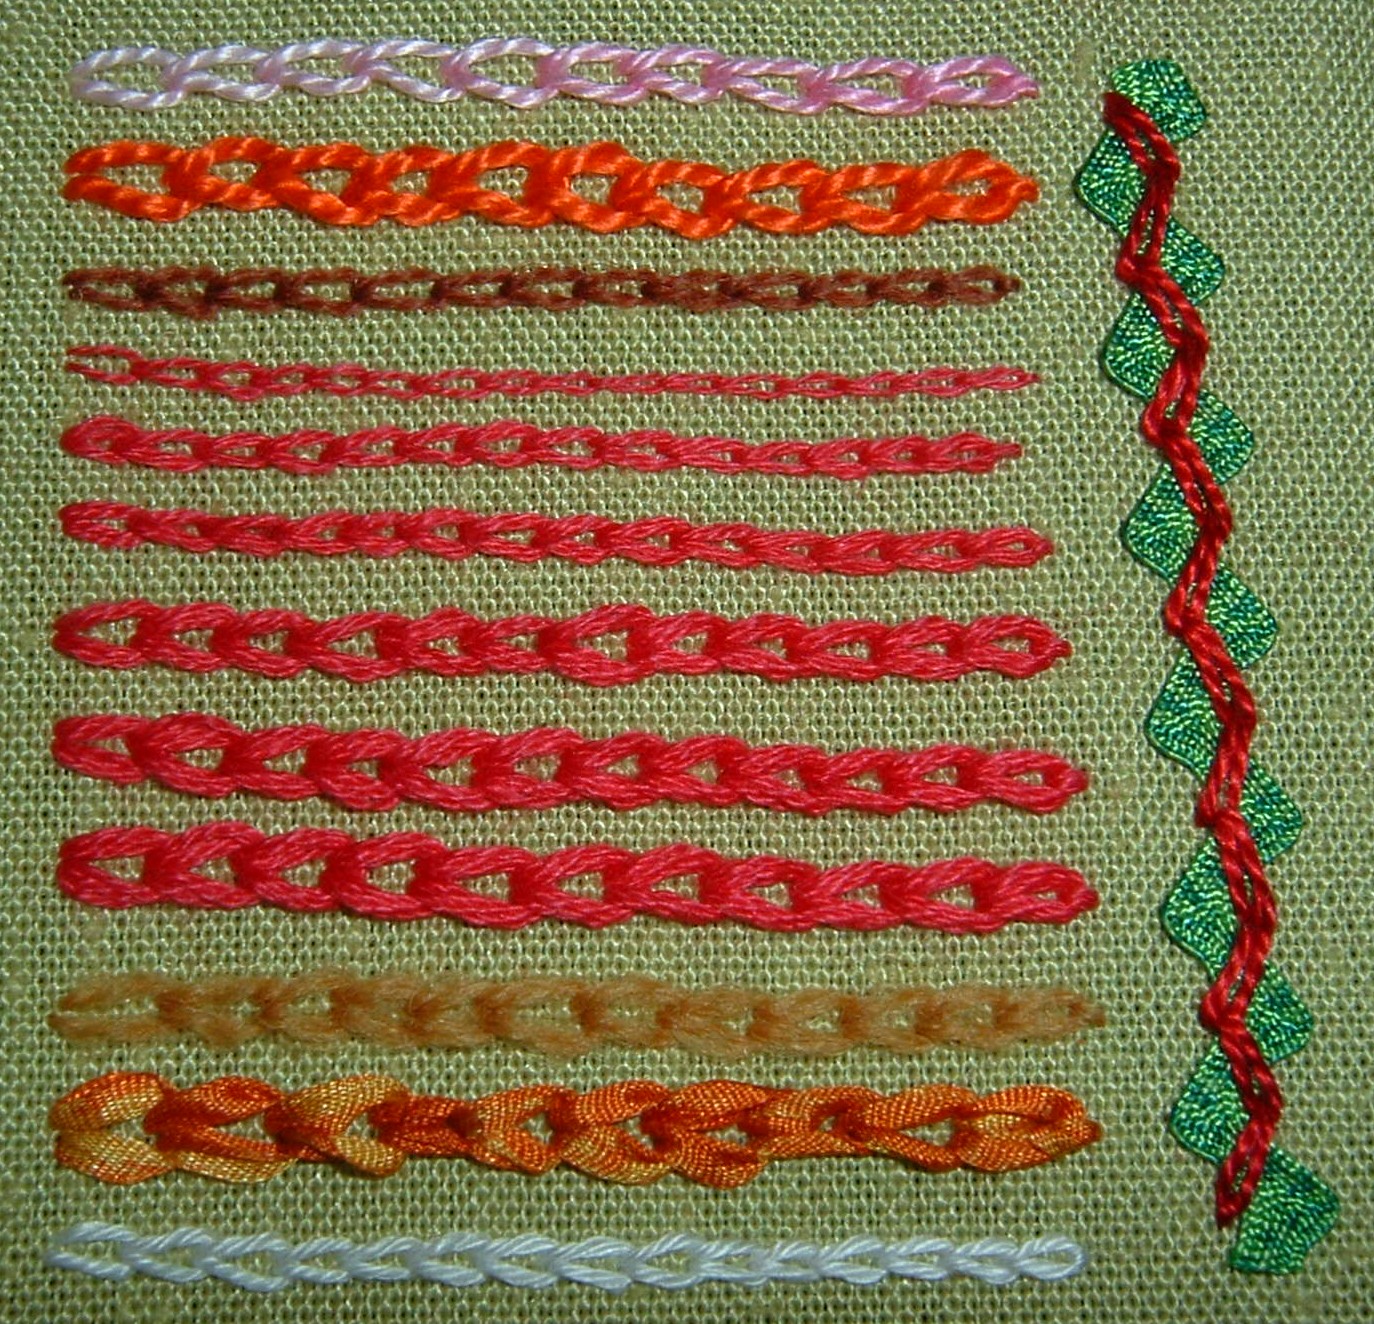
Chain Stitch Variations
There are several types of the hand embroidery with the best-known ones including:
- Braided stitch
- Cable chain stitch
- Knotted chain stitch
- Petal chain stitch
- Rosette chain stitch
- Singalese chain stitch
- Twisted chain stitch
- Zigzag chain stitch
- Double chain stitch
This article discusses the working procedure of only the basic chain stitch.
How to work chain stitch embroidery
The following step-by-step instruction will help you work neat chain stitches for your next embroidery project:
Thread your needle with a string of the color of your choice and tie a small knot at its end. Choosing a thicker thread or working with two strands of relatively thin threads work best for the embroidery as it produces bold lines, making your work even more pronounced.
Step 1: Use a pencil to mark the places you want to make your chain stitches on. This makes it easier for you to keep your stitches in an even line.
Step 2: Use an embroidery ring to fasten the part of the fabric you will be working on.
Step 3: Now, pull the needle through the point where you want to begin your chain. Spread out the thread and take the needle back through the fabric, at around the same spot where you pulled it through earlier.
Step 4: Now, bring your needle back up on the line traced earlier, about 1.5 millimeters away from the point where you took it down.
Step 5: Gently pull the thread up to create a single loop on the right side of the fabric. You have now made your first chain stitch.
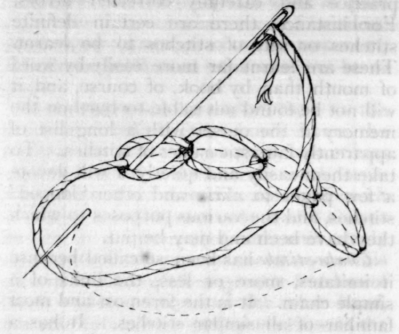
Step 6: Now to make the next chain, insert your needle through the point where you brought it up in the last step. Make sure to pull the needle from within the last stitch to create a neat chain (as shown in the diagram above), bringing it up a little way along the marked line as you did before. Pull the thread all the way to make your second stitch.
Repeat the process until you complete working the whole marked line to finish your embroidery.
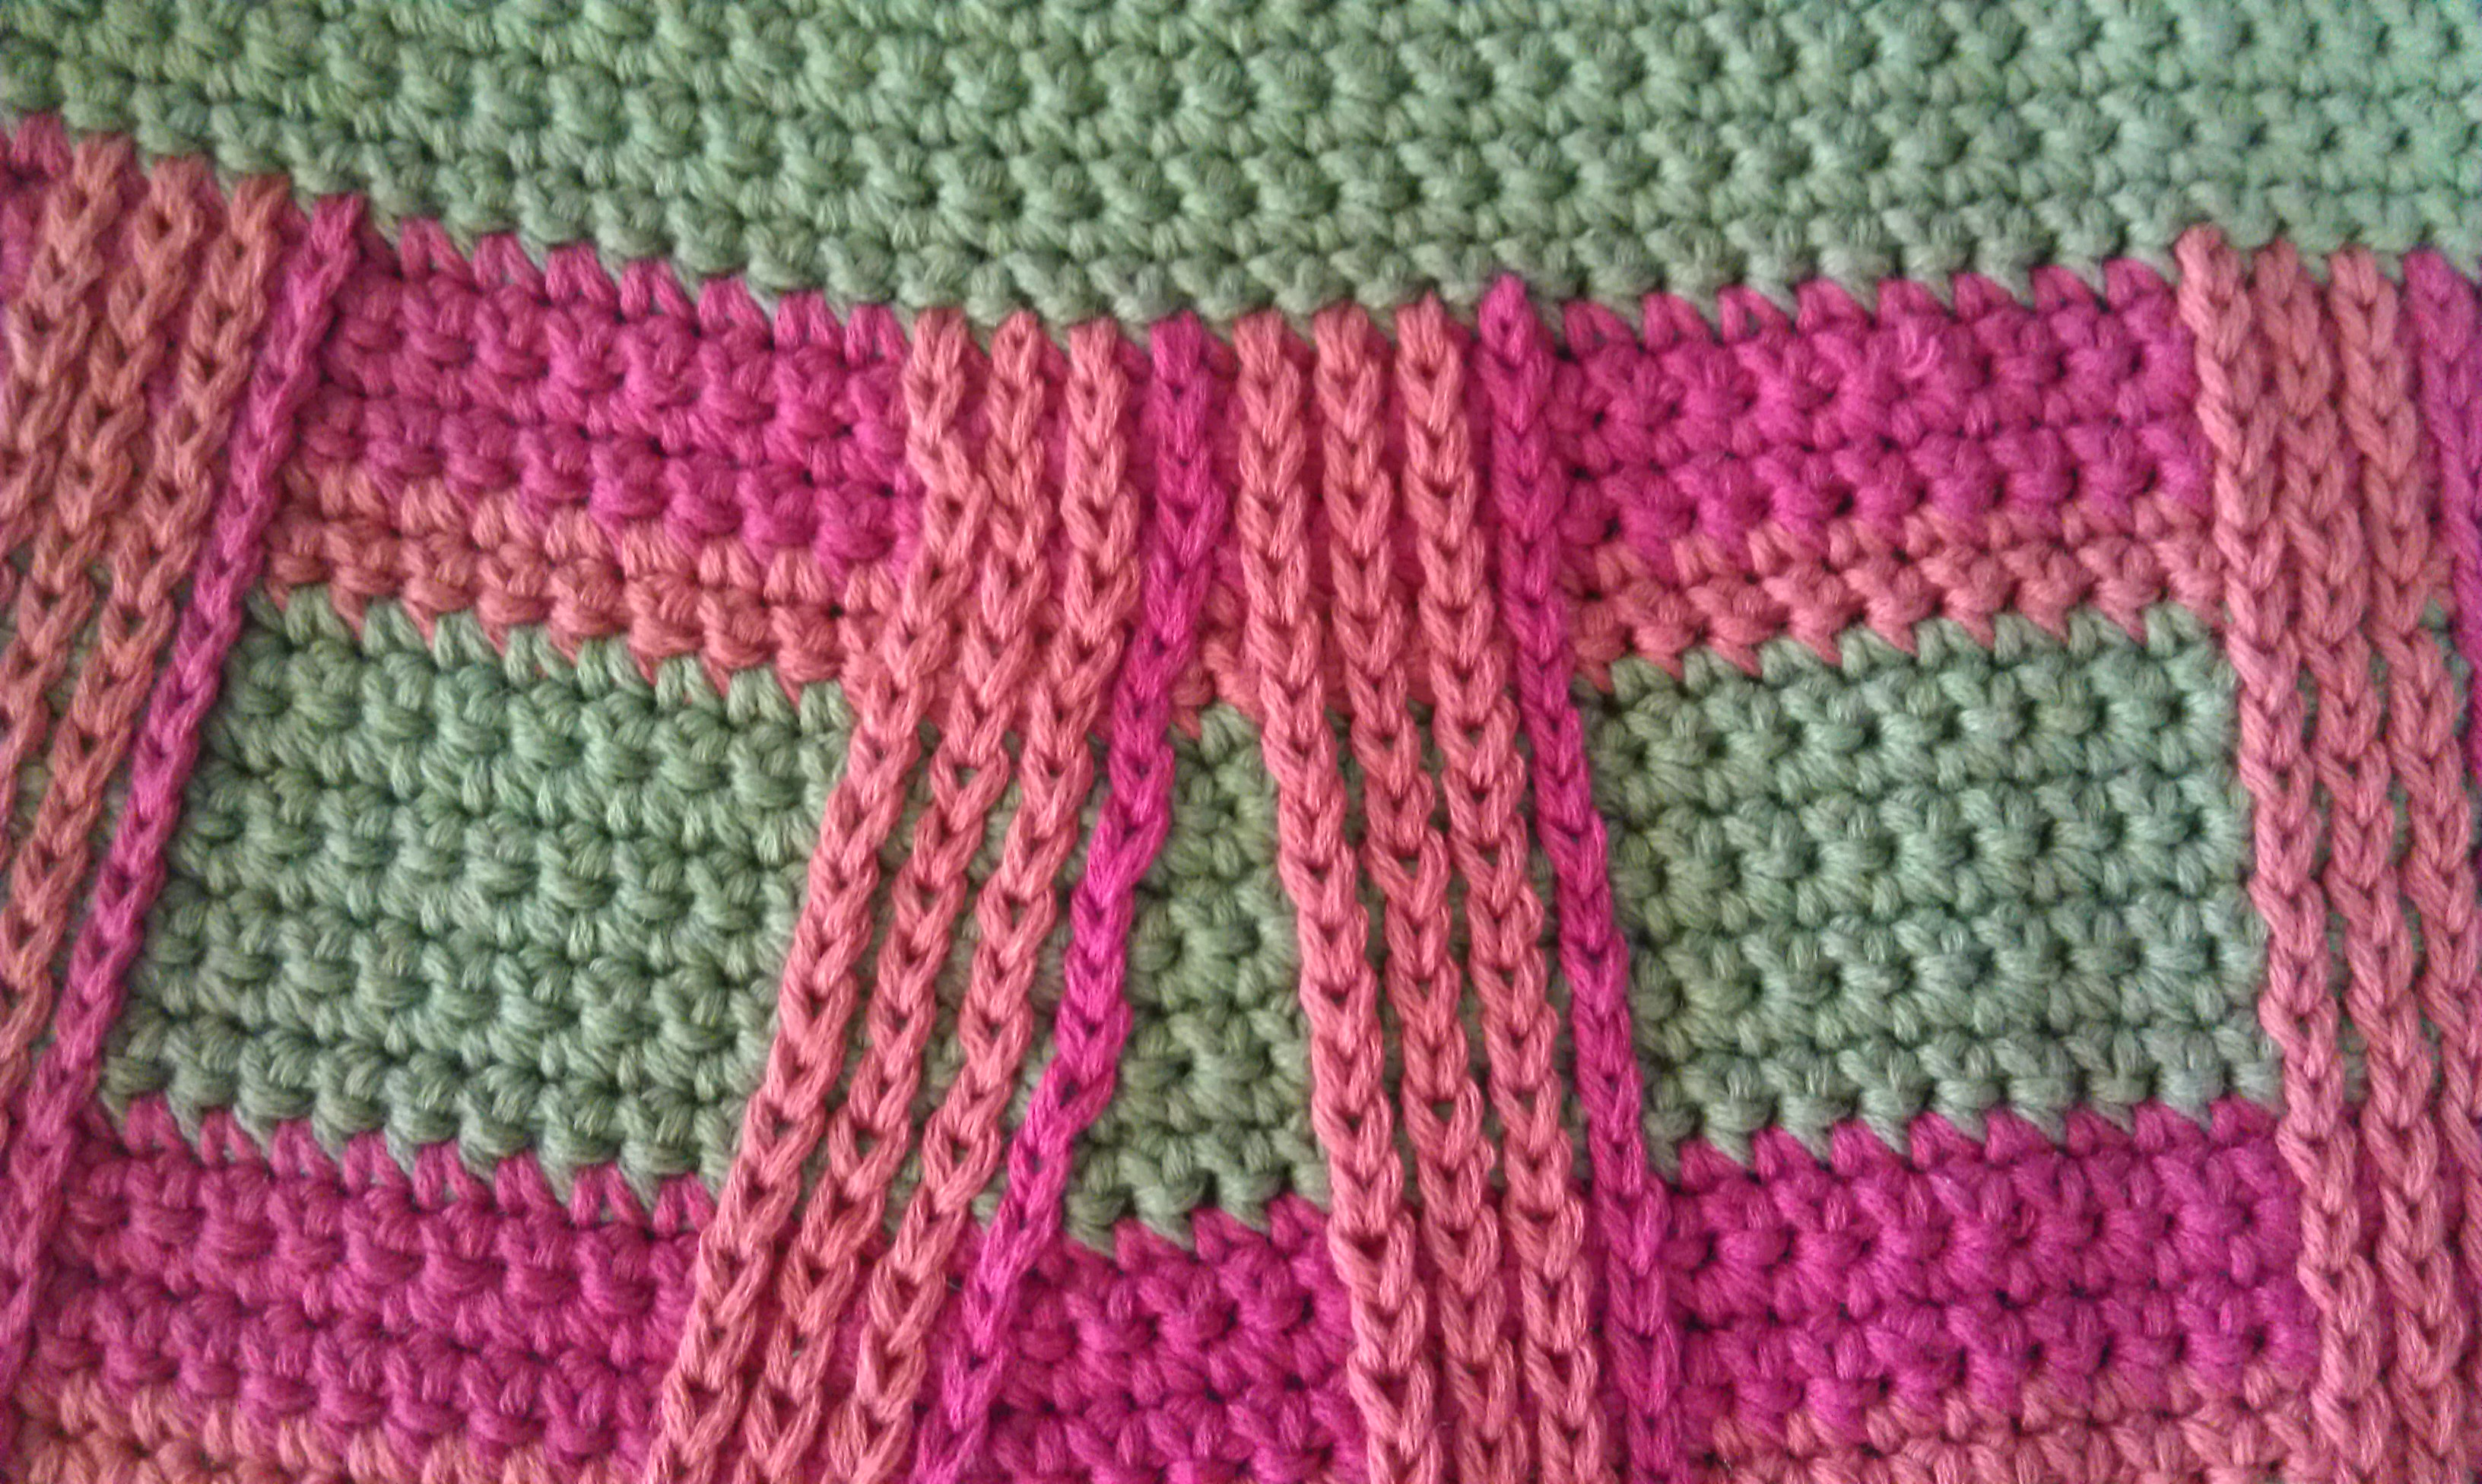
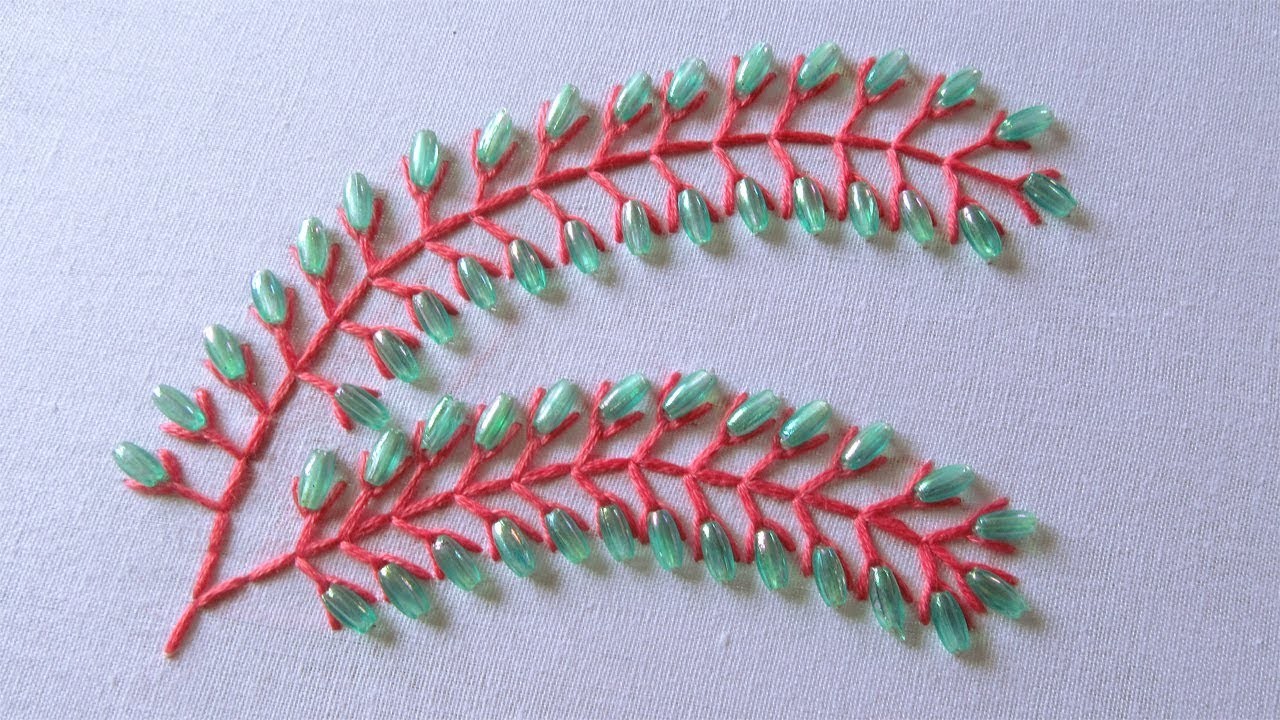
You can even work beautiful patterns with it on your hand-knit garments and accessories. All you have to do is string your needle with a matching colored yarn and work the stitch in the similar manner as you would on a fabric.
It is possible to work the chain stitch on your sewing machine if you are used to machine embroidery. But, it is recommended to practice the stitch by hand before you can move on to working with your machine.
Chain Stitch Applications
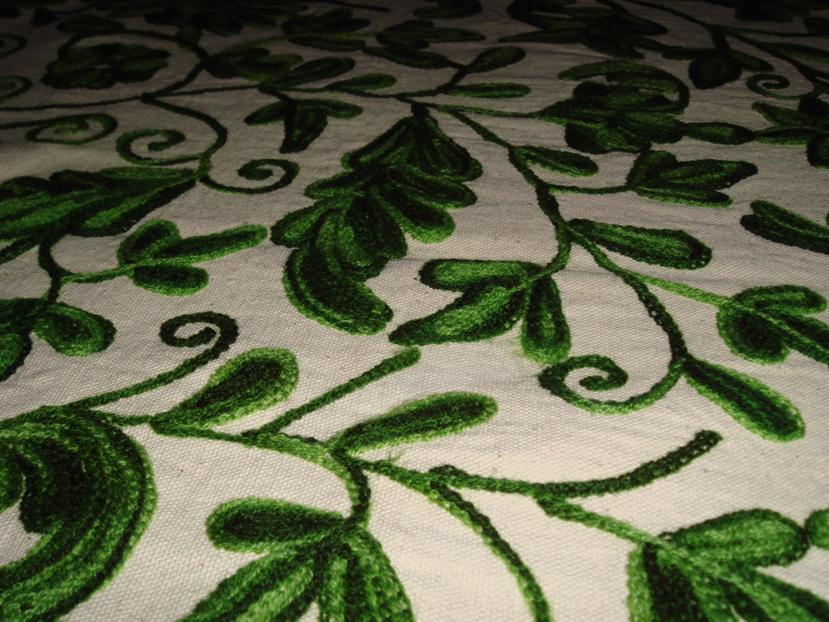
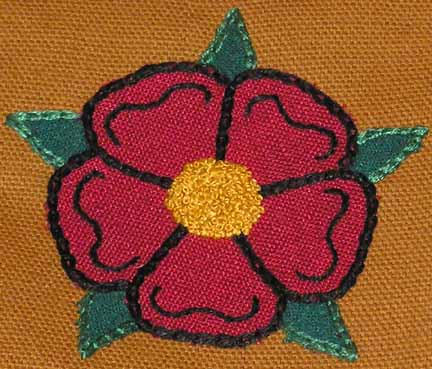
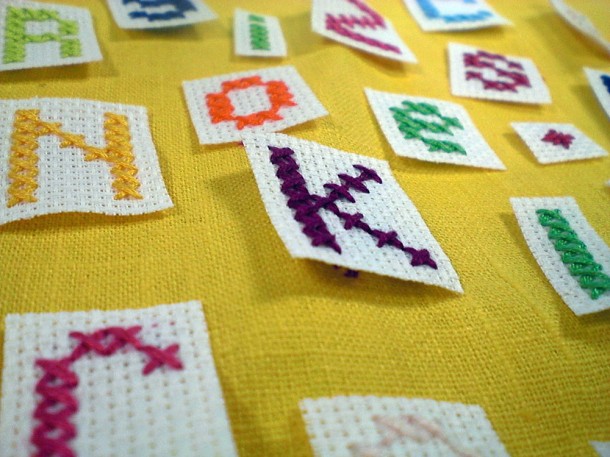
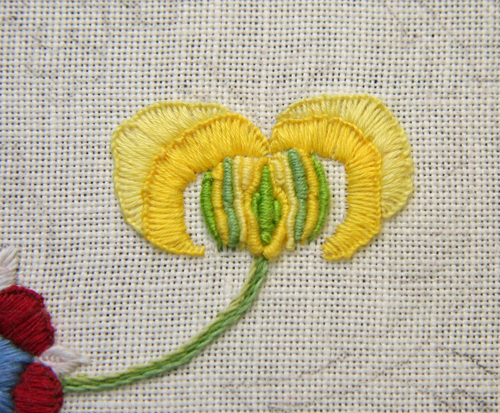
The thick, textured line created by chain stitch make it ideal for working around the edges of an embroidery design, filling up patterns (e.g. flower petals), bordering appliqués before they are attached to another fabric and for making alphabet letters to write something on a fabric.
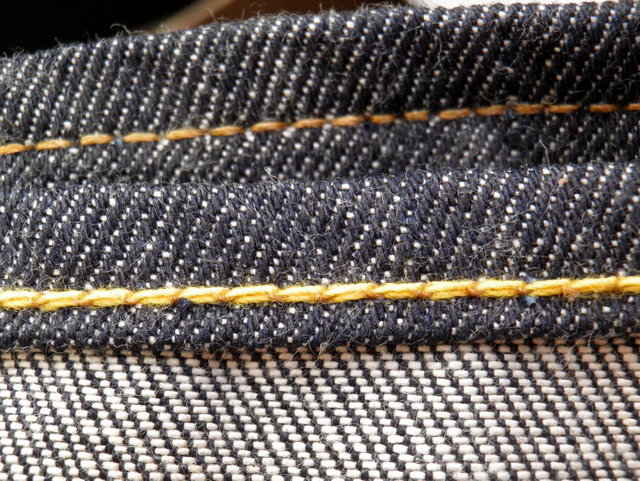
Another common use of the stitch, along with the lockstitch, is to hem denim trousers, jeans jackets and other garments. It is a good option for darning pointe shoes as well.
You have now learnt the basic procedure to work the chain stitch and must have some ideas for using it on one of your future embroidery or knitting projects. Start practicing and you will become an expert in the stitch in no time.
Related Articles
Join Our Mailing List
Sign up to get the latest updates, along with fresh patterns and tutorials, right to your inbox