Whip Stitch
Table of Contents
Whip Stitch Definition
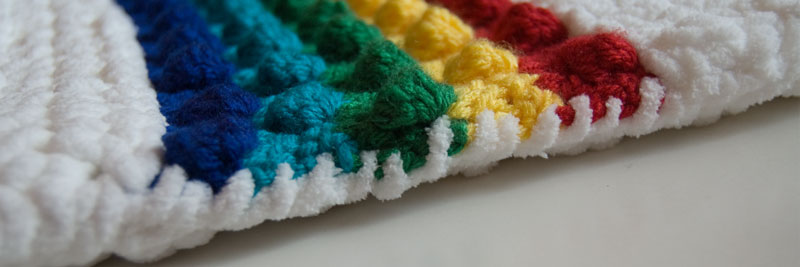
Whip Stitch, sometimes referred to as Blanket Stitch is a popular seaming technique used for joining two pieces of fabric or crocheted items together. The stitch creates a smooth seam that is almost invisible from the right side of the fabric. This makes it highly useful for making Afghans and quilts.
This article discusses how to work this stitch by hand on fabric and crocheted materials.
Whip Stitch Uses
Apart from quilting, Whip Stitch is used for various other purposes including appliqué making, closing the sides of pillows and cushion, making jeans garments and hemming the sides of carpets.
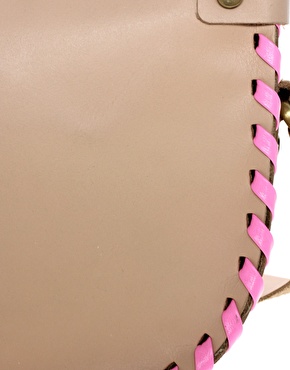
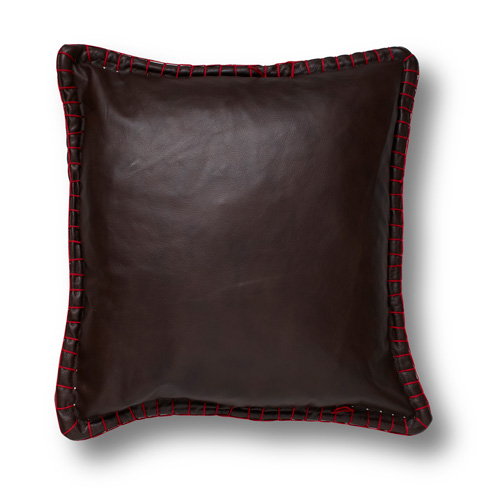
It is often used in leather lacing for making leather garments and accessories like jackets, belts and purses.
Another popular use of the method is for attaching crocheted amigurumi pets together as it produces a neat seam. It is commonly used for bookbinding as well.
Whip Stitch Instructions
Following is the step by step direction for joining two fabrics using Whip Stitch:
- Step 1: To join two pieces of fabric, you need to tie a small knot at the end of the thread to prevent it from running through the fabric. Then insert the needlepoint into the top layer of the fabric from between the 2 pieces, leaving a 1/8 inch border. This will make sure the knot remains between the two fabrics so that it is not visible from either side.
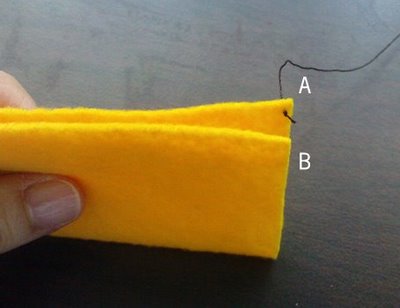
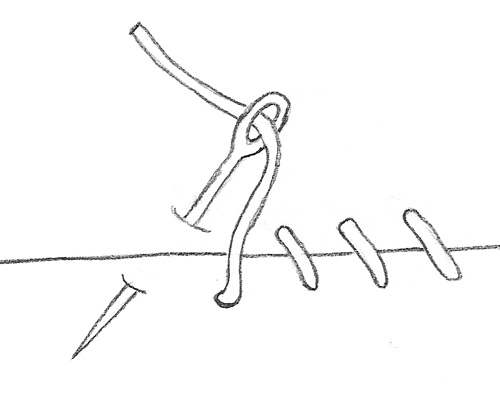
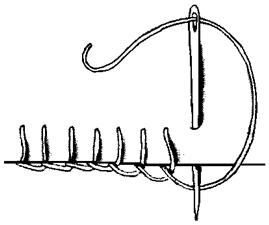
- Step 2: Next, insert your needle through both the fabric layers and pull it up almost in the same spot as in the previous step. This ensures the thread is neatly wrapped around the fabric’s edges in one single stitch. Make sure to pull the thread gently so that the stitch holds the two ends tightly, but avoid pulling it too tightly. See the following diagram to see how the stitch will look like:
- Step 3: In this step, you need to insert the needle back through the same hole as the previous step so that the next stitch covers the first one. However, this time you need to angle your needle a bit so that the stitch comes up around 1/8 inch from the previous one. Additionally, make sure to leave a 1/8 inch space between the stitch and the edge of the fabrics. Pull the stitch gently, but tightly and you will have the second stitch with the thread coming out of your fabric, next to the earlier stitch.
- Step 4: next, you need to poke your needle up through both the fabrics, directly beneath the point where the thread came up in the previous stitch. Like in step 3, angle the needle to make sure the thread comes out 1/8 inches away from the last stitch. Make sure to pull the stitch tightly, parallel to your earlier stitch instead of forming an angle.
- Step 5: Continue working in this manner, inserting the needle through the fabrics to form parallel stitches. Once you reach the end of the fabrics you are joining or you have to start again with a new thread, bring the last stitch straight up instead of angled to one side. Next, you need to insert your needle through the base of the same stitch again (to make it a double stitch), going through only the bottom fabric layer so that the thread remains between the two layers. Basically, you need to attempt the reverse of what you did at the very beginning of the stitch so that you can fasten off the thread, keeping the knot between the two fabrics.
- Step 6: You may have to pull the two fabrics a little apart so that you can make the knot at the end of the thread. This will also allow you to see how the stitches look from the back. Insert your needle through the back of the very last stitch you made and loop your needle twice through the thread in this stitch. Next, you need to pull the thread tightly so that it creates a tight knot holding the seam together firmly. Now you can cut the extra thread and the Whip Stitch is done. If your thread falls too short and you need to knot it off before reaching the end of the fabrics you are joining, simply take a new thread and begin from step 1.
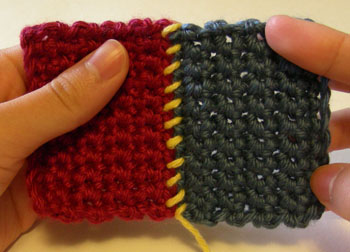
The basic procedure used for joining fabrics and crocheted pieces is the same. However, in case of Whip Stitch crochet, you need to bring the needle through the loops at the edge of the fabric. It is important to bring the needle through loops located side by side to get an even finishing.

This is the basic procedure of working Whip Stitch for joining two pieces of fabric. Now go ahead and use this easy yet useful stitching method in your next sewing project. You can use contrast colored threads for your fabric to produce interesting color effects.
Related Articles
Join Our Mailing List
Sign up to get the latest updates, along with fresh patterns and tutorials, right to your inbox