Reverse Appliqué
Table of Contents
What Is Reverse Appliqué
Reverse appliqué is a sewing technique that involves cutting the top layer(s) of a piece of fabric in a particular design when multiple layers of fabric have been basted together. The finished edges of the pattern can either be tucked under and hand stitched or just left as is to show off a raw edge.
Beginners can do it with felt as it is easier to handle and doesn’t fray. It works beautifully for embroidery designs, monograms and letters on placemats and dresses. Mola, a part of the traditional outfit worn by Kuna women of Panama, applies it to create vibrant panels of blouses and skirts.
Reverse Appliqué Tutorial
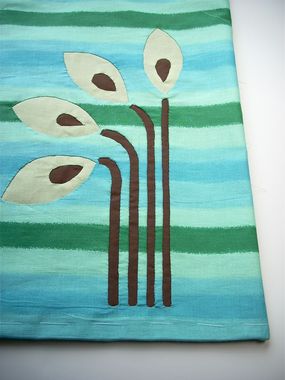
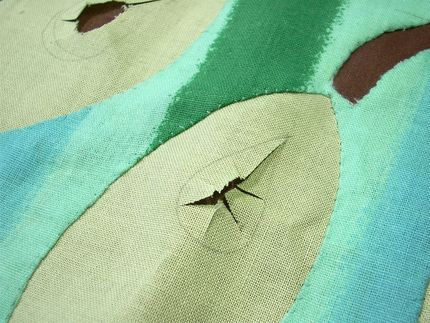
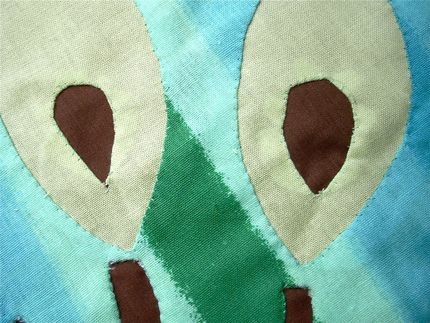
In this step-by-step guide, a lovely pattern consisting of leaves perched on curvy stems has been reverse appliquéd to make a stylish tote bag.
How to Reverse Appliqué: Step by Step Instructions
- Cut 3 pieces of fabric according to the desired size of your bag. Taking 17”X17” pieces should be fine.
- Pile them one on top of another with their right sides facing up. Pin them together.
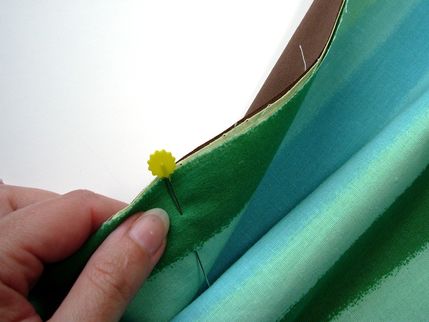
- Baste all around the edges.
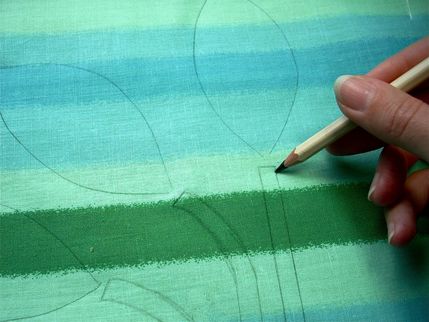
- Trace or draw any design on the top fabric.
[Tip: You can use a light fusible appliqué to trace your design.]
- Pinching up the topmost layer, snip into the center of a design to begin cutting.
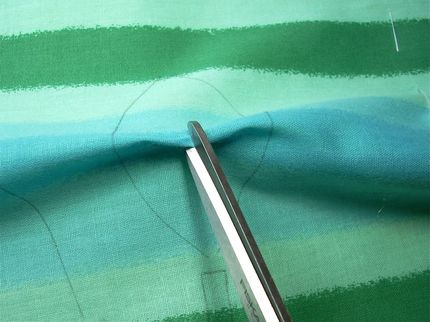
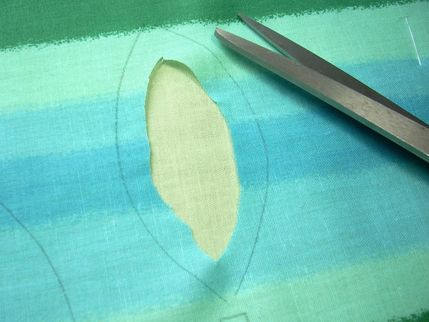
- Cut along the outline keeping around ½” seam allowance.
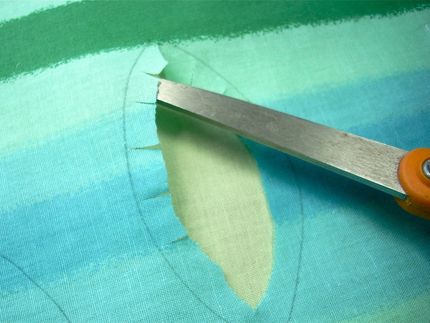
- Clip the seam allowance.
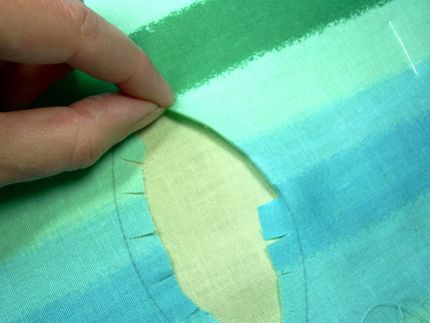
- Fold the clipped edge under. Press for a smooth finish.

- Repeat steps 5-9 by cutting out the upper two layers together to get a different color for the stems.

- For the inner design on the leaves follow the above steps for the second layer of fabric.
Repeat the procedure for another 17”X17” piece and machine sew both of them along the edges. Add a couple of fabric handles and you are done.

Reverse Appliqué Video
Reverse Appliqué Free Patterns
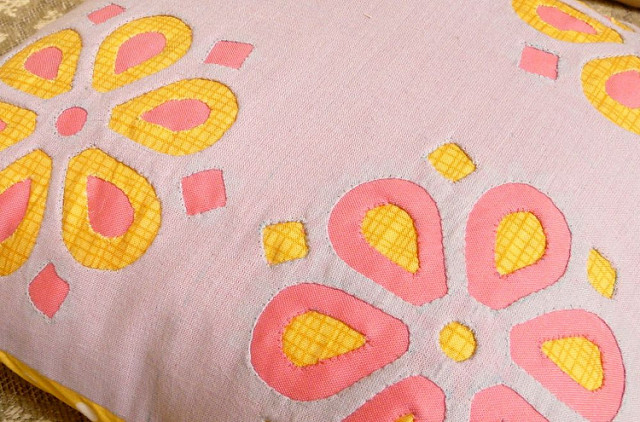
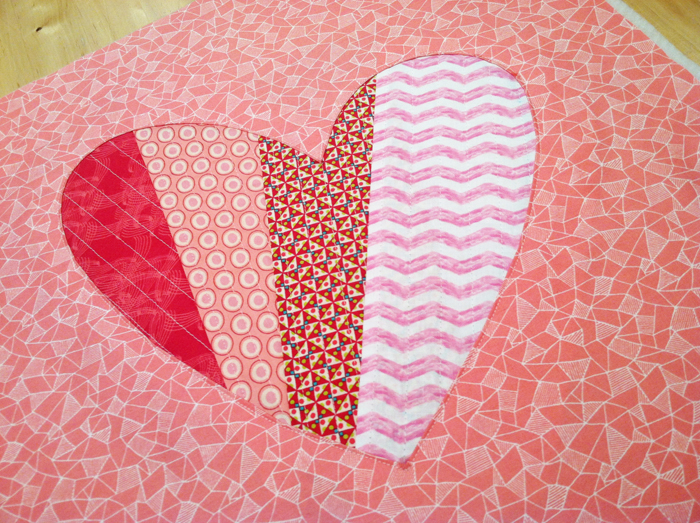
An easy quilting process, combined with reverse appliqué can create this pretty patchwork heart appliqué pillow. You can customize it for a cushion if you wish. Check how freezer paper has been utilized for the template.
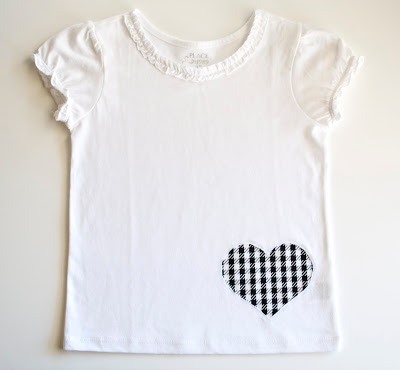
Try the method on your favorite sweatshirts, tees, jackets, denim and jerseys for a unique contemporary look.
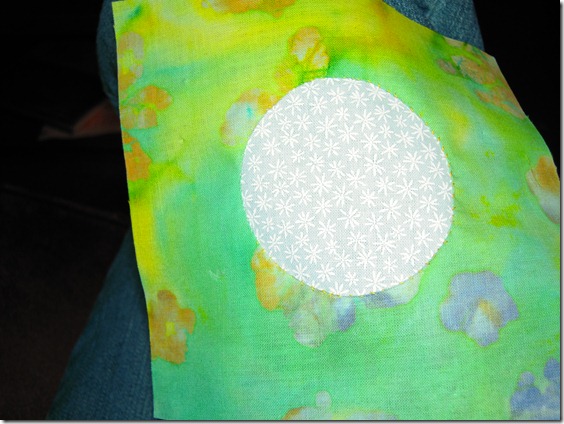
Make Hawaiian quilting fun with this procedure. You can minimize the size of the circles to make a quaint dotted pattern for Christmas.
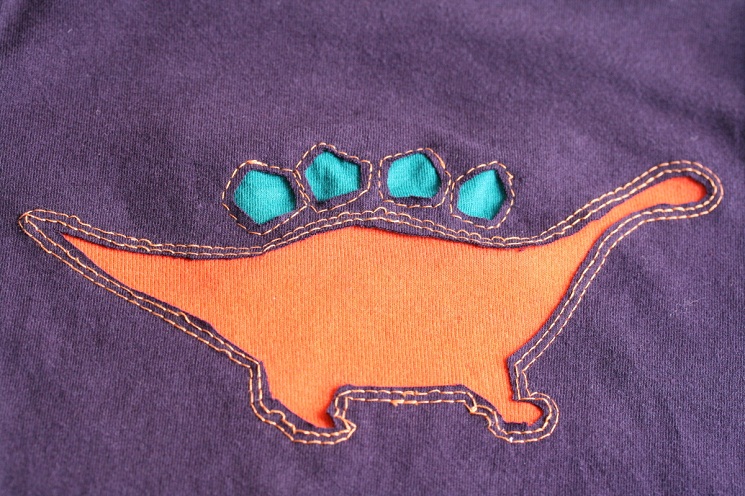
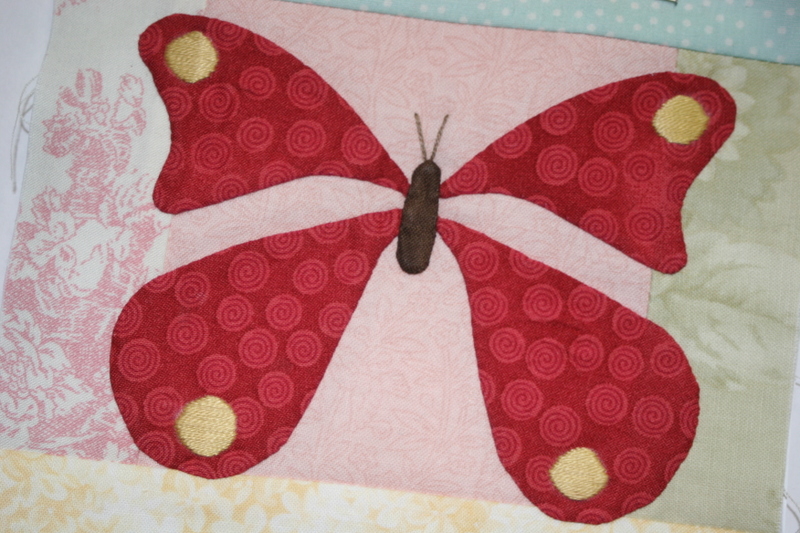
Butterflies, flowers, alphabets on stockings and apparel are going to hit it off with kids. The linked instructions are replete with a template for making the dino.
Felted wool can be applied in the appliqué and quilting process to make beautiful wall art. Sample a free reverse applique quilt pattern below.
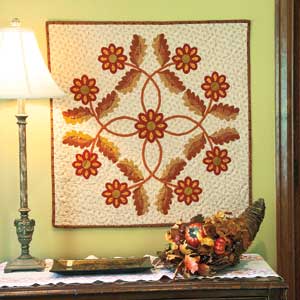
Reverse Appliqué Quilt Wall Hanging Pattern
The advantage of the work is its ability to reuse rags and the neat layered look. However, the thickness, adding on to the weight and the need for a lot of material may be disadvantageous for some projects.
Related Articles
Join Our Mailing List
Sign up to get the latest updates, along with fresh patterns and tutorials, right to your inbox