Peyote Stitch
Table of Contents
What is Peyote Stitch?
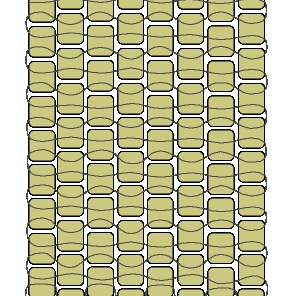
The Peyote Stitch or Gourd Stitch is a popular variety of off-loom beading technique. Yo can work this stitch with both odd and even number of beads in each row. There are a number of varieties of the even count and odd count Gourd Stitches that are woven as a tube, as flat strips and in flat round shapes.
This technique has been used in the beadwork of people from different cultures all over the world. Artifacts made using Peyote Stitch have been discovered from Ancient Egypt. It has been used in both historic and modern Native American beadwork as well. Its name “peyote stitch” originally derives from the use of the technique in various religious ceremonies by the Native American Church. The beading process is called “gourd stitch” because it is sometimes used for decorating gourd containers.
Peyote Stitch Varieties
This beading technique allows weaving the beads in various patterns and designs. The most popular varieties of the stitch include:
- Even count flat Peyote Stitch
- Odd count flat Peyote Stitch
- Odd count Tubular Peyote Stitch
- Even count Tubular Peyote Stitch
- Circular Flat Peyote
- Two Drop Peyote Stitch
- Decreasing Peyote Stitch
- Increasing Peyote Stitch
What is Peyote Stitch used for?
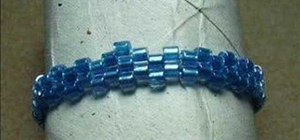
It is widely used for making jewelry like earrings, bracelets, pendants and rings as well as fashionable bags and clutches. The tubular form of the stitch is used for making pouches or for decorating various objects like fan handles and bottles.
A less known variety of this technique is used for adorning rattles, fans and other items that are used in a number of peyote ceremonies. Due to this reason, some Native American Church members suggest that the name Peyote Stitch should be limited to only these uses. According to them, the stitch should be referred to as Gourd Stitch when used for other purposes.
Peyote Stitch Supplies
Following are the basic tools and materials in a beginner Gourd Stitch kit:
- Regularly shaped beads of the desired number, the beads may or may not be of the same color
- A firm thread, the size of the thread depends on the size of the beads
- A needle, the size of the needle also depends on the size of the beads and the thread
How to Work Peyote Stitch?
The working procedure varies with different forms of the stitch. This article discusses the basic methods of working Gourd Stitch with even and odd numbers of beads.
Even Count Flat Peyote Stitch Instructions
This stitch is fairly easy to work and is suitable for both expert bead workers and beginners. You can work the beading procedure following the directions given below:
- Step 1: Attach a bead to the thread by passing the thread twice through it. This bead will work as the ‘stopper bead’. You need to leave a 6 inches long tail which will later be woven into your beadwork.
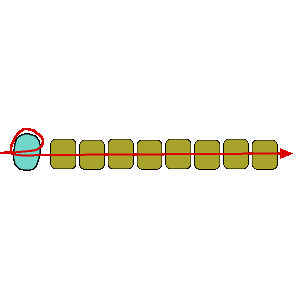
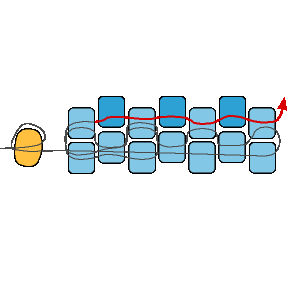
- Step 2: Next, you need to string the beads for the first two rows of the pattern you are working. The project will look like the above diagram. The number of beads used in this step may vary. To make it easier for the beginners, the instruction uses 8 beads in this step.
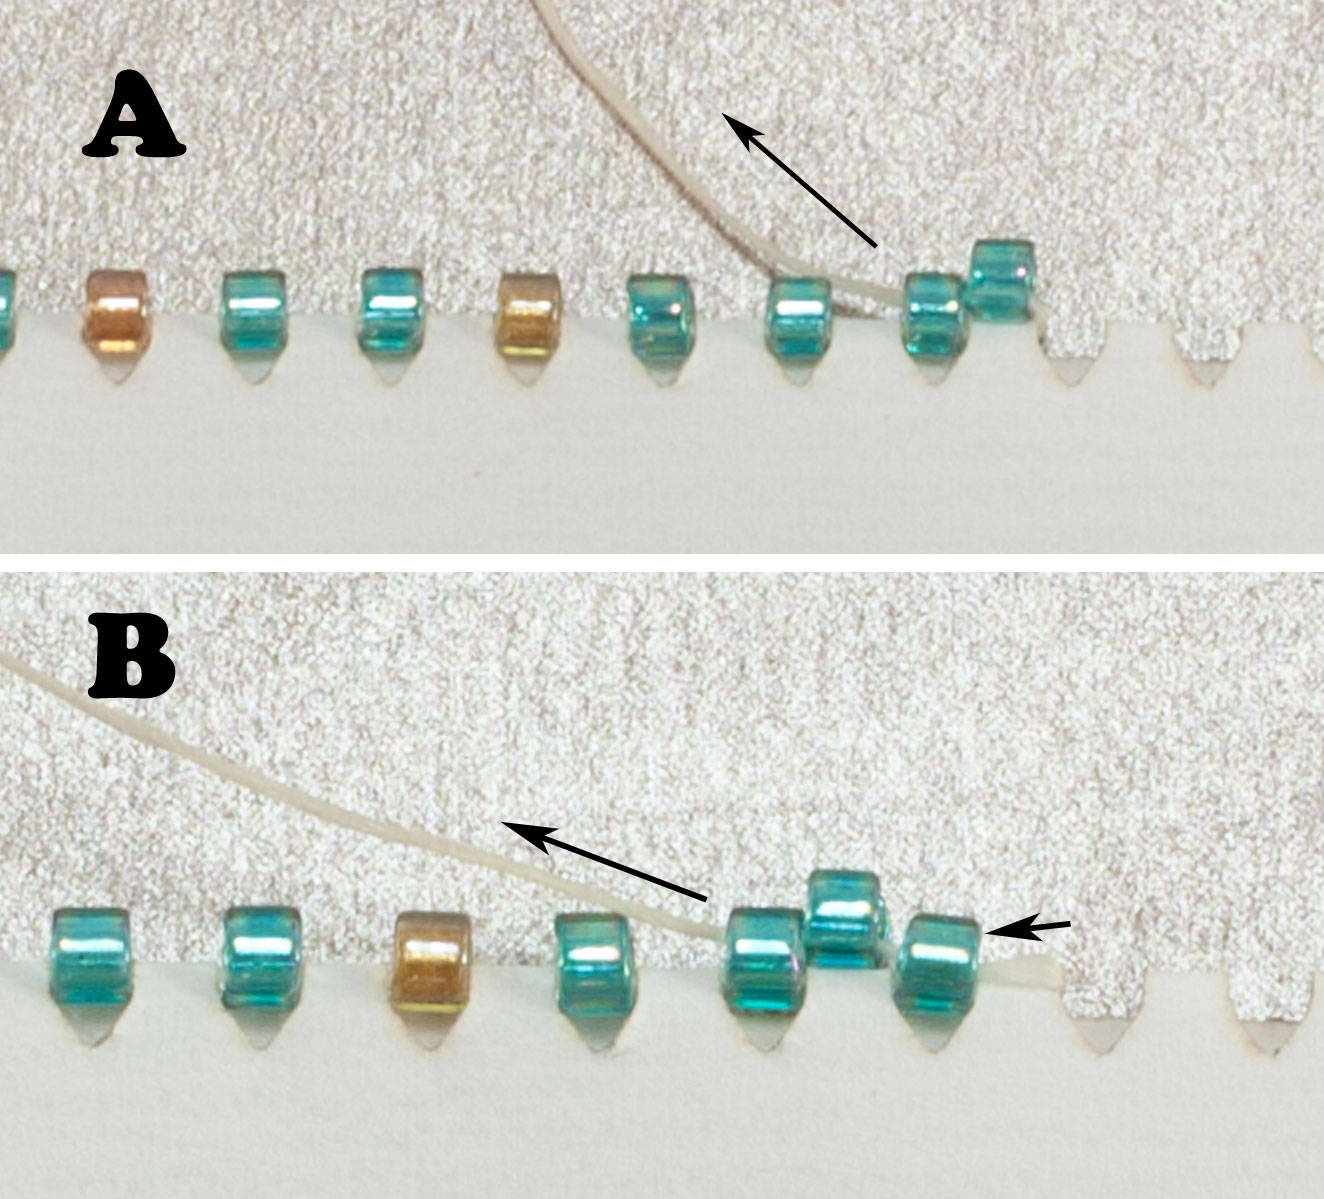
- Step 3: In the next step, you need to add more beads to the piece. Add bead 9 and then go through bead 7. Then add bead 10 and go through your bead 5. Then add bead 10 and go through bead 3. Then add bead 11 and go through bead 1. You can see path of the thread through the beads in the following image.
- Step 4: In the fourth step, you will be adding 4 more beads to your project. Your thread will come in the opposite direction again, like shown in the 3rd step in the above image. Add bead 12 and go through bead no. 11. Add bead 13, then go through bead 10. Add your bead no, 14 and go through bead no. 9. Then add bead no. 15 and then go through bead 10. Continue weaving in the similar manner, repeating the steps until your pattern is complete. The finished project should look like the following diagram which shows the path of the thread.
- Step 5: You need to weave the 6 inches long tail into the beadwork so that it does not dangle from the finished project.
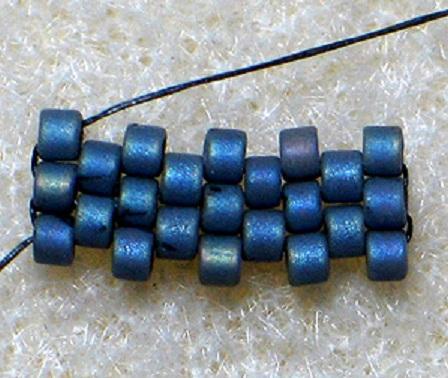
Odd Count Flat Peyote Stitch Instructions
This is the relatively complicated Peyote beading technique that can be worked with any odd number of beads.
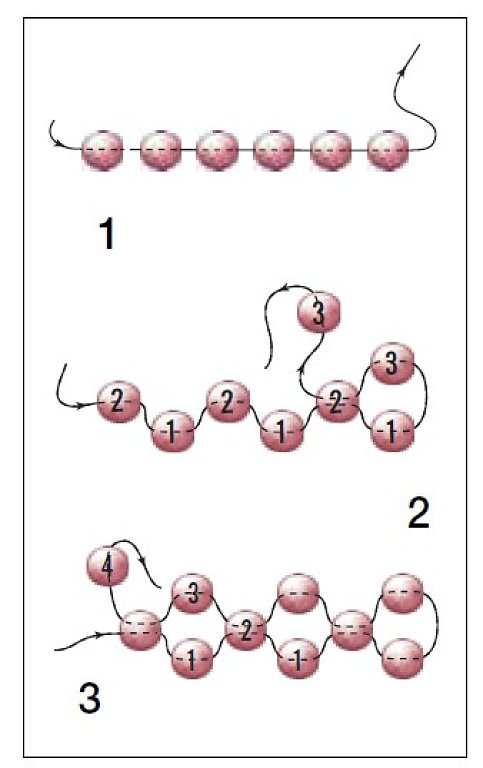
- Step 1: The first step is similar to that of the even count pattern. You need to attach the stopper bead and then string the beads for the first 2 rows. This instruction uses 7 beads in this initial step.
- Step 2: The second step is also like that of the earlier pattern. You need to add bead no. 8 and go through bead no. 6. Then add bead 9 and go through your fourth bead. Next, add bead 10 and then go through bead no. 2.
- Step 3: This is the first complicated step in the pattern. Adding the 11th bead is a little difficult as it has to be anchored to keep it in place. Go through your bead no. 11 and then back through the beads 1 and 2. Then loop the thread in your hand around the thread in the middle of beads 2 and 10. Go through the beads 1 and 2 again before going back through the bead no. 11.
- Step 4: Then you can add the 12th bead and go through the 10th bead. Next, add bead 13 and go through bead no. 9. Next, add bead 14 and then go through bead 8.
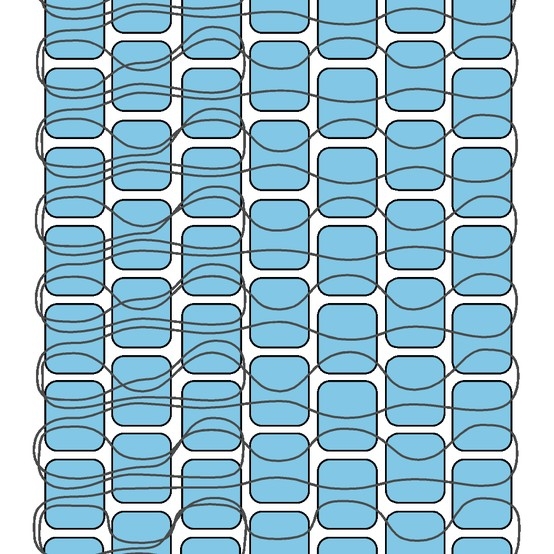
- Step 5: Begin this step by adding bead 15 and going through bead 14. Then add bead 16 and go through your 13th bead. Next, add bead 17 and then go through bead no.12. Continue working by adding beads in this manner until your project is finished. The path of the thread in the finished product is shown in the following picture.
- Step 6: Like in the last step of the even count flat Gourd Stitch, the loose tail left at the beginning of the projects needs to be woven into the beadwork to prevent it from hanging at the end of the finished product.
Adding a New Thread to the Peyote Stitch Beadwork
When you are working on an off-loom beading technique, you may need to add a new thread to your project at some point. It is important to maintain proper tension when adding the thread otherwise it may leave weak spots or gaps in the finished project. You should also make sure to secure this new thread properly to prevent the new section of your beadwork from coming loose from the earlier section of the work.
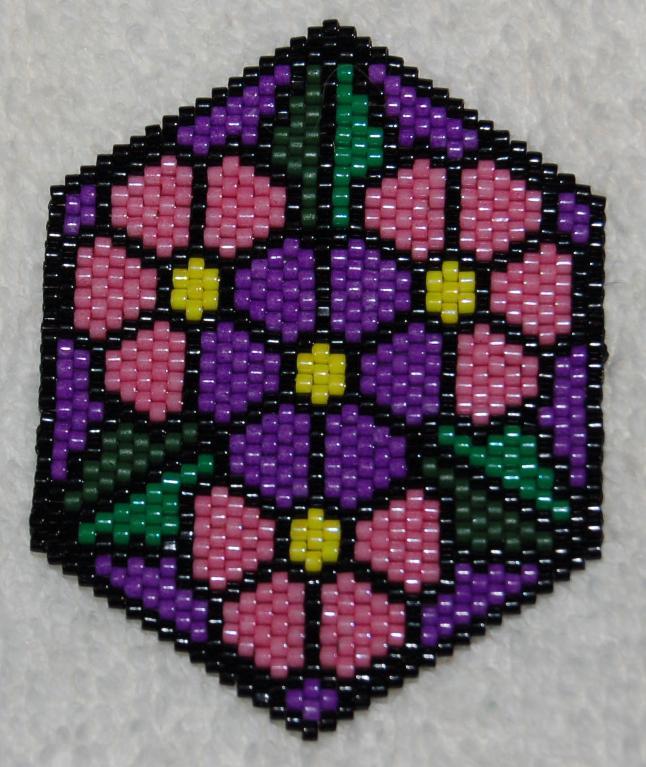
Once you master the basic procedure of working the Gourd Stitch, you can go ahead and make designer jewelry and accessories yourself at home. There are numerous patterns available online for making Peyote Stitch accessories. You can make stylish bracelets, kimono style bracelets, hoop earrings, key chains and much more. Some popular designs include mushroom, maple leave, musical notes and flowers that you can work using different colored beads. Multi-colored zigzag patterns are also suitable for making attractive bracelets. You can add your own ideas to these patterns and make unique accessories and surprise those around you.
Related Articles
Join Our Mailing List
Sign up to get the latest updates, along with fresh patterns and tutorials, right to your inbox