Slip Stitch in Crochet
Table of Contents
Slip Stitch is one of the basic crochet stitches you need to know to work on a crochet project. Slip stitching allows you to produce a thin and stretchy fabric that has excellent drape and requires less yarn than other traditional crochet stitches used for creating solid fabric. This stitching technique is very easy to learn, making it ideal for beginner crocheters.
It has several varieties with Bosnian crochet being one of the well known ones. Bosnian crochet has a history of being practiced for years in various European countries.
Slip Stitch Crochet Uses
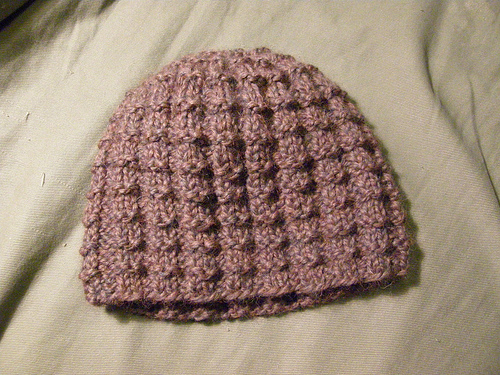
Being one of the most important crochet stitches, slip stitch has countless applications in making various crochet projects. It is used for joining and smoothing crocheted articles like sweaters, scarves, hats, socks, quilts and blankets. Here are some of its common uses:
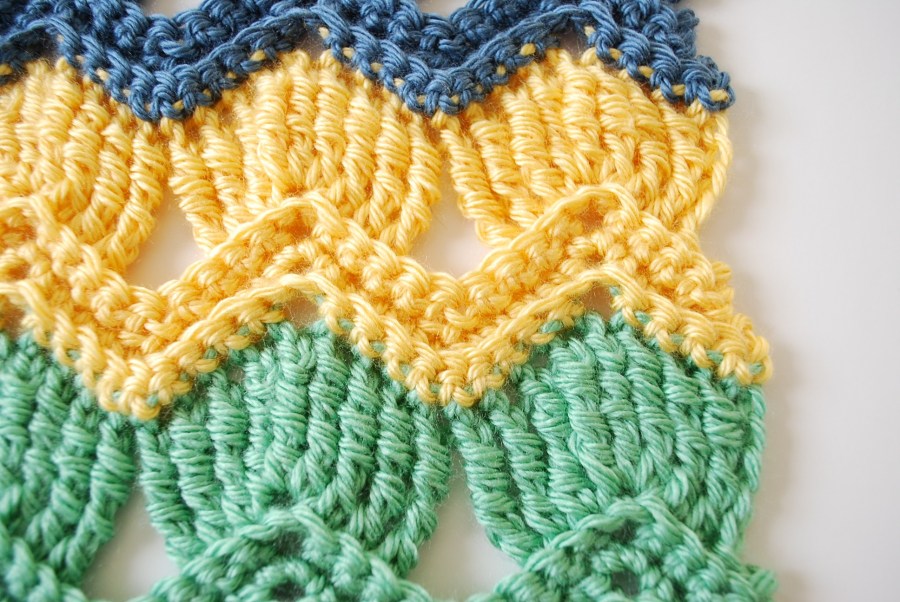
- For creating designer patterns combined with other stitches like single crochet double crochet and half double crochet.
- Closing the unwanted gaps in crocheted articles like granny squares, between the end of the last round and the beginning of the next one.
- In crochet quilting for joining the ends of the squares together.
- For a smooth finishing to the rough edges of a crocheted fabric.
- For adding a new color of yarn in your crochet project. All you need to do is make a slip stitch at the end of the row, fasten off the yarn and add the new yarn with a slip knot.
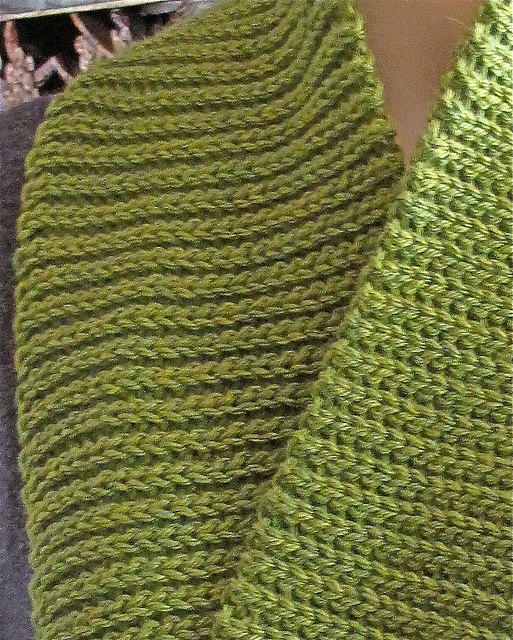
- Ribbing the borders of crocheted articles. Most common examples of Slip Stitch ribbing include the wristbands for mittens and the waistbands for vests.
Instructions for Working Slip Stitch Crochet
The following directions show how to work slip stitch in a crochet project. This stitch is not used at the very beginning of a project, so you will have to work part of the project before you can begin the slip stitching:
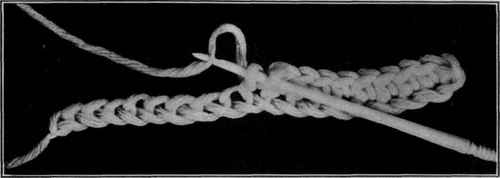
- First you need to insert the hook into the nearest stitch in the row from the front to the back.
- Next, you need to take the yarn over your crochet hook once.
- Continue working by pulling your crochet hook in a manner that you can hook the loop created by the yarn-over through the loops already on your crochet hook. Once this step is done, you will have just one loop left on the crochet hook. You have now made your first Slip Stitch.
- Repeat the above three steps in your next stitches to continue making Slip Stitches in your project.
Slip Stitch Crochet in the Round
It is often used to join the ends of a chain to form a ring. Here is how to do it:
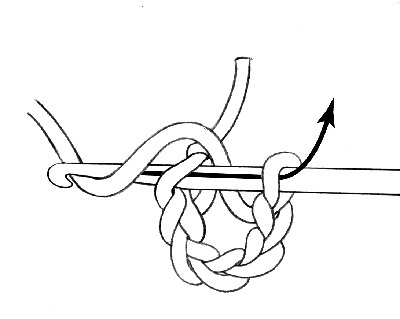
- First, make a chain containing 6 chain stitches. Make sure to begin working with 1 slipknot on the hook.
- Now, insert your hook into the very first chain (farthest from the hook) as shown in the following diagram to form a ring.
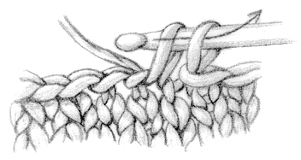
- Use your yarn hand for wrapping the yarn from the back to the front over your hook. Rotate the face of your hook toward yourself with the other hand.
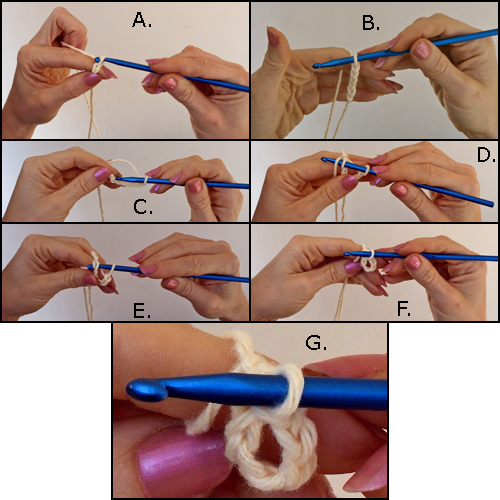
- Next, you need to draw the hook along with the wrapped yarn back through the same stitch and then through the loop on your hook in a single motion, applying gentle upward pressure. Your slip stitch ring is done.
How to Slip Stitch Crochet Two Ends Together
As mentioned above, Slip Stitch is often used for quilting and making sweaters and jackets. For joining two squares, you need to hold their sides together. Make sure the wrong sides of both squares are facing outward while the right sides are facing each other. It is vital to decide which loops you are going to work through as the final result varies depending on this. The following instruction discusses how to work through the outermost loops. You may also work through your project’s inner loops. Either way, you will have a smooth joint barely visible.
- Begin working by inserting the crochet hook into the chosen loops.
- Then, unwind some portion of the yarn so that you can pull up one loop. Pull gently to close the gap.
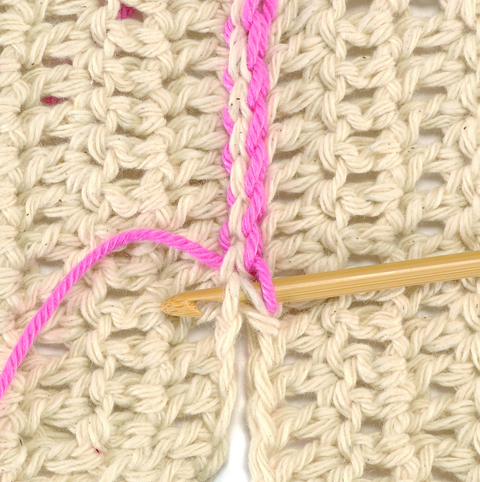
- Leave a 6-inch long tail that you can weave into the fabric once you are done joining the squares.
It is not advisable to work through all 4 loops at once otherwise you will end up with a thick joint having an evident ridge on the fabric’s wrong side.
So, now you have learned how to work the Slip Stitch in a crochet project. Use your creativity to produce attractive crocheted articles with the versatile stitching technique and your handiwork is sure to draw the admiration of those around you.
Related Articles
Join Our Mailing List
Sign up to get the latest updates, along with fresh patterns and tutorials, right to your inbox