Needle Turn Applique
Table of Contents
Needle turn appliqué is a traditional method of hand-stitching an appliqué in which the tip of your needle is turned under the raw edges of the fabric while stitching it to the background.
Needle Turn Applique Tutorial
Here is a step-by-step guide for learning the technique using freezer paper. You can use template plastic instead of the freezer paper as well. Beginners will find this method of needle turned appliqué very easy since they do not need to turn the appliqué edges manually while sewing.

Supplies
- Straw needles (size 10 or 11 is suitable)
- Small sharp scissors
- Thread matching with the appliqué pieces
- Applique glue
- Freezer papers
- Small paintbrush
- Spray starch
- Iron
- Pencil
- An appliqué pattern
- Tracing paper
Stage I: Preparation of Fabric for Needle Turn Applique
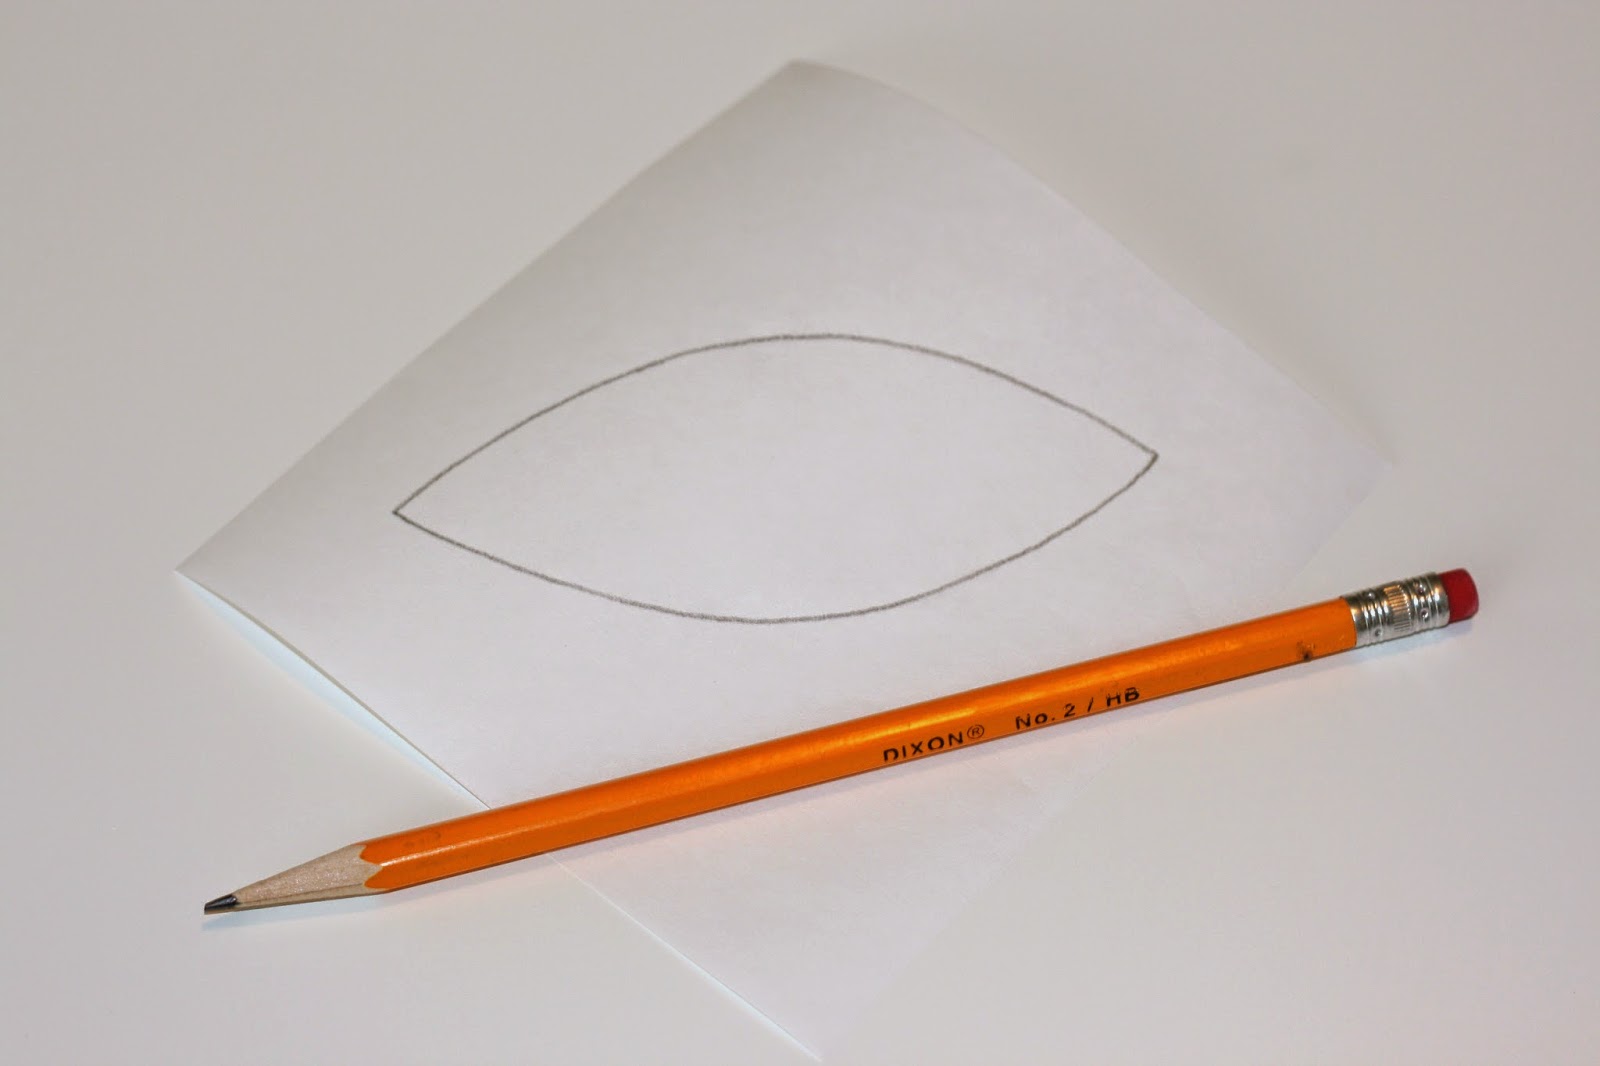
Step 1: Trace the reverse of your actual appliqué pattern onto the matte (rough) side of a freezer paper.
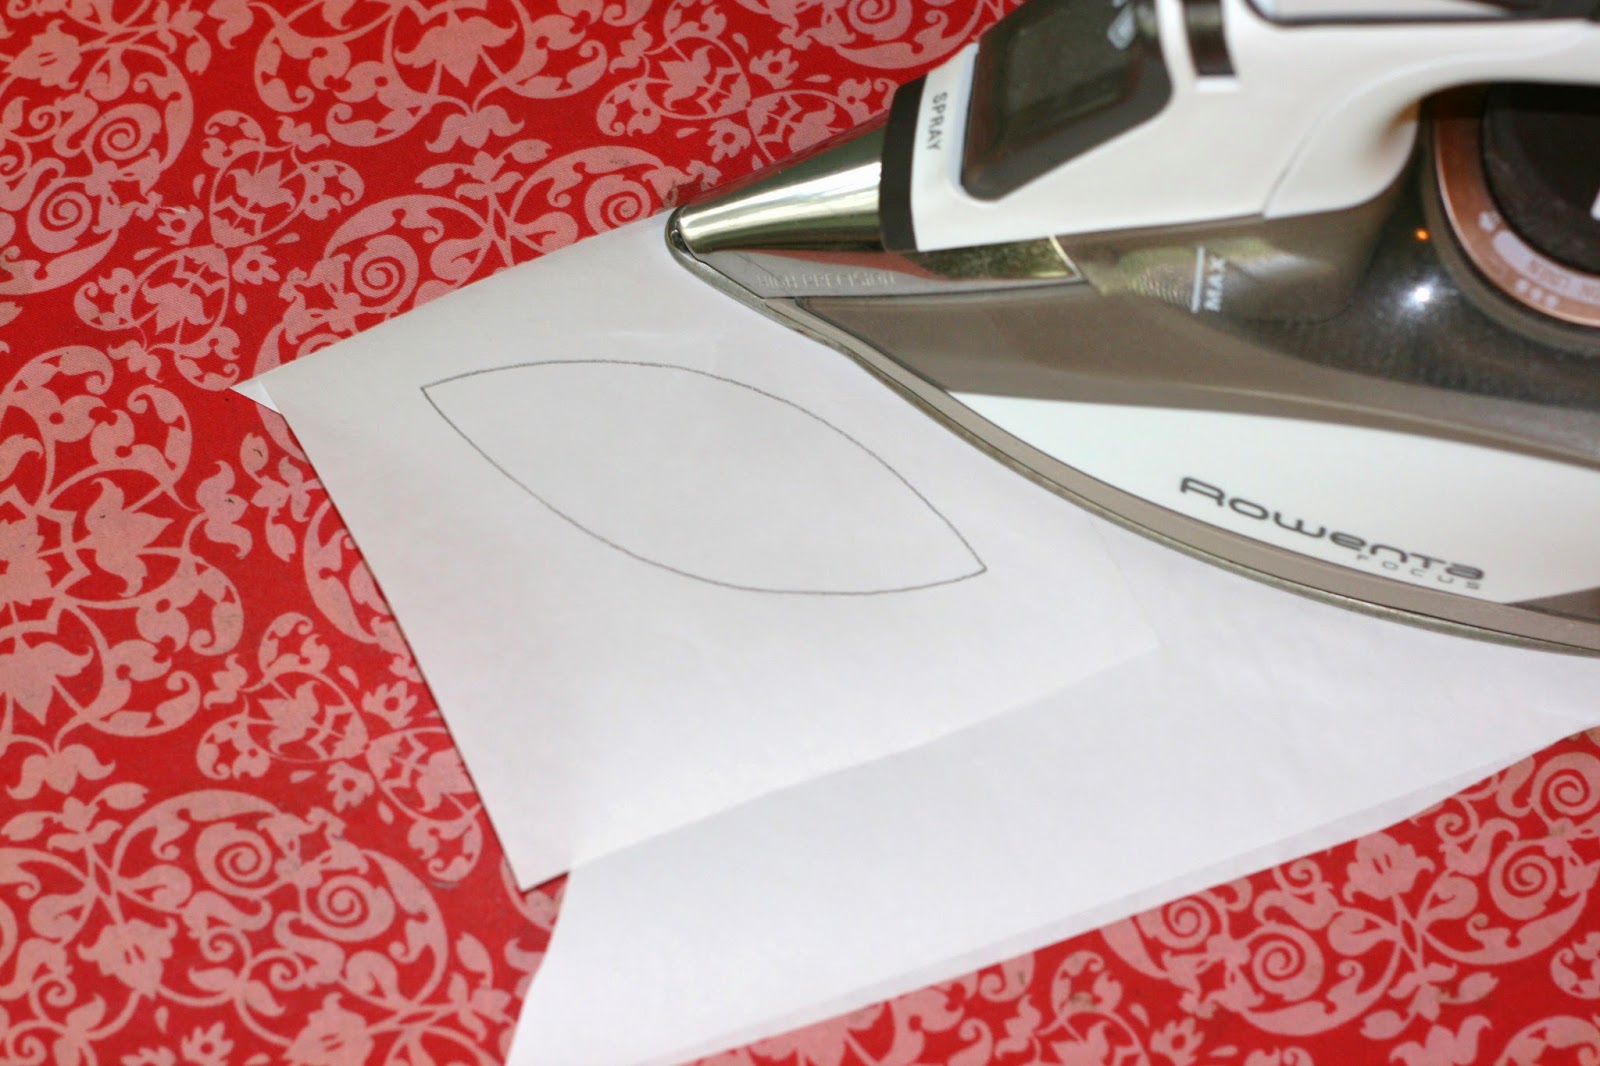
Step 2: Place the freezer paper on top of another one with their matte sides up. Iron the combination.
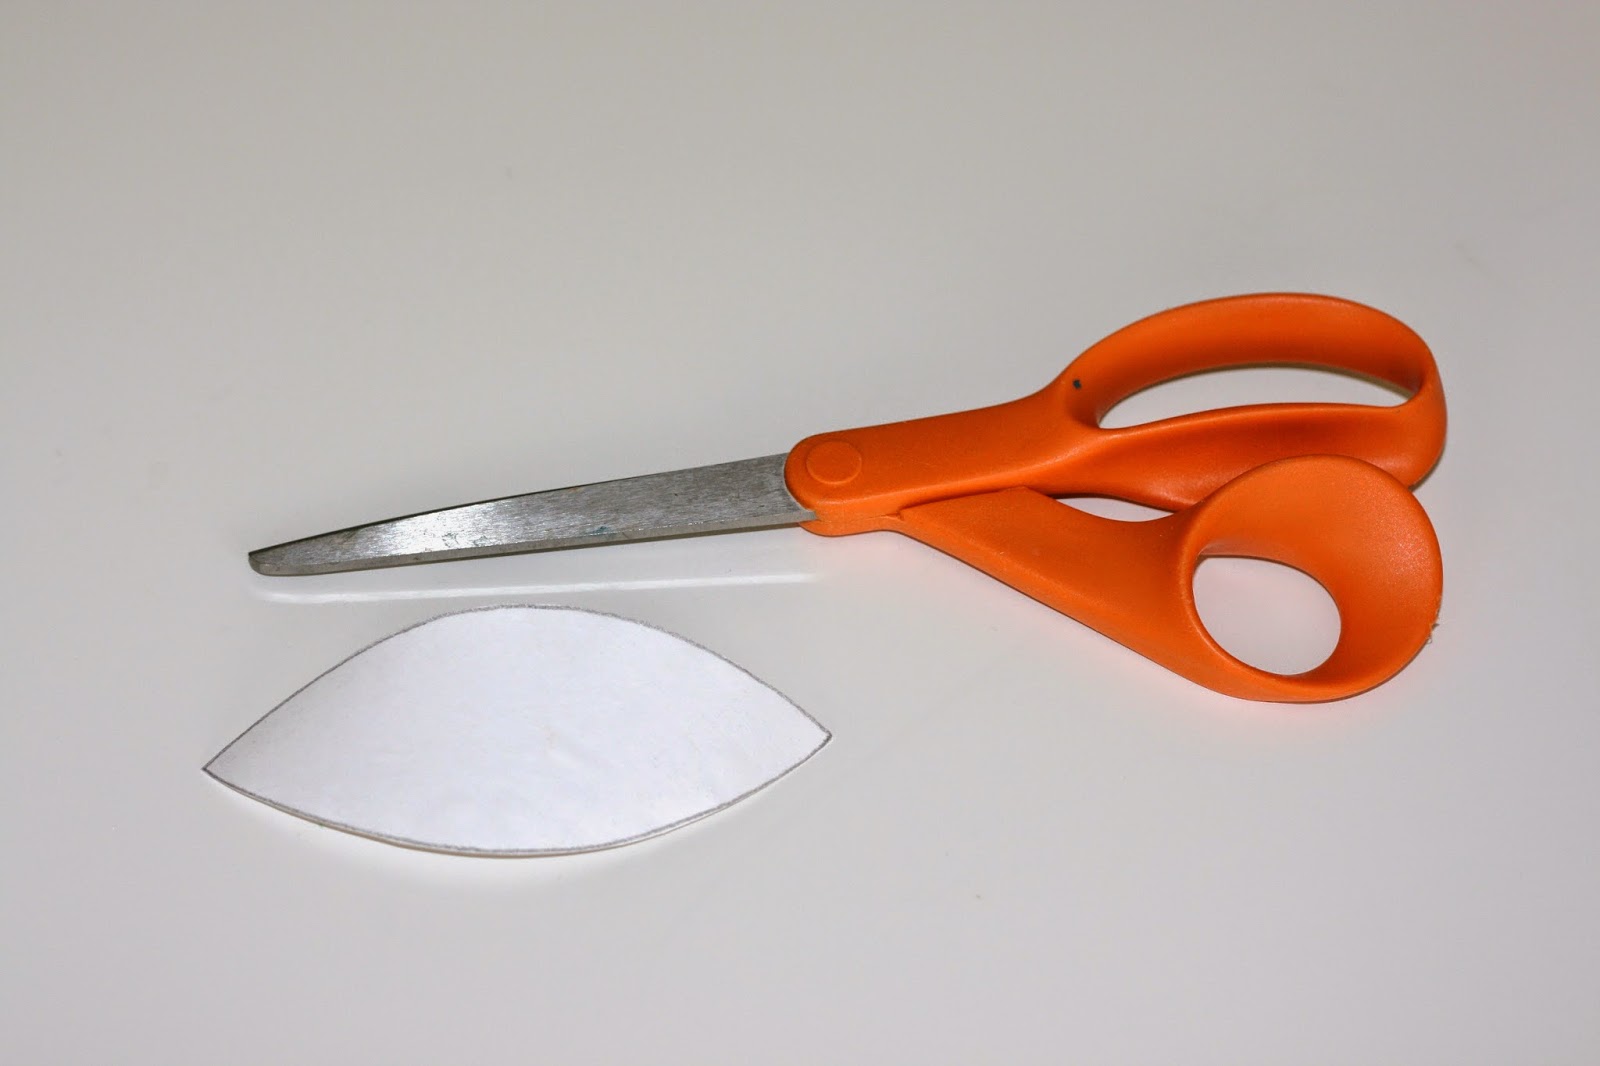
Step 3: Cut neatly along the margins of the double-layered freezer paper template.
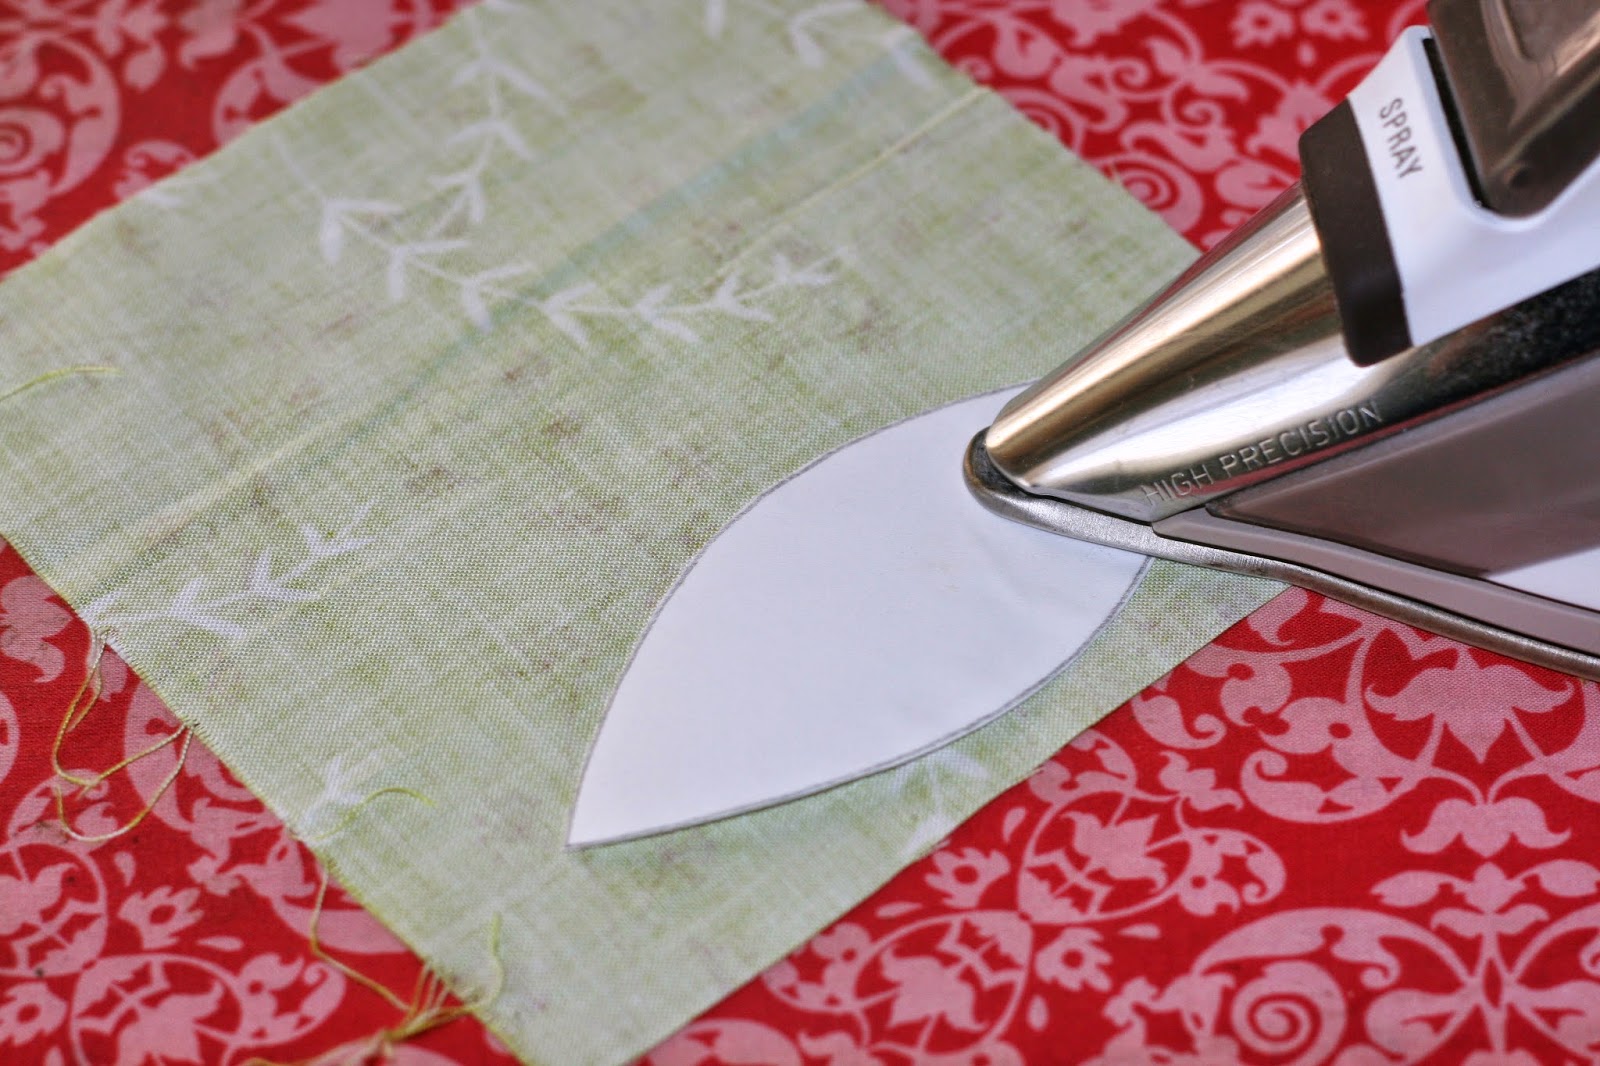
Step 4: Press the template onto the wrong side of the appliqué fabric with its shiny side facing down.
Step 5: Cut the fabric along the edges of the template leaving a 1/4”- 3/8” seam allowance all around.
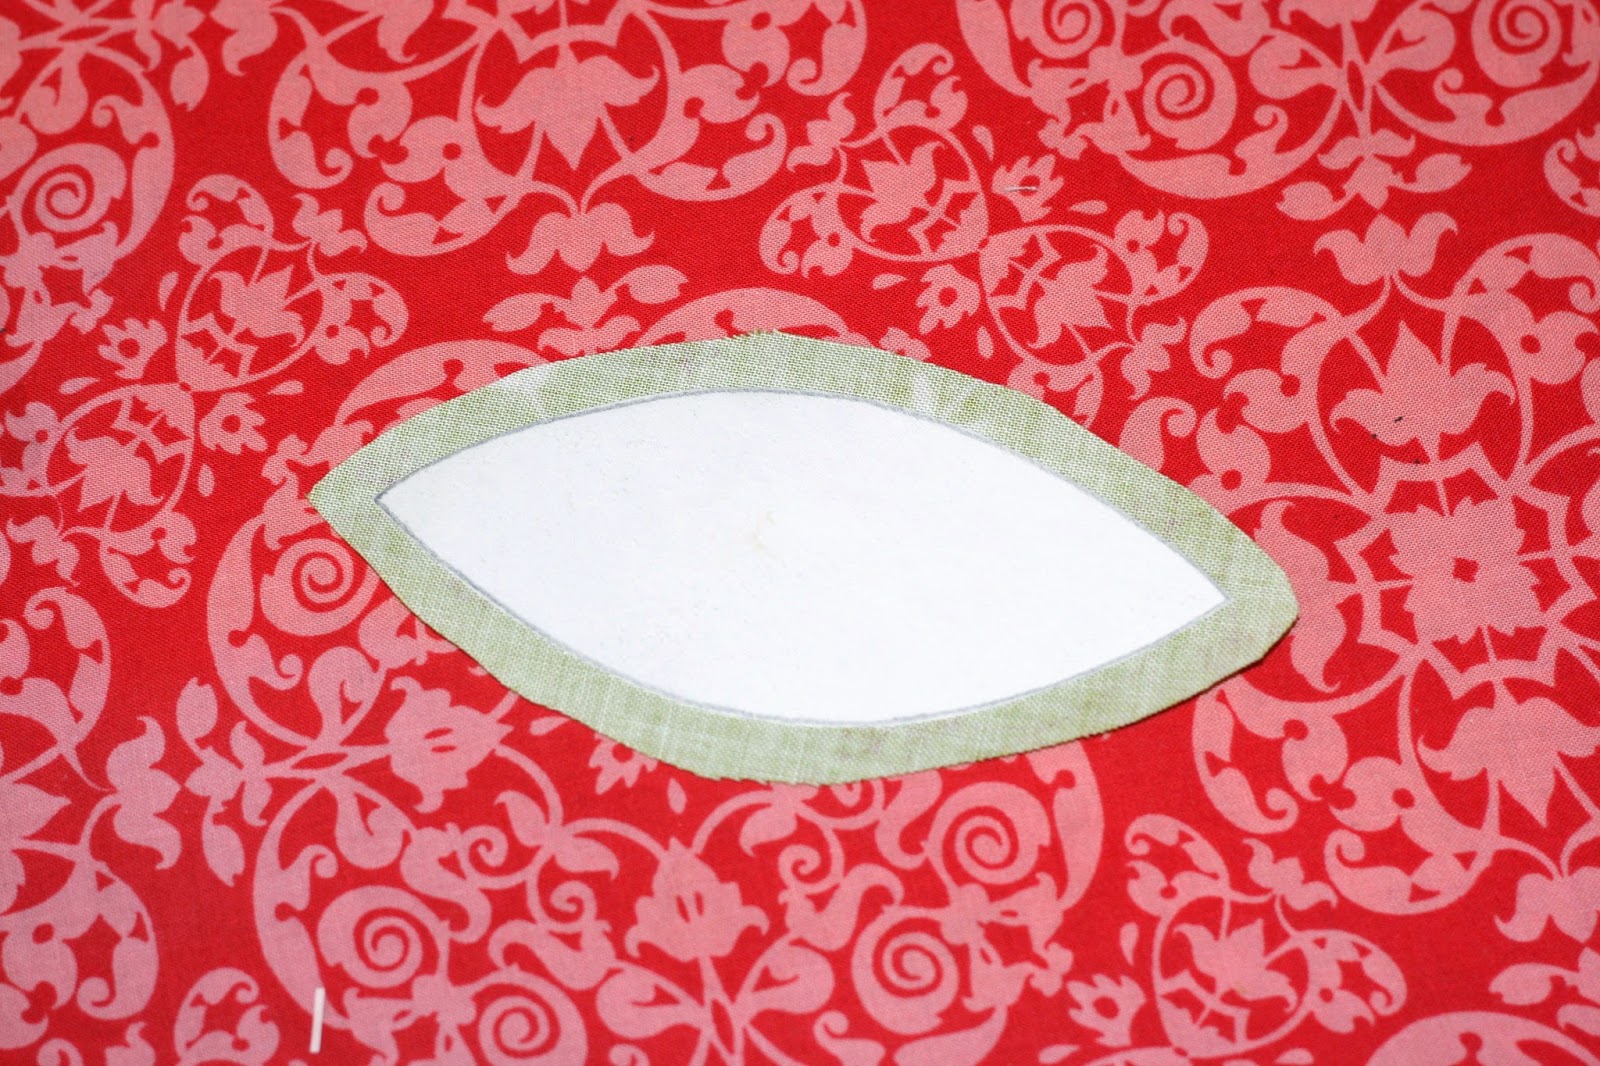
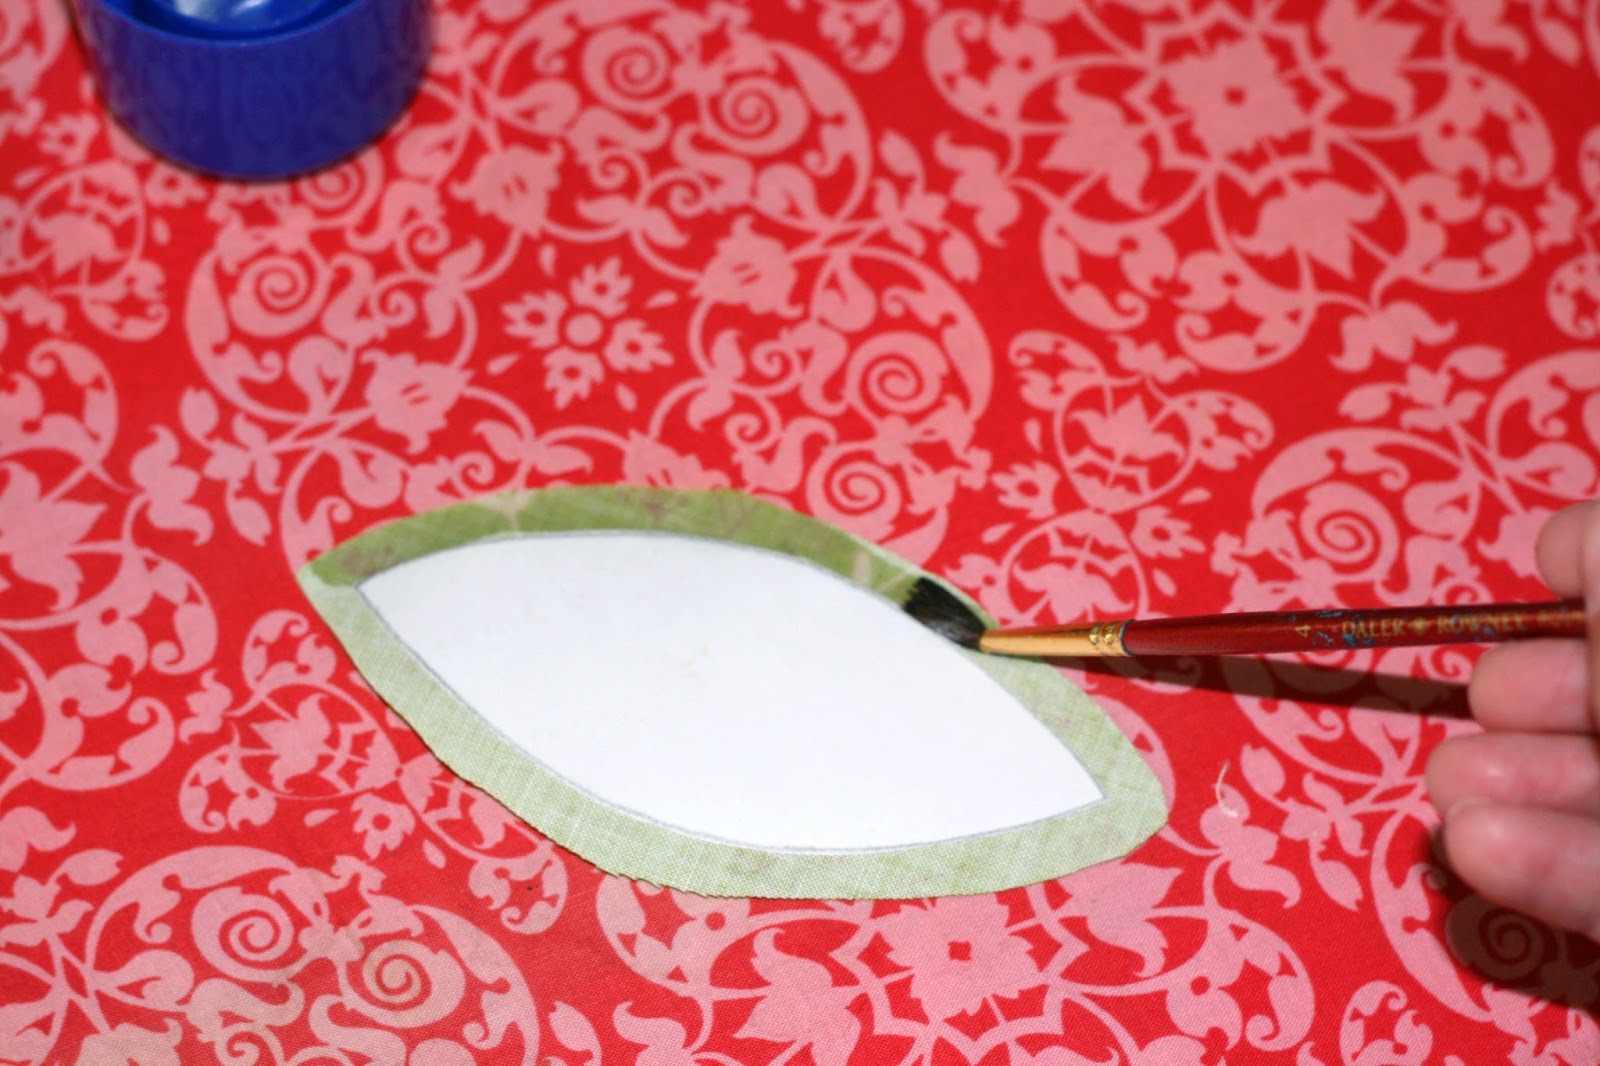
Step 6: Finish preparing your appliqué by painting a little starch on all the exposed margins of the fabric.
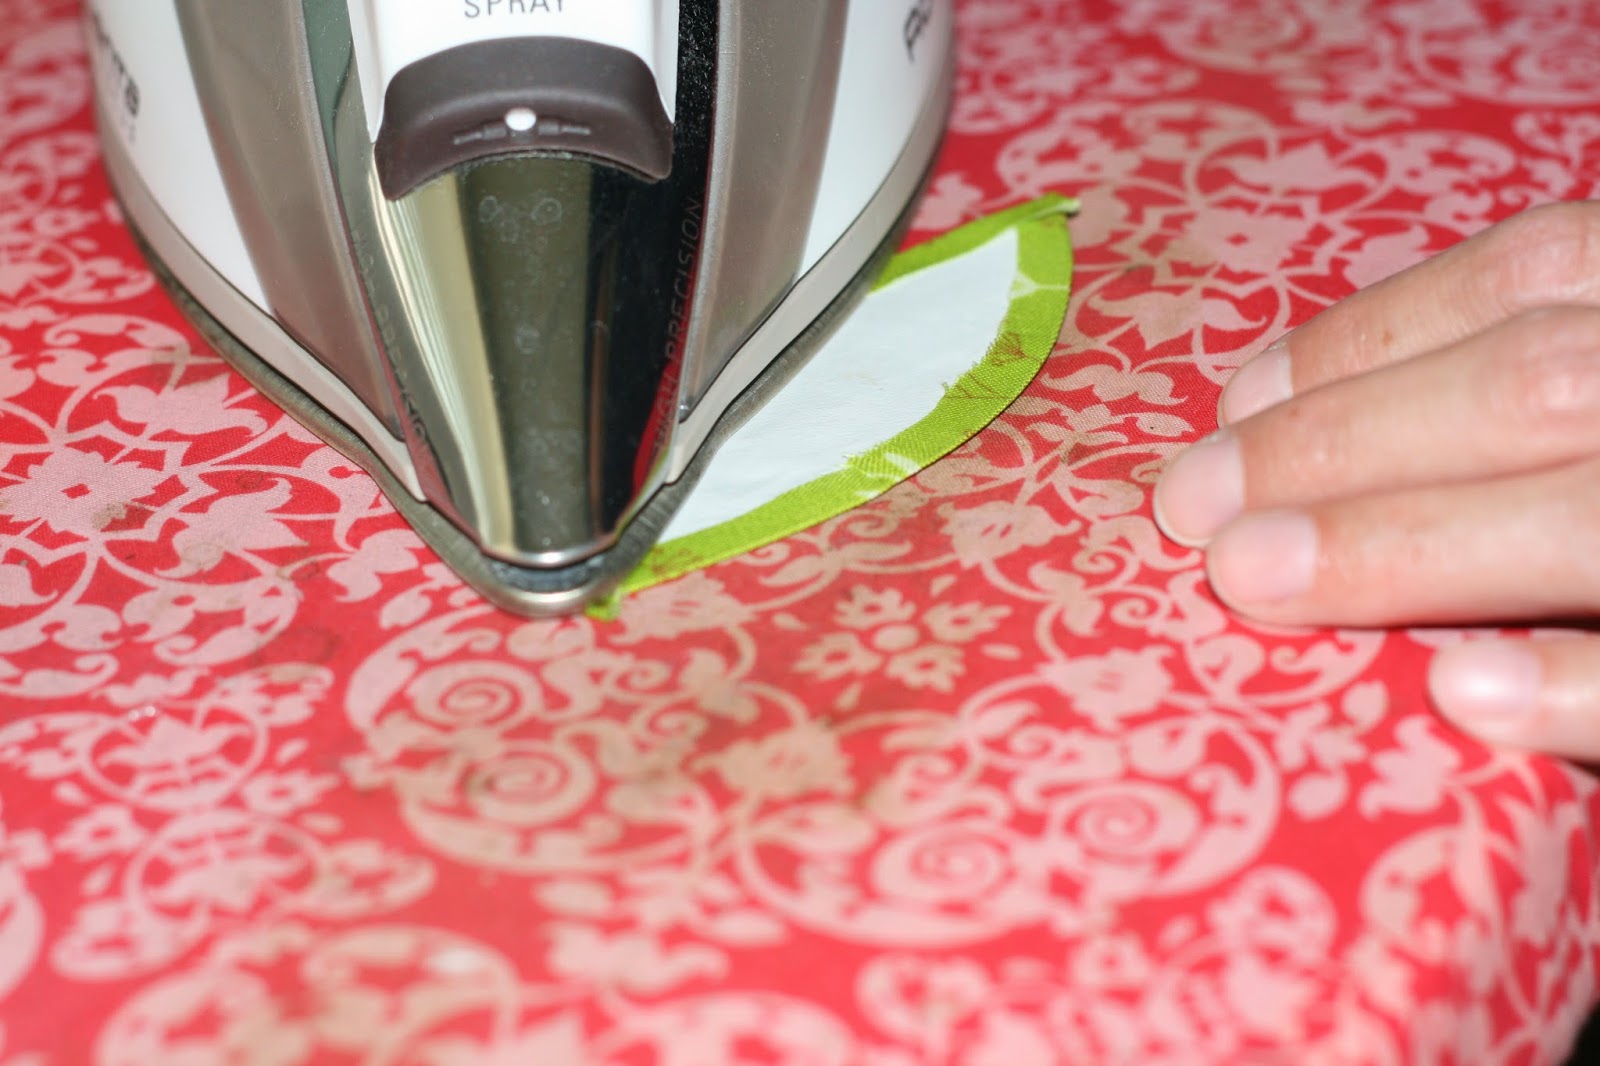
Step 7: Use the iron to wrap the seam allowance around the freezer paper template edges avoiding uneven bumps.

[N.B. If your patterns have a lot of sharp curves like leaves, flowers and circles, then for better control, you can clip the seam allowance about 1/2” apart, taking care not to clip right up to the template. If your pattern has a crevice like that at the top of a heart, you would have to clip that too.]
Step 8: Allow the fabric to cool before removing the freezer paper. You might need to iron again to ensure a perfect shape.
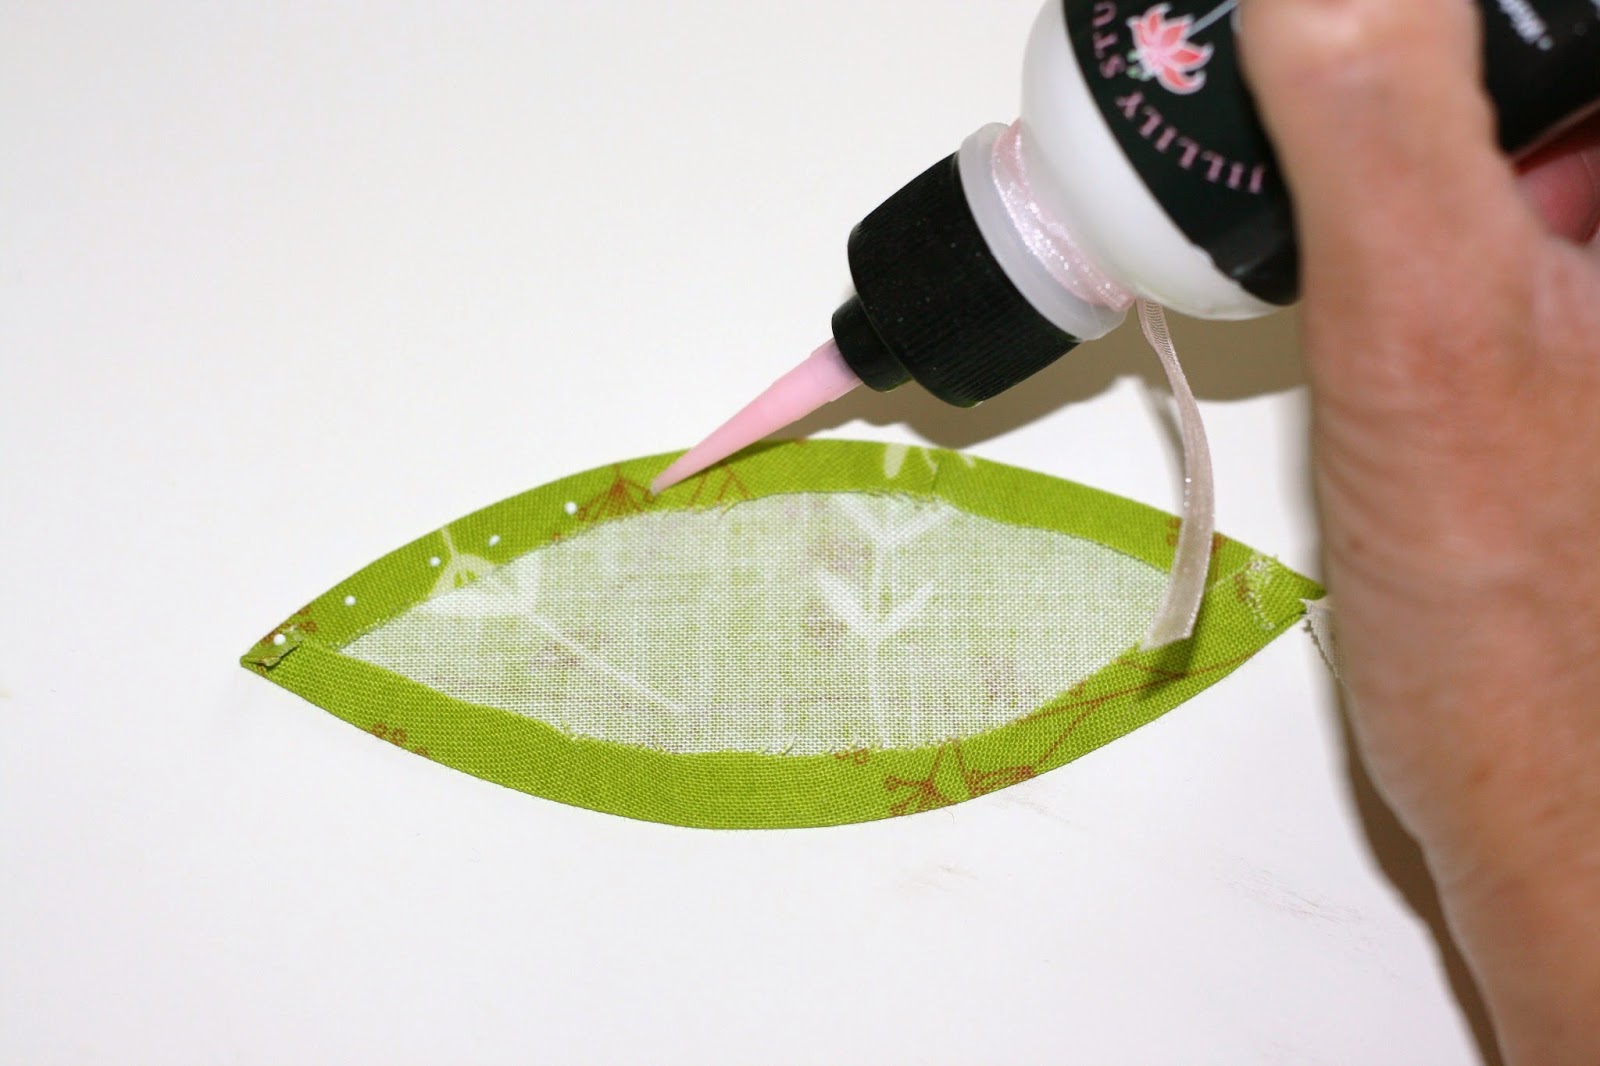
Step 9: Attach the appliqué piece onto the background fabric by small dots of appliqué glue at the margins.
Stage II: Needle Turn Applique Stitch Instructions
Step 1: Thread your needle and knot the end of the thread.

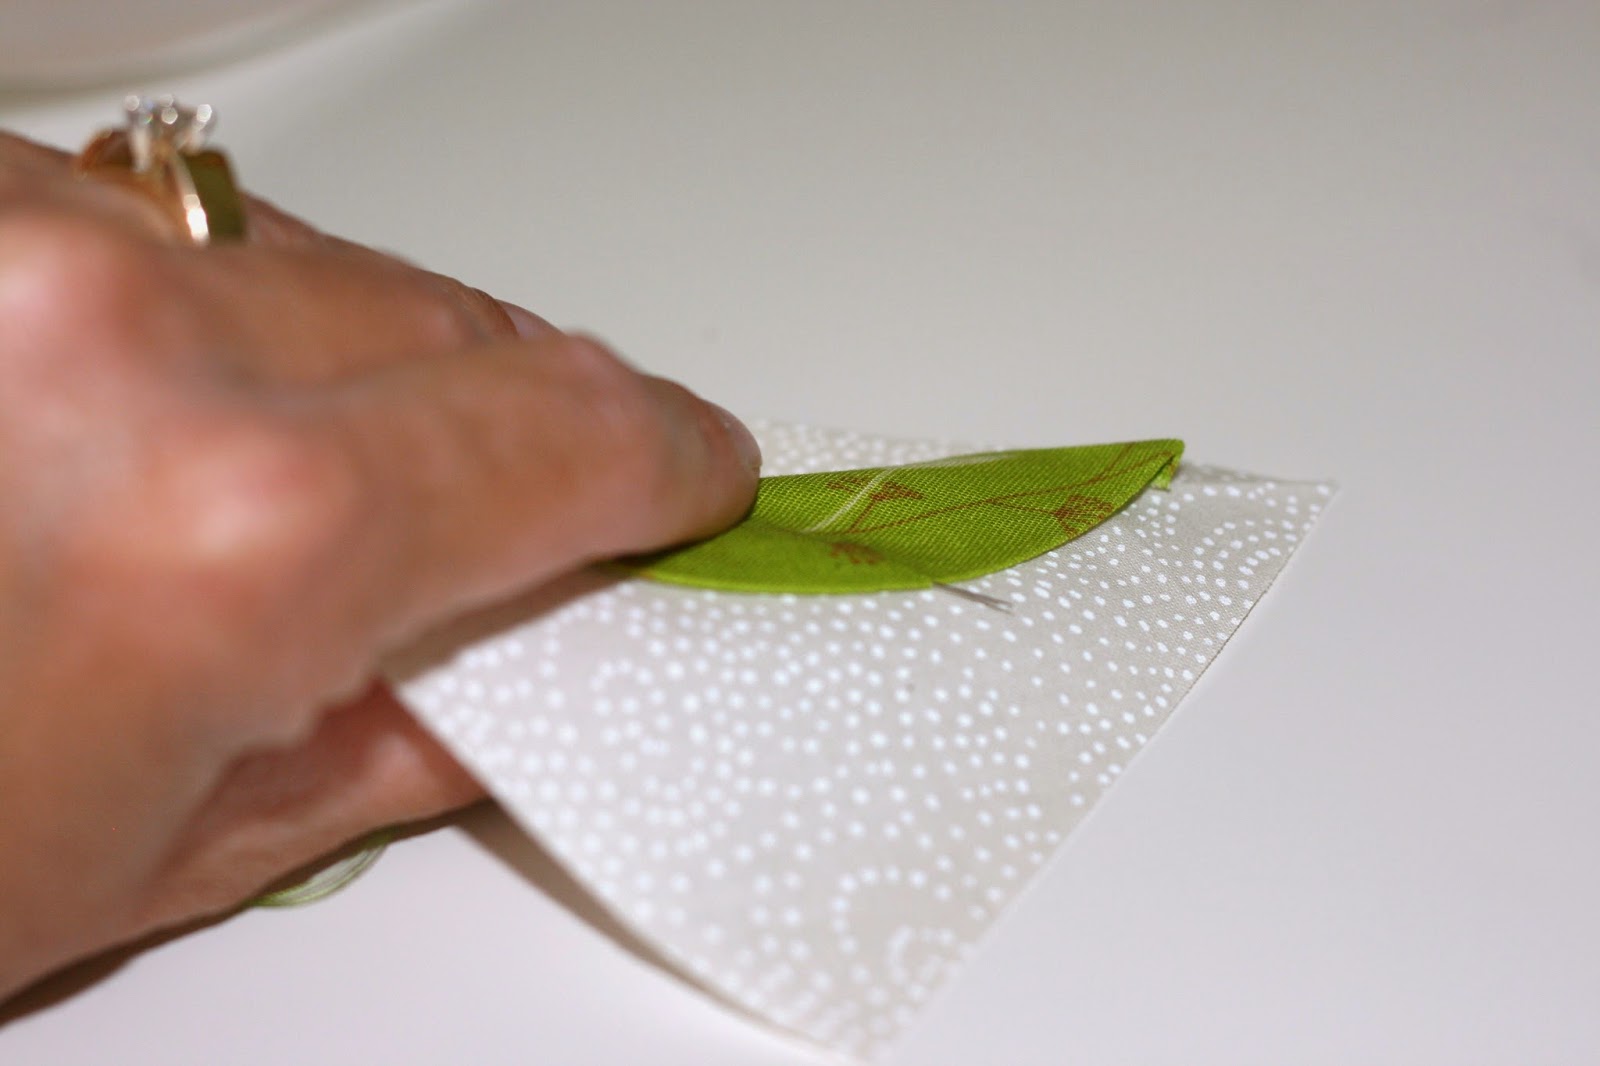
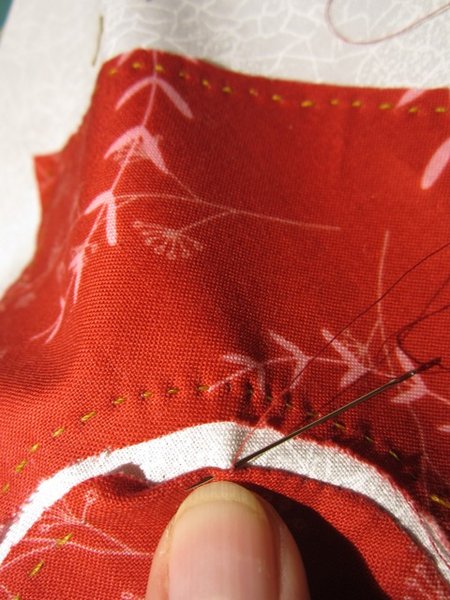
Step 2: Bring up your needle from the bottom of the background fabric and through the fold of the appliqué piece.
Step 3: Make the stitch go straight down through the background just under the point from where it emerged.
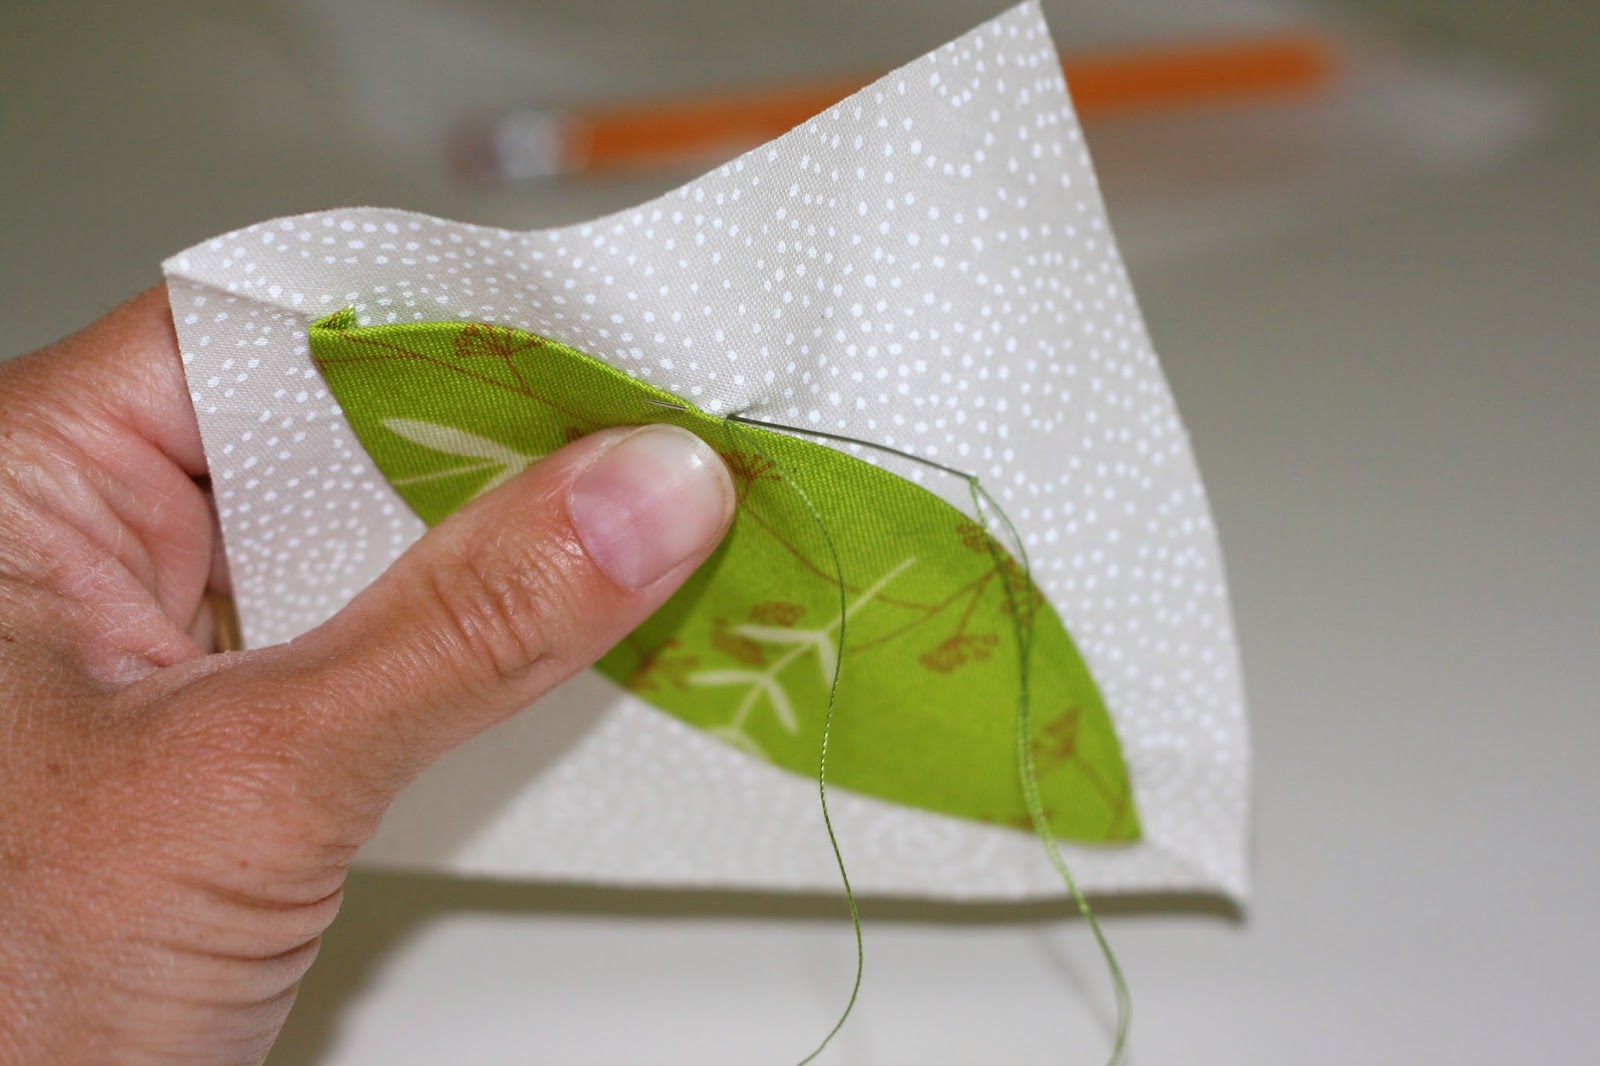
Step 4: Now take the needle up as described in step 2 taking care to place the consecutive stitches at a gap no more than ¼”.
Step 5: Continue stitching the entire applique to the background. You will notice that you are using your needle to turn the raw edges under along the seam allowance fold.
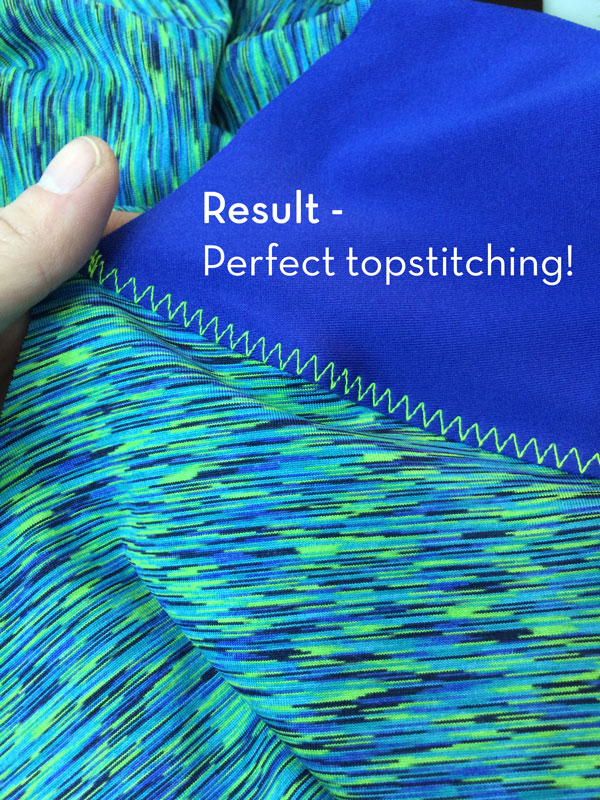
Instead of stitching by hand, any invisible sort of stitch like slip stitch can be done by machine for securing the appliqué.
Needle Turn Applique Video
An Interesting Variation
In another technique, the appliqué fabric is placed on the background cloth bearing the traced pattern and basted at the back. Then the appliqué piece is cut along the edges of the traced pattern maintaining a certain seam allowance. The bastings are then snipped as needle turning is applied to sew along the basted lines. Further elaboration, as well as instructions for working the inside corners, can be found at the link below.
Some Fun Free Patterns
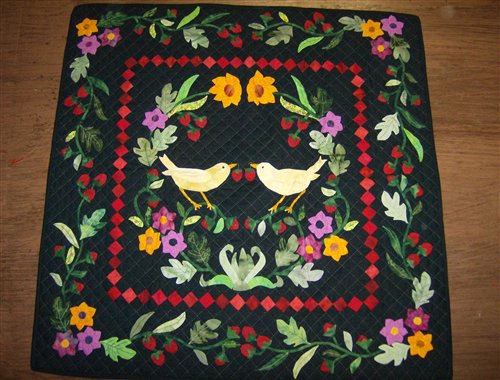
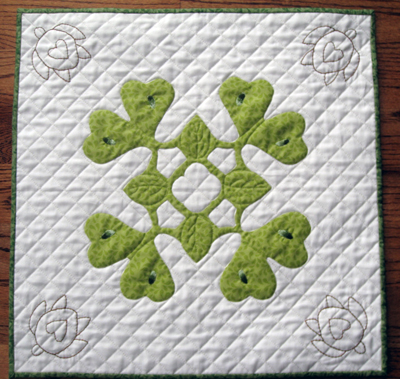
The appliqués can be used in quilts and wall hangings in Hawaiian designs.
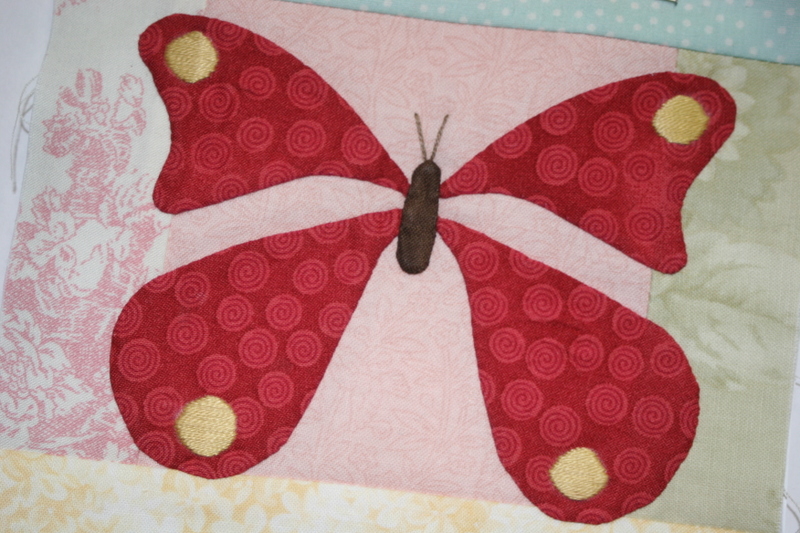
You can try the below pattern for baby quilts. Letters and stars also make adorable designs.

We need to wrap up at this point since you must be raring to needle turn your appliqués by now. You are sure to become addicted to it once you make headway.
References
http://alittlebitbiased.blogspot.in/2014/07/applique-freezer-paper-method.html
http://www.connectingthreads.com/tutorials/Applique-Turned_Edge_Prep__D48.html
http://red-brolly.com/2013/05/how-to-needleturn-applique/
http://www.craftsy.com/blog/2013/05/how-to-hand-applique-tutorial/
http://quiltsalott.blogspot.in/p/applique-tips-and-tricks.html
Related Articles

Join Our Mailing List
Sign up to get the latest updates, along with fresh patterns and tutorials, right to your inbox