Flying Geese Quilt
Table of Contents
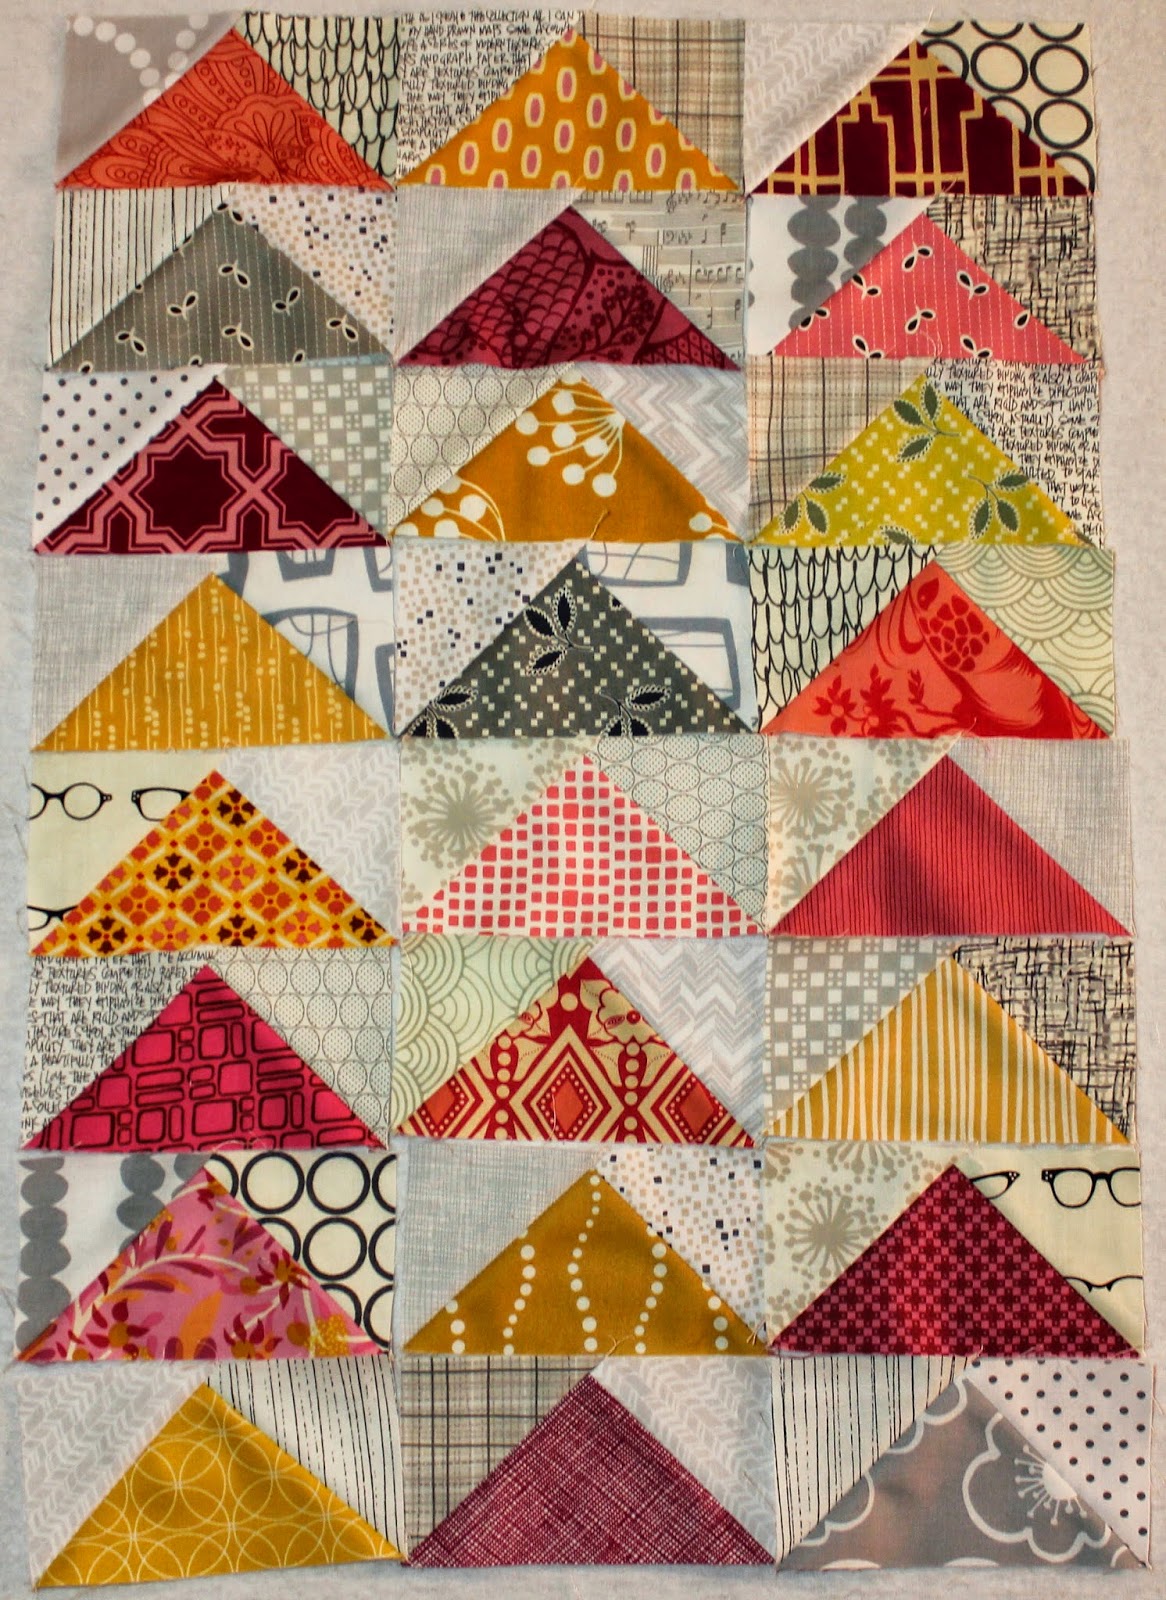
Here is one pattern that quilting enthusiasts will find spectacular. Better known as flying geese, it boasts of perfect triangular shapes in contrasting fabric that sit at the center and sides of blocks that can be stitched together into a lovely quilt. The beautiful angular patchwork not only suits quilts but can be used for other decorative purposes like wall hangings, curtains and handbags.
Instructions for a Simple Flying Geese Quilt Block
Here we give you a tutorial on a quick procedure that allows no wastage of fabric. You will need two different colored fabrics, one of a light color (for the goose) and another of a dark color (for the sky). Only two colors have been used here to make it easier for you to understand the pattern, but you can work it with three colors in the same manner once you understand the basic procedure.
The following method is to make four 8×4 inch quilt blocks.
Step 1: Cut a square from a light colored fabric, 1¼ inches larger than the desired width of your final quilt block. So, here the square will be (8+1¼ =) 9¼ x 9¼ inches in size.
Step 2: Now, take the dark colored fabric and cut four squares, 7/8 inch larger than the final length of your quilt block. So, the dark colored squares should be (4+7/8 =) 4 7/8 x 4 7/8 inches in size each.
Step 3: Draw a diagonal line across the wrong side of each of the dark squares.
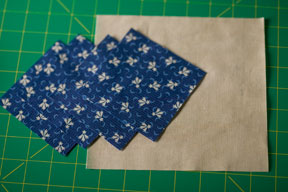
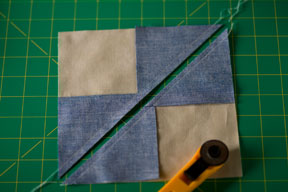
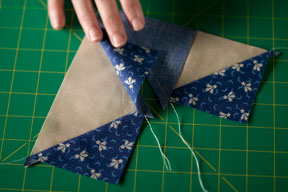
Step 4: Place two of the dark squares, wrong side up, atop the right side of the light square, such that their corners overlap slightly with their diagonals acting as one straight line. (As shown in the picture below)
Step 5: Sew the pieces together, stitching on both sides of the diagonal line, keeping a ¼ inch gap on each side between the seam and the drawn line.
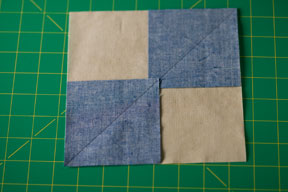
Step 6: Use a rotary cutter to cut along the diagonal line to make two triangular sections.
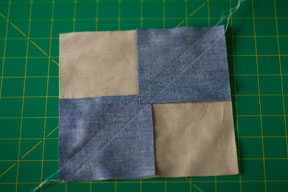
Step 7: Unfold the sky triangles along the seam on each piece and iron, so the geese and sky triangles lay flat. Now, you need to work on these two pieces separately.
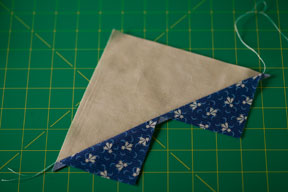
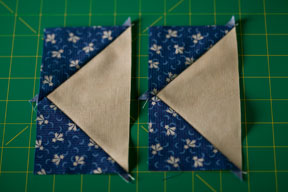
Step 8: Take the piece you just pressed and place one of the two remaining small dark squares, wrong side up, over the large triangular part of the light fabric.
Step 9: As you did before, stitch a ¼” seam on both sides of the diagonal line drawn across the small square. (See picture below)
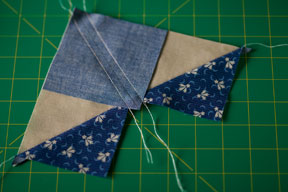
Step 10: Again, take your rotary cutter and cut apart along the marked line.
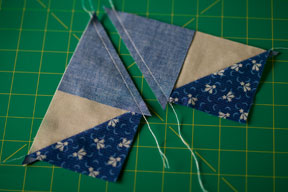
Step 11: Like before, unfold the triangles in each section and press.
You will have 2 finished flying geese blocks from each section.
Now, follow the steps from 8 to 11 with the second piece kept aside in step 7. In the end, you will have four quilt blocks and no leftover or wasted pieces of fabric.
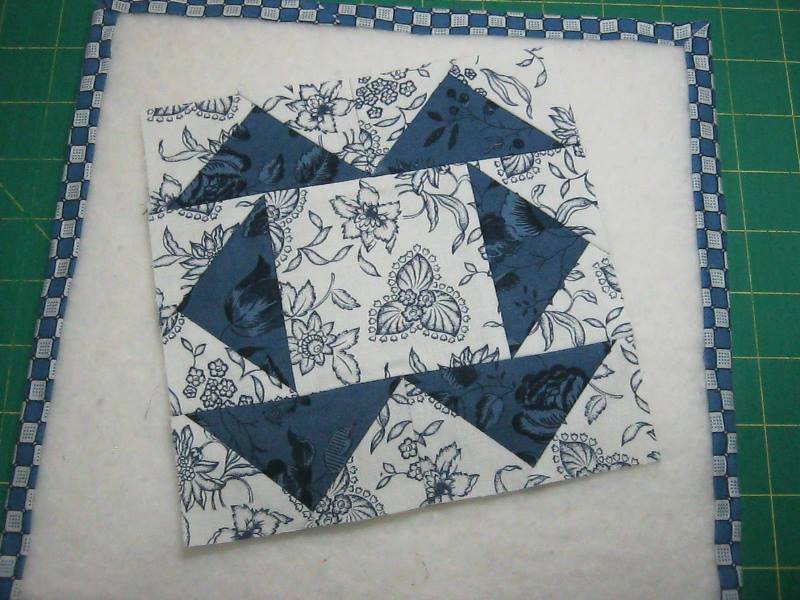
Instead of a completely white fabric for the sky, as shown above, you can choose one with patterns. Breaking the monotony with red and white blocks is also a good idea.
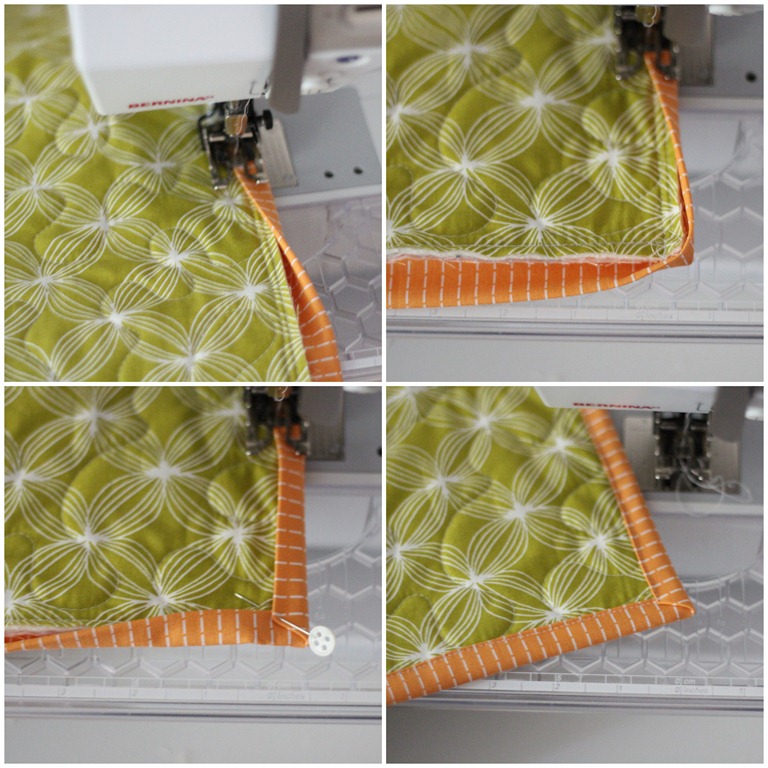
To make a full sized quilt, decide on the final length and width of your quilt and calculate on the number of quilt blocks required for it. Make as many blocks as needed (using above method) and sew them together to make your quilt cover. You can arrange the flying geese in different ways to create countless pretty patterns. Later, bind your quilt with proper backing to complete it.
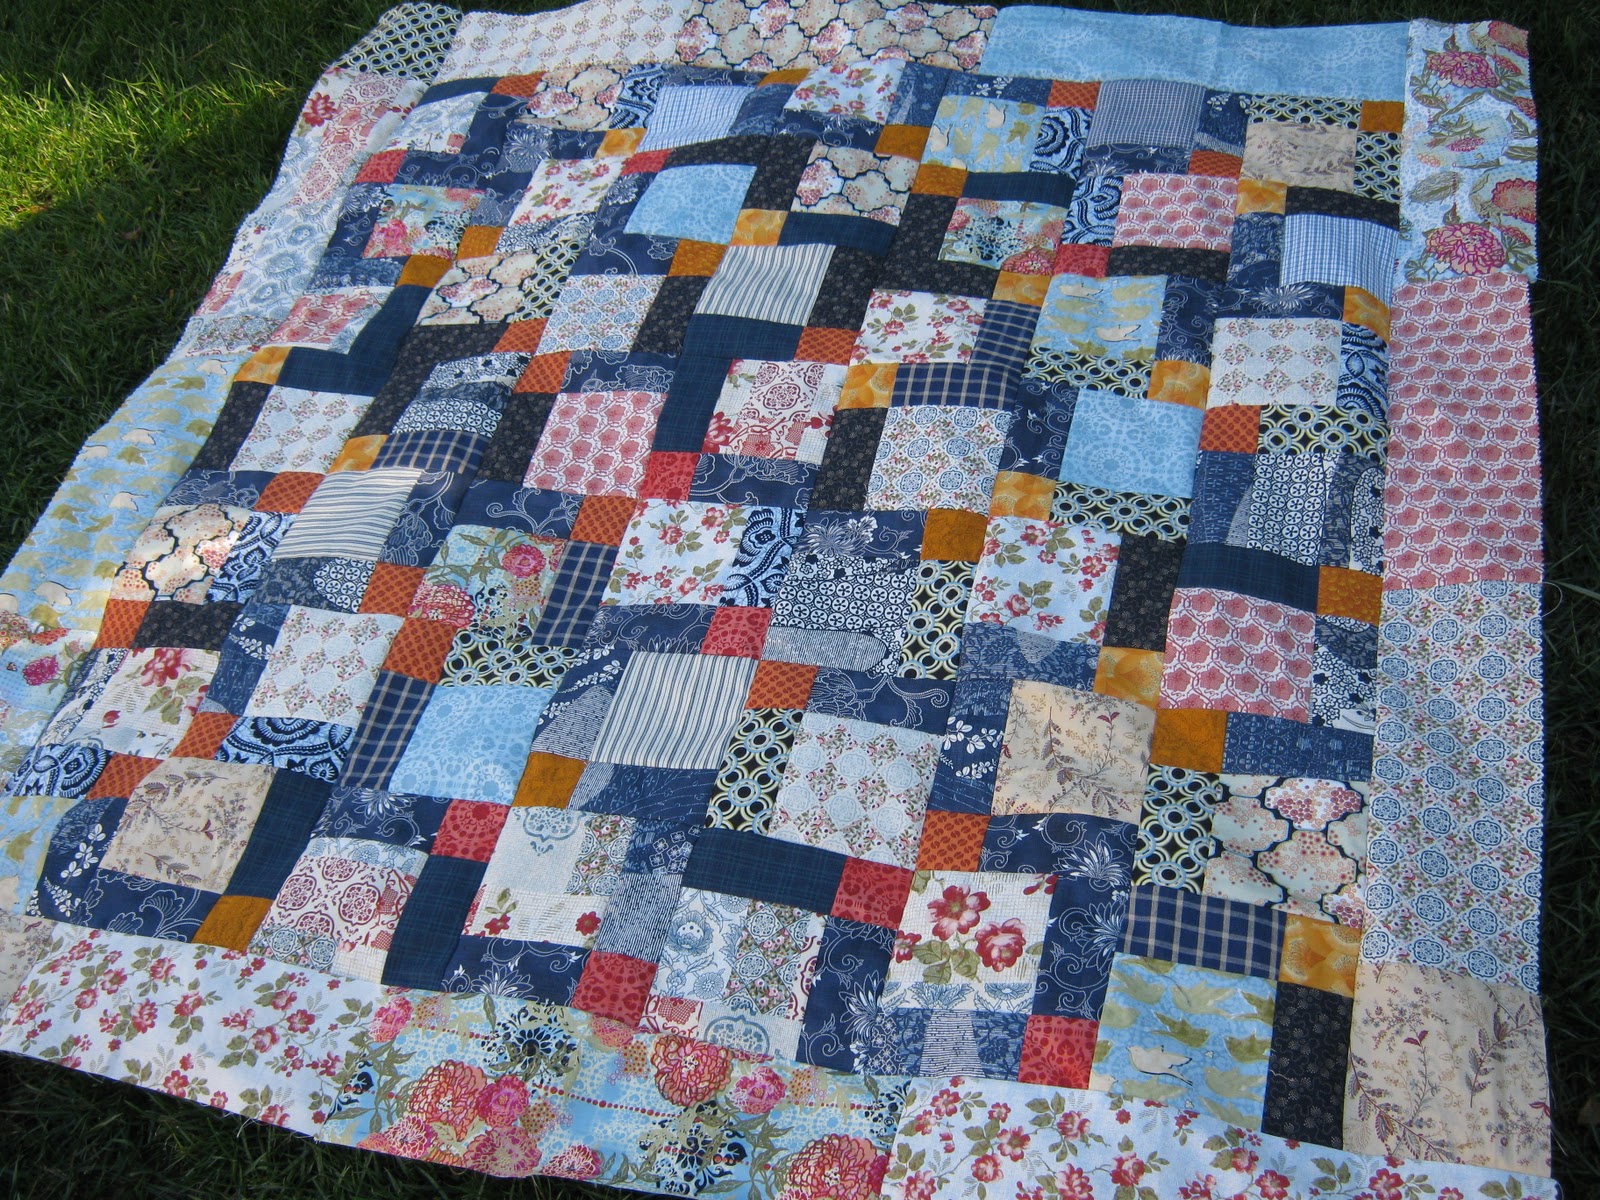
Here is a pretty idea for you to try.
Flying Geese Quilt Block Video
Flying Geese Quilt Pattern Variations
Strong light and dark contrast of shades in the traditional quilts gives the illusion of the outspread wings of geese that follow the leader during migration. In other types, the triangles can be arranged to make a chevron-like border. The versatile blocks are often used in combination with other quilting blocks like log cabin, creating unconventional patterns.
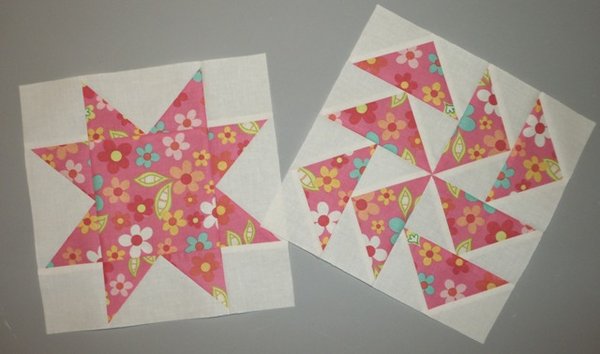
The following free step-by-step guide helps you to make a Sawtooth Star and a Dutchman’s Puzzle flying geese blocks
Following are some attractive paid tutorials for unique flying geese quilts that include detailed instructions for making the quilt blocks as well as joining them together to form the designs.

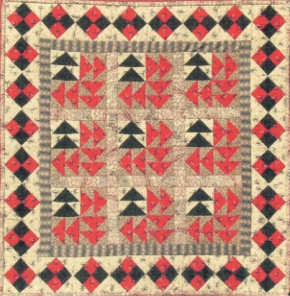
This antique double flying geese pattern can be used to make charming mini quilts for babies.
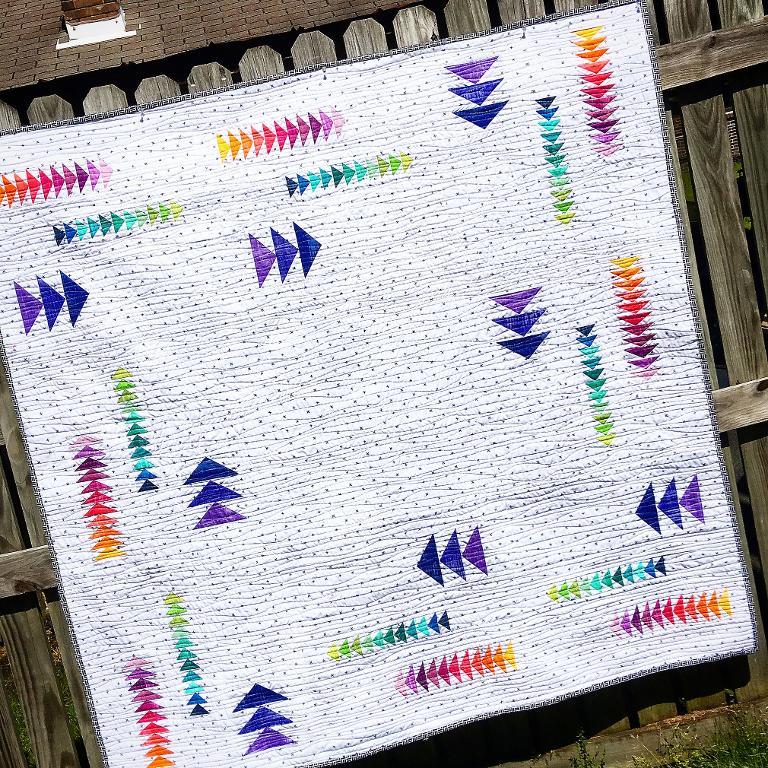
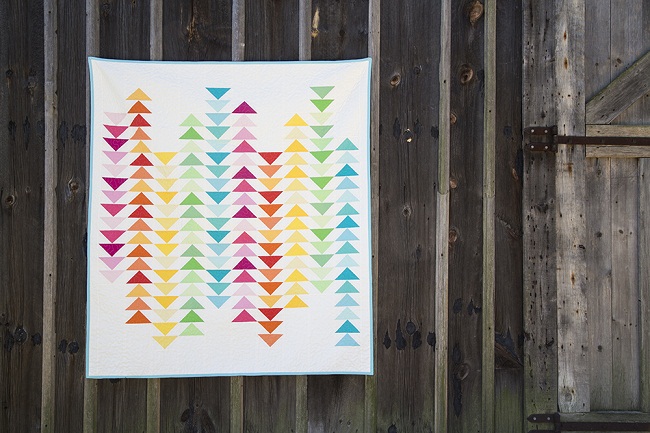
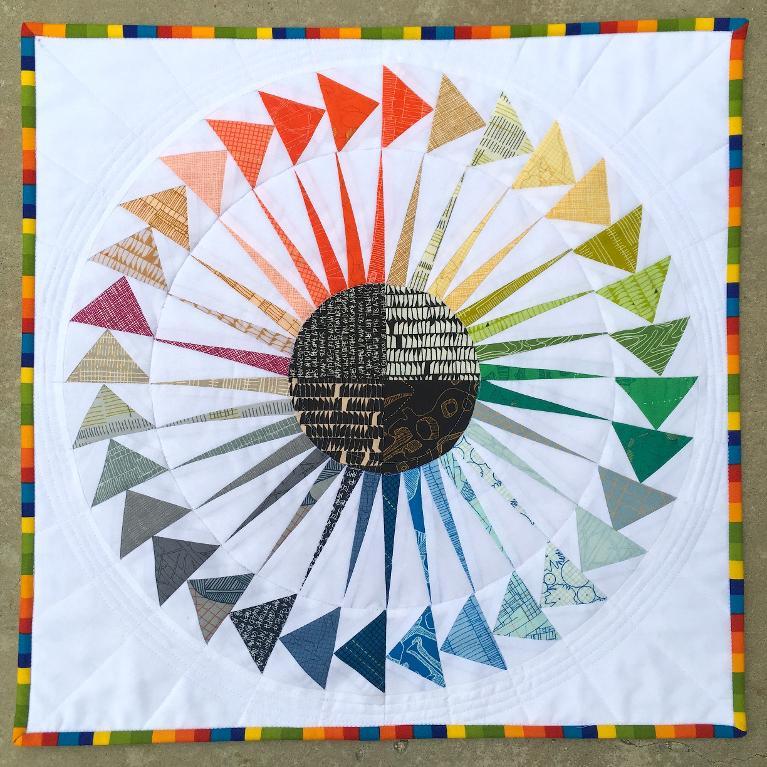
Other lively patterns include flying geese crossing and spiral flying geese. Line them along a curve for circular patterns in a Christmas quilt. In a queen quilt, large flying geese in rainbow colors add a unique dimension.
It is time for you to gather your supplies and get to quilt. For more ideas, you may take the help of templates for your project. The excitement invoked by the sense of motion in your creation will be cherished every time you use your handmade quilt.
Related Articles
Join Our Mailing List
Sign up to get the latest updates, along with fresh patterns and tutorials, right to your inbox